Remove Network Icon from the Windows Navigation pane
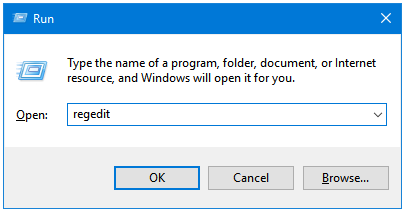
Step 1: Press Windows + R keys together to open the Run dialog box. Type regedit in the text field, and then click OK to open Registry Editor.
Step 2: Navigate to the following key in Windows Registry Editor.
HKEY_CLASSES_ROOT\CLSID\{F02C1A0D-BE21-4350-88B0-7367FC96EF3C}![]()
![]()
Step 3: Right-click on the above mentioned Registry Key, click New, and then click DWORD (32-bit) Value to create a new Registry Value.
![]()
![]()
Note: You’ll need to Take Ownership or give Full Control/Permissions to the current User to create a new Registry Value in this Registry Key. Read the following post to learn that:
Take Full Control & Ownership (Permission) of Windows Registry Keys
Step 4: Rename the newly created Value to System.IsPinnedToNameSpaceTree.
![]()
![]()
Step 5: The default is 0, which results in a disabled Network icon.
![]()
![]()
Step 6: You’ll notice that the Network icon is still visible in the Browse window. Navigate to the following key to edit the Network icon from other File Explorer windows as well.
HKEY_CLASSES_ROOT\Wow6432Node\CLSID\{F02C1A0D-BE21-4350-88B0-7367FC96EF3C}![]()
![]()
Step 7: Take Ownership of this key.
Step 8: Create a new Registry Value in this Registry Key.
![]()
![]()
Step 9: Rename the newly created Value to System.IsPinnedToNameSpaceTree.
![]()
![]()
Step 10: The default is 0, which results in a disabled Network icon. Click OK, and then close the Registry Editor.
![]()
![]()
If you want to re-enable the Network icon in the Navigation pane, change these values from 0 to 1.