Netstat (Network Statistics)
Netstat (Network Statistics) is a command-line networking tool found under the name NETSTAT.EXE in the Windows operating system. It can be used to display all kinds of data related to network connections. You can type various Switches along with the netstat command in the Command Prompt to output specific data about the network activity on your computer. These Switches can be used either one at a time or, in combination with others.
Syntax: netstat –switchname(s)
Using Netstat, you can easily identify the processes that are connected to the Internet, and transferring data. Here is how you can monitor network traffic on your computer using Nestat and Task Manager.
How to Monitor Network Traffic Using Netstat in Windows
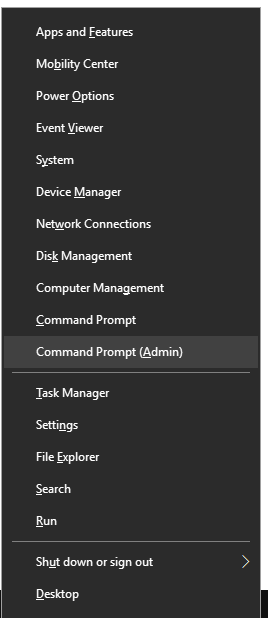
Step 1: Press Windows + X keys together to open the Windows Super User Menu. Click on the Command Prompt (Admin) option to open Command Prompt with Administrative privileges.
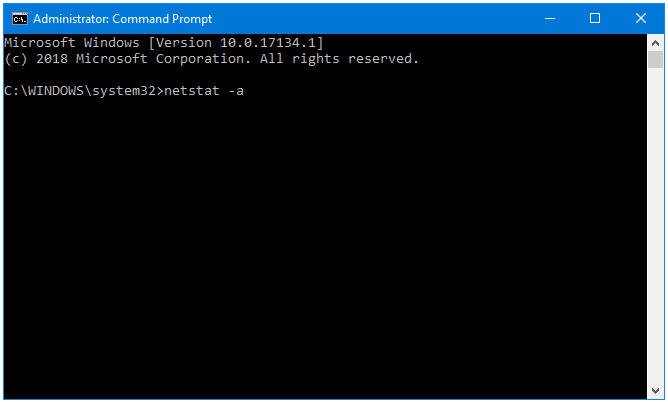
Step 2: In the Command Prompt window, type netstat followed by a switch name. In this example, we’ll use –a. Press the Enter key. The switch –a displays all of the connections and their listening ports.
Step 3: The Command Prompt displays all of the ESTABLISHED network connections.
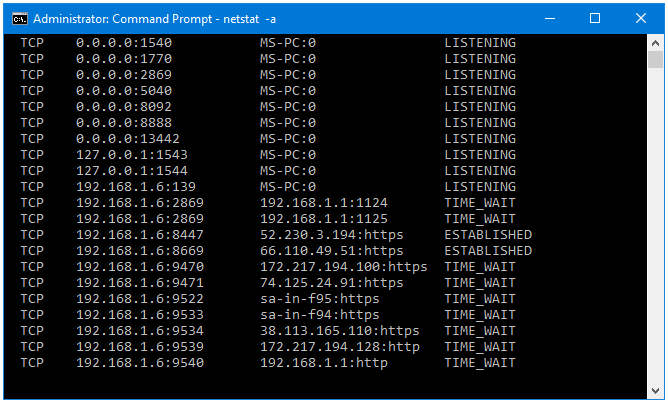
If you want to know that which processes are creating those network connections then re-run the command using multiple switches together.
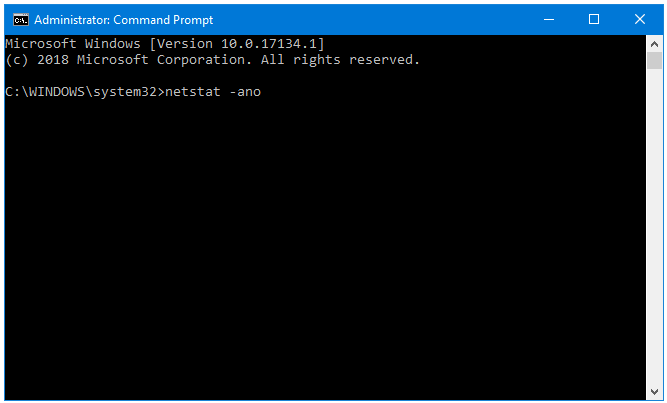
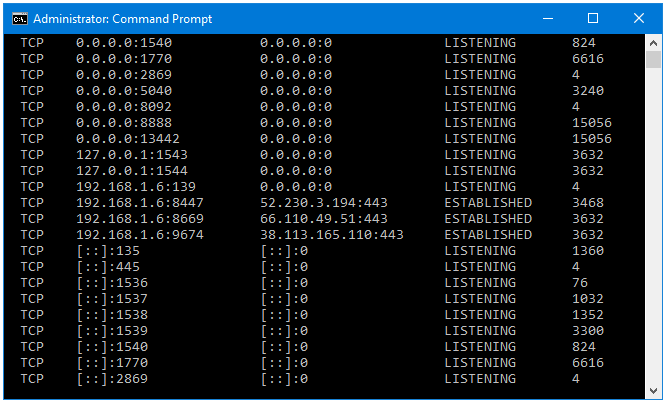
Step 4: In the Command Prompt window, type netstat –ano, and then press Enter. The switch –n displays the addresses and port numbers of network connections in the numerical form, and the switch –o displays the PID (Process Identifier) associated with each network connection.
Step 5: This time, we get the same information that we got with the previous command but with an additional column called PID. PID refers to Process Identifier. Using these PIDs, we can trace the processes that are currently connected to the Internet. Right now, two processes, 3468 and 3632, are connected to the Internet (ESTABLISHED). Let’s find out more information about them.
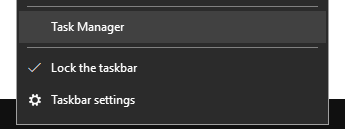
Step 6: Right-click on the Taskbar, and click Task Manager.
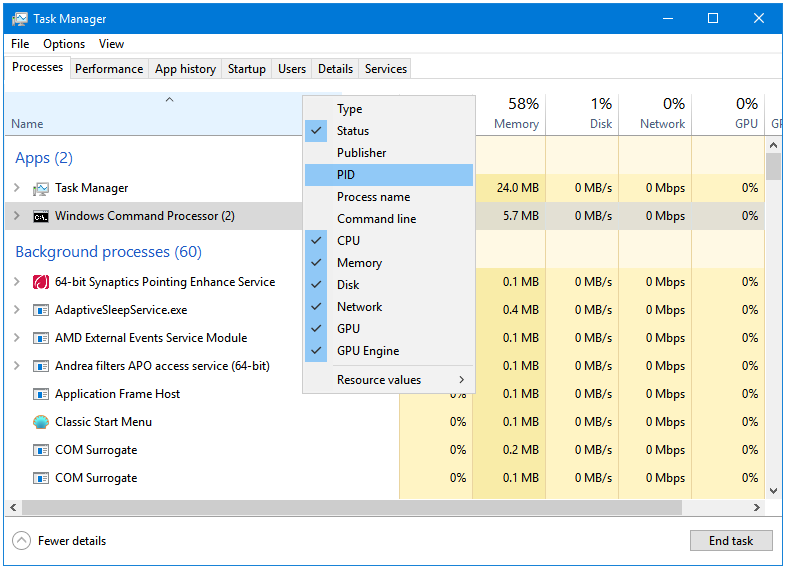
Step 7: The PID column is hidden by default in the Windows Task Manager. Right-click on the Information bar, and click on PID to show it as a column in Task Manager.
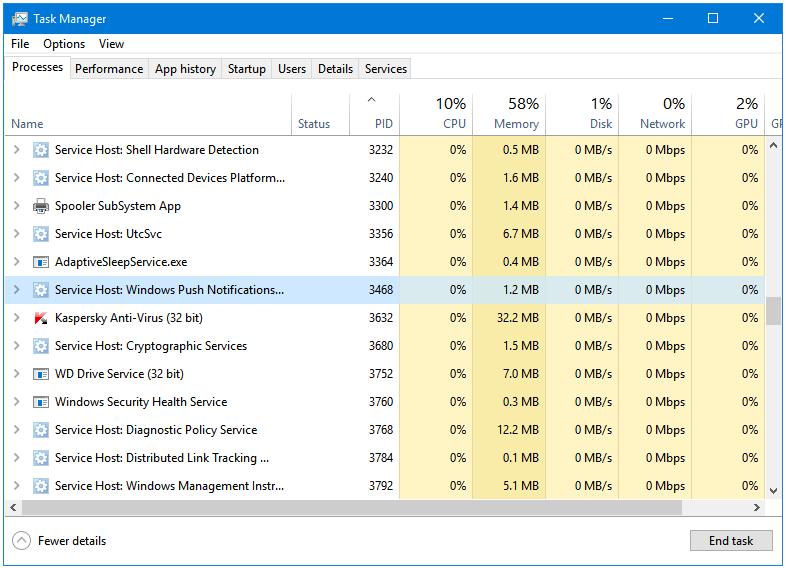
Step 8: Sort the processes by PID.
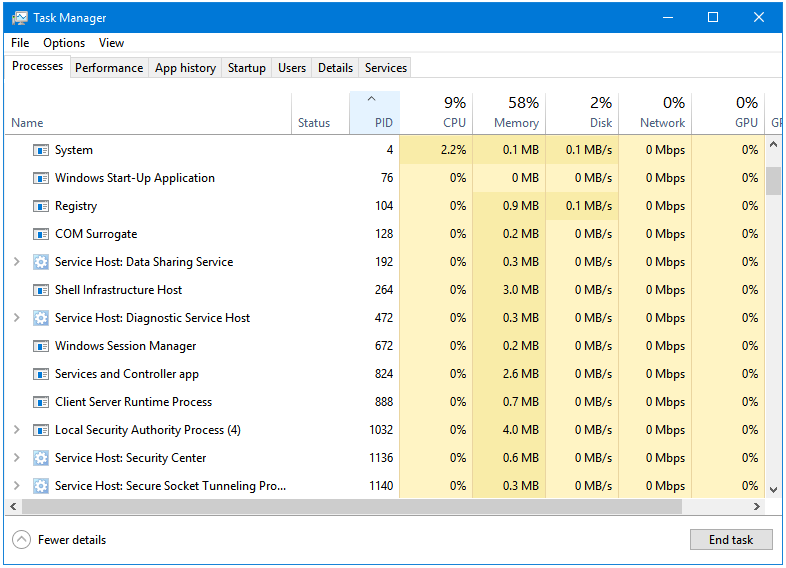
Step 9: Now, here you can easily locate the process through its PID.
The PID 3468 belongs to Service Host: Windows Push Notifications.
The PID 3632 belongs to Kaspersky Anti-Virus.
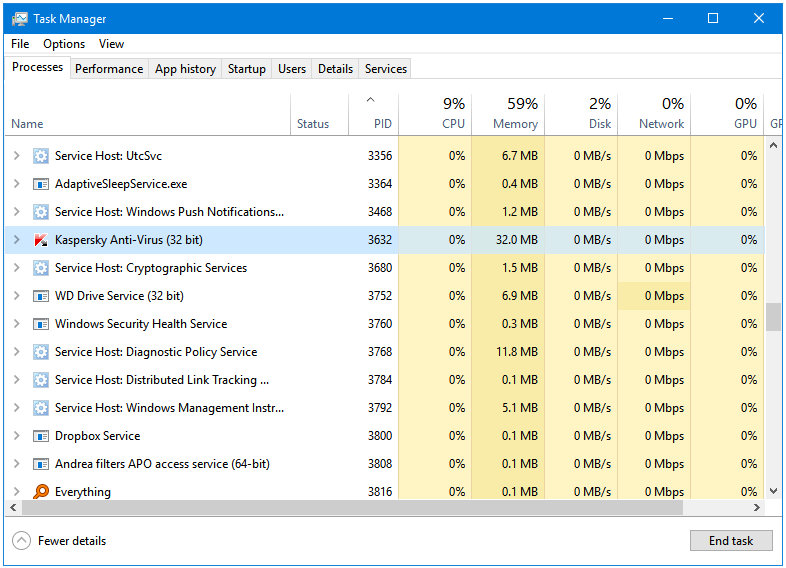
This way, we can monitor active network connections using the netstat command in Windows.