Enable Check Boxes to Select Multiple Items in Windows File Explorer
How do you select multiple files and folders in Windows? You can use the Mouse left-click to select multiple items that are placed together, but to select random items present in a folder; you have to use the Ctrl key along with your Mouse or the Touchpad. The default method of selecting multiple items is by pressing the Ctrl key on your keyboard, and then clicking the item that you want to select next. If you are not too keen on pressing multiple things such as keys and mouse clicks then you can use the alternative method. Windows has a setting enabling which displays a checkbox next to each item in the Windows File Explorer. So, to select multiple files, all you have to do is click on the checkbox next to that item. That’s it.
How to Enable Check Boxes to Select Items in Windows 10 File Explorer
Step 1: Open Windows File Explorer.
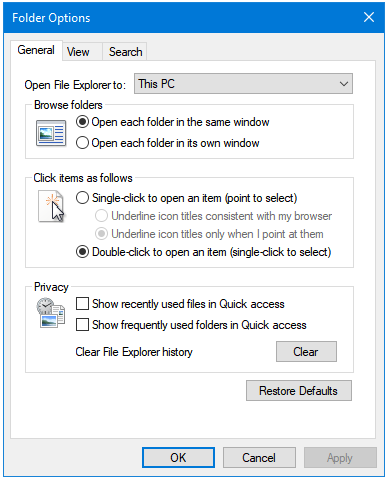
Step 2: Click on the File tab in the Windows File Explorer toolbar, and then click on Change folder and search options button to open Folder Options.

Step 3: In the Folder Options window, click on the View tab.
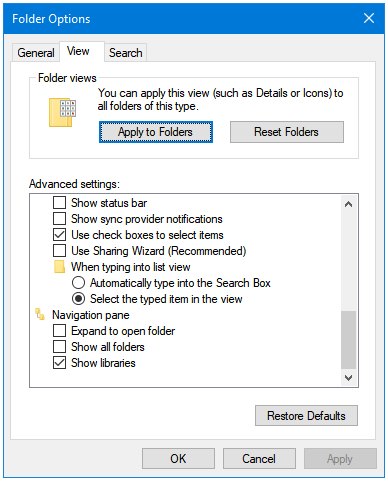
Step 4: Go to the option that says Use check boxes to select items. Click the checkbox next to this option to select it.
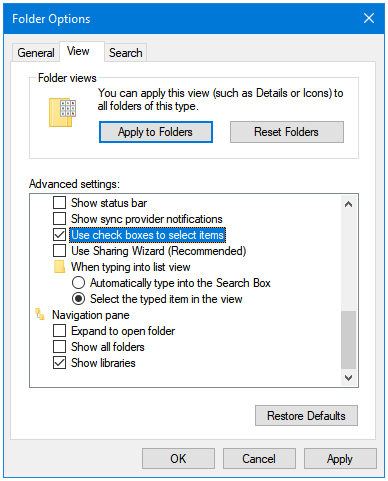
Step 5: Click Apply, and then OK.
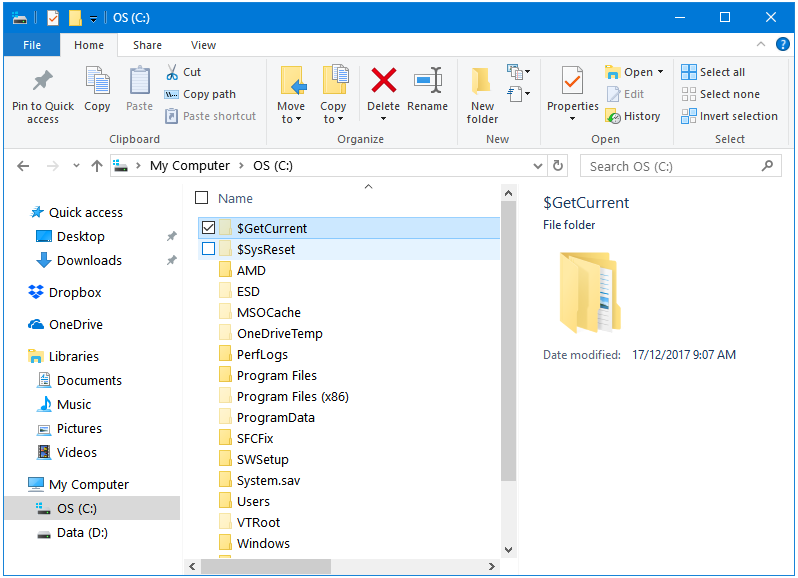
Step 6: If you use the Ribbon, then you can enable this option by going to the View tab in the Windows File Explorer Ribbon, and then ticking the Item check boxes option.
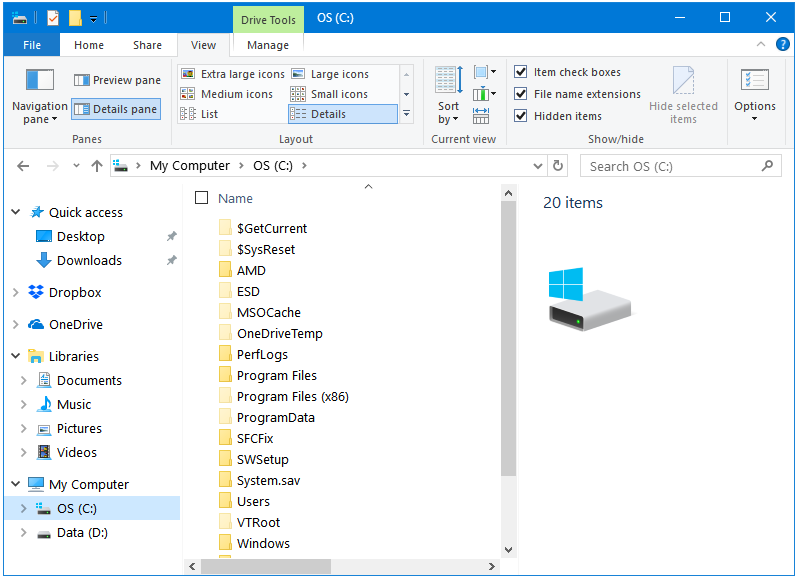
Now, you’ll notice checkboxes next to each item. Just hover over them, and click the checkboxes to select or deselect items.
Reverse the process if you want to disable Check Boxes in the Windows File Explorer.