Trend Micro Rescue Disk
The Trend Micro Rescue Disk is a bootable disk that can be used to scan and remove various forms of malware such as Viruses, Trojans, Spyware, and Ransomware on Windows computers. It is available as an executable file. The Trend Micro Rescue Disk wizard helps you create the recovery disk on any type of storage device – CD, DVD, USB, or Hard Disk.
Downloading Trend Micro Rescue Disk
You can download the necessary Trend Micro Rescue Disk utility from the official link below:
https://www.trendmicro.com/en_us/forHome/products/free-tools/rescue-disk.html
Creating Trend Micro Rescue Disk
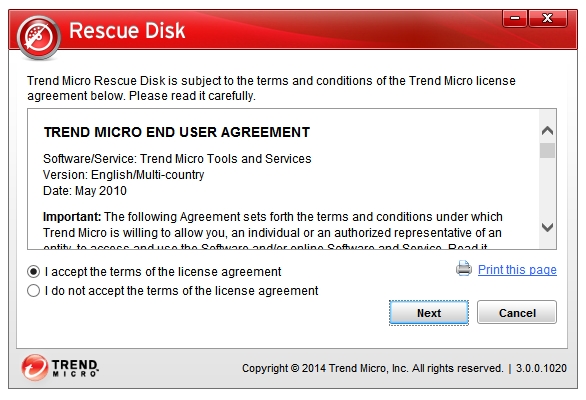
Step 1: Open the Trend Micro Rescue Disk utility. Accept the terms and click Next to proceed further.
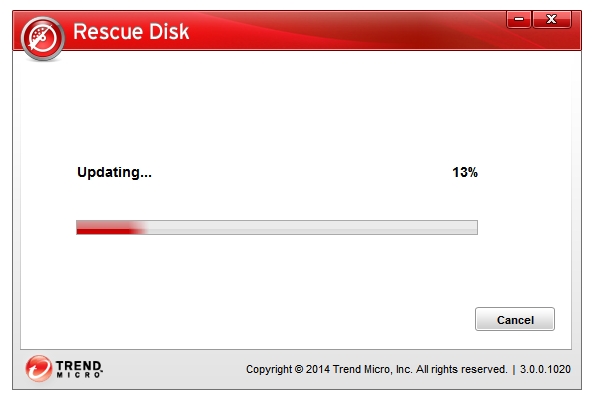
Step 2: The utility is searching for an updated version; give it a minute.
Step 3: In the next screen, the wizard displays three types of devices that you can use to create a Rescue Disk – Hard Disk, USB Device, and Blank CD/DVD.
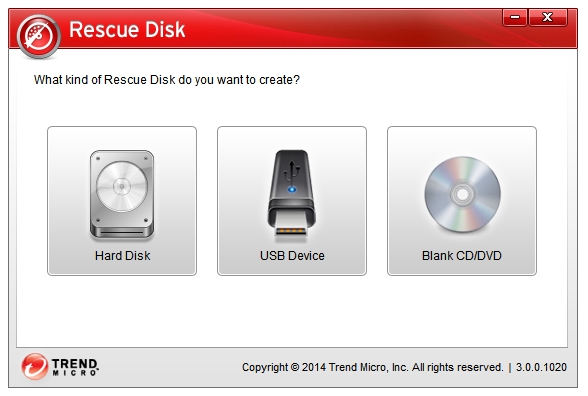
USB drives are standard these days so I’ll be clicking on the USB Device.
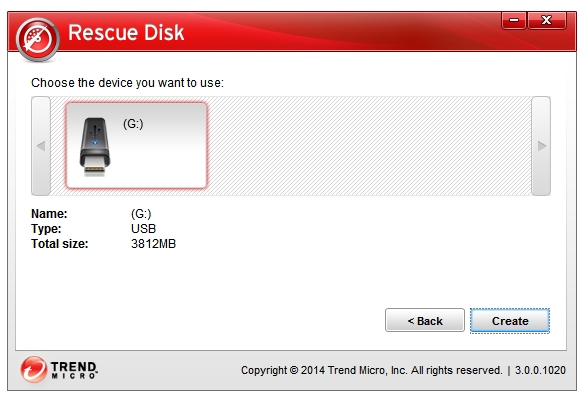
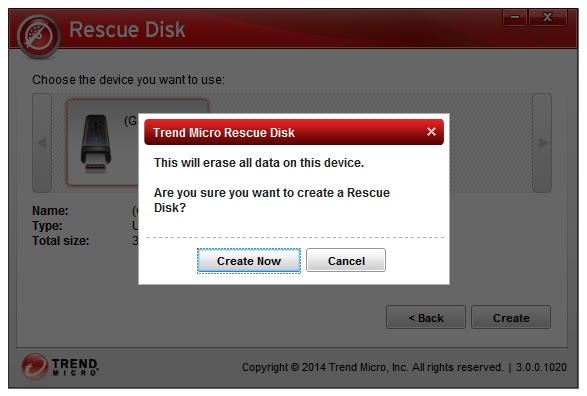
Step 4: The next screen will display all of the USB drives currently connected to the system. Click on the one that you want to use as your Rescue Disk. Make sure you select the right one because all of the data present inside that drive will be deleted before creating the Rescue Disk. When you’ve double-checked your drive, click the Create button to start the process.
Step 5: As mentioned earlier, all of your data present in the device will be erased. Click Create Now if you are sure.
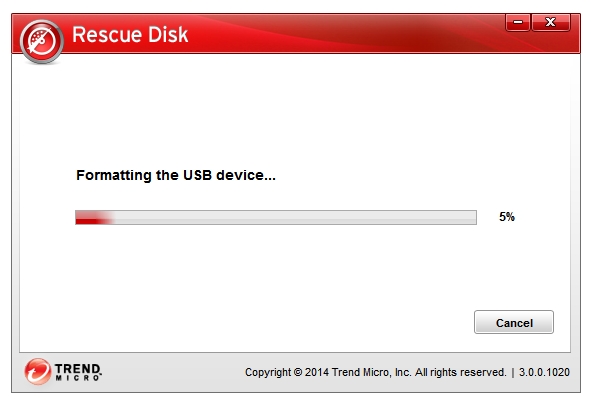
Step 6: The utility starts formatting the USB drive.
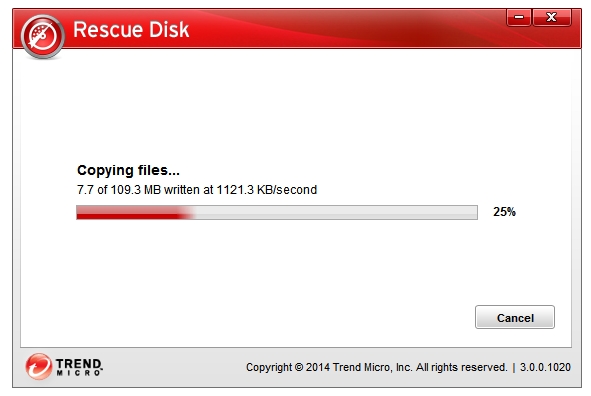
Step 7: The utility starts copying and installing the necessary files to the USB drive.
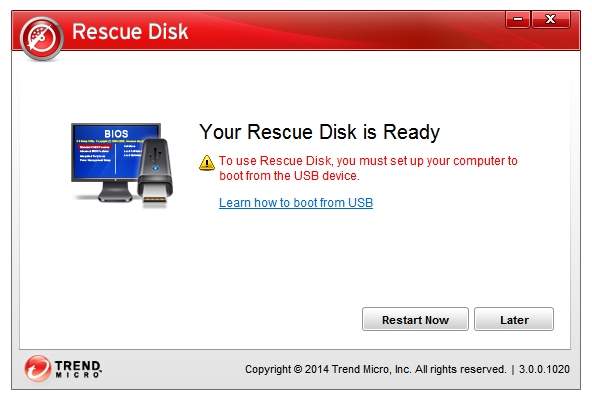
Step 8: After a few minutes, you will get this message – Your Rescue Disk is Ready. Click the Later button, close the program, and remove the USB drive.
Your Trend Micro Rescue Disk is ready.