Windows Defender Firewall
The Windows Firewall lets you create Inbound and Outbound Rules for all of the programs and their executables installed on Windows. You can use these Rules to manage the Internet connectivity of these programs and executables.
There could be many reasons for you to prevent a program from connecting to the Internet. Let’s just quote the most common scenario. You downloaded a free version of a paid program. And, now you see all kinds of ads in this free program. Many wonderful programs such as GOM Player, uTorrent, WPS Office, etc. show ads in their free versions. These free programs are not really free, their developers “are” making revenue by providing these ”free” software using these ads and other bundled potentially unwanted programs.
Here’s how you can stop these programs from connecting to the Internet.
How to Block Programs and Apps Using Windows Defender Firewall
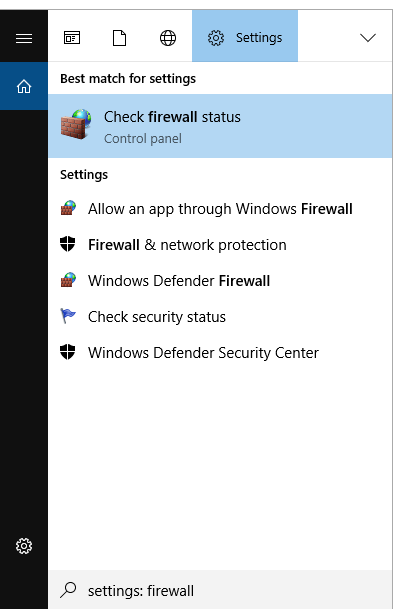
Step 1: Press Windows + S keys together to open the Windows Search. Type firewall in the search location, and open Check firewall status from the results. This will open the Windows Defender Firewall program.
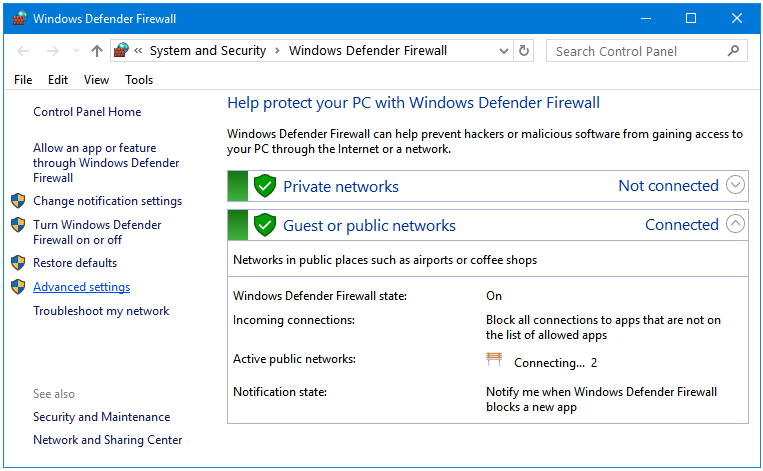
Step 2: In the Windows Defender Firewall, click on the Advanced settings link from its left sidebar.
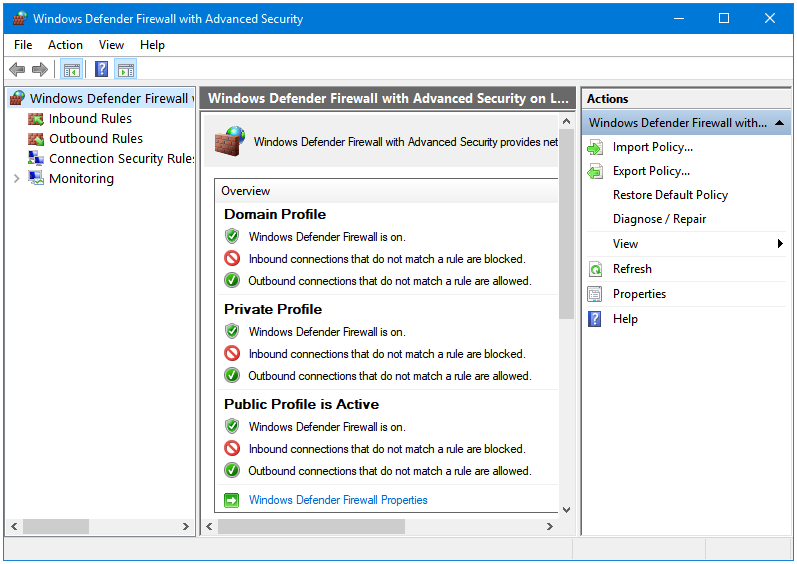
Step 3: The Advanced settings link opens the Windows Defender Firewall with Advanced Security program. In the left sidebar, click on the Outbound Rules link.
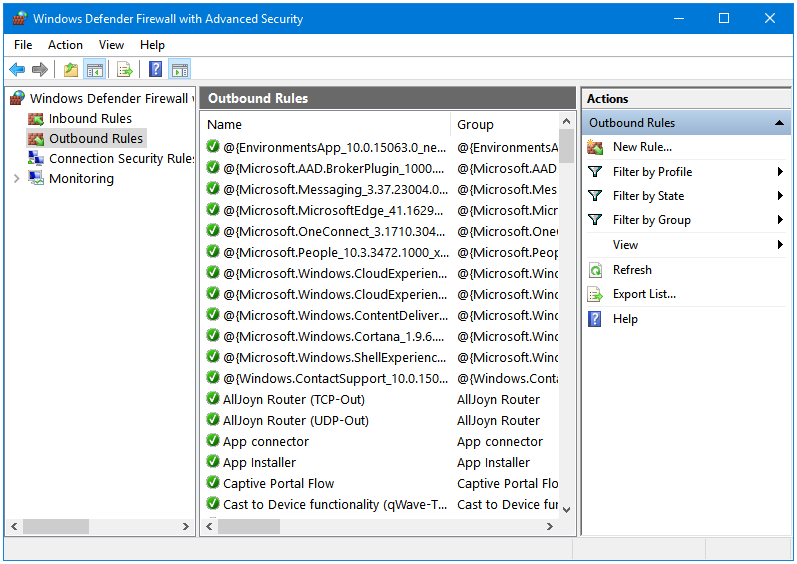
Step 4: Now, in the right sidebar, click on the New Rule… link.
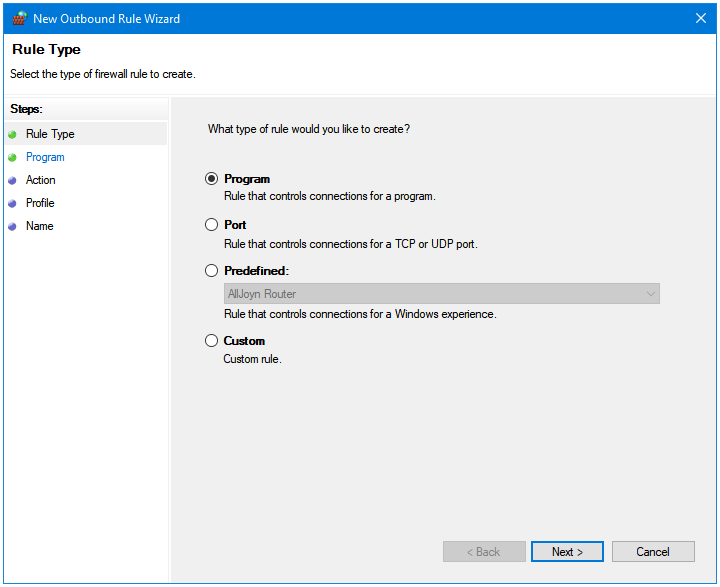
Step 5: The New Rule… link opens the New Outbound Rule Wizard. The first window is Rule Type. By default, the Program option is selected. Click Next.
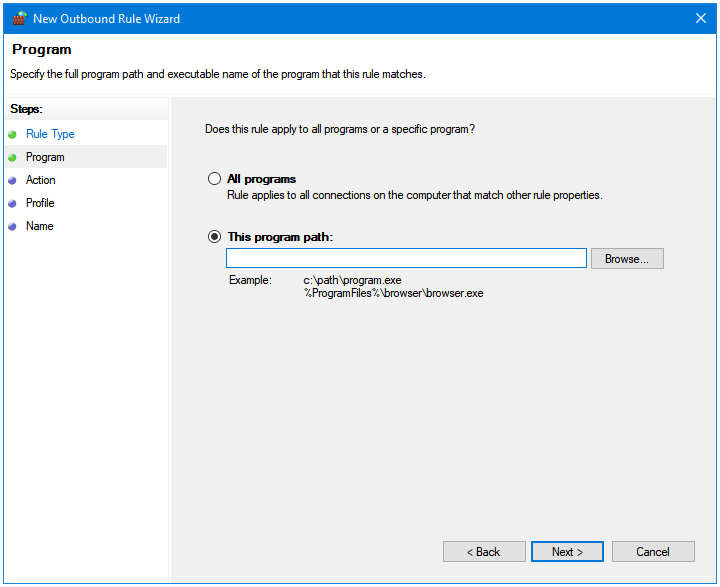
Step 6: In the Program window, the This program path: option is already selected. Click on the Browse… button to browse for the executable file of the program that you want to block.
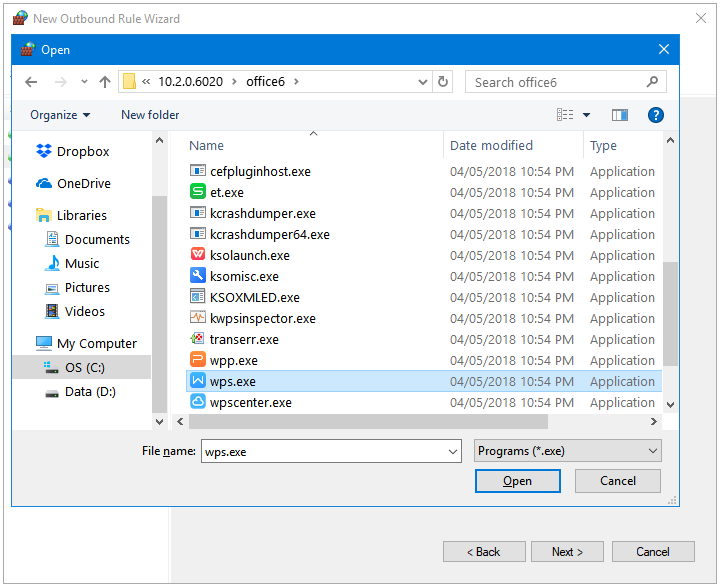
Step 7: After selecting the program executable file, click Open.
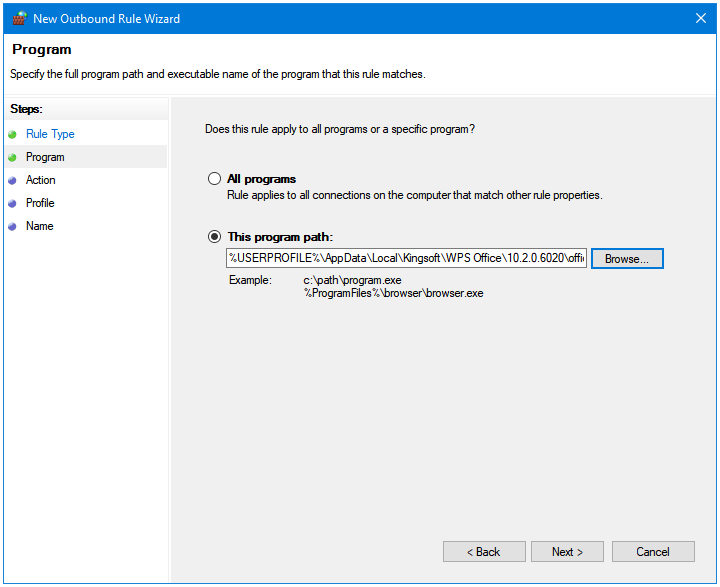
Step 8: The program path is visible now. Click on the Next button.
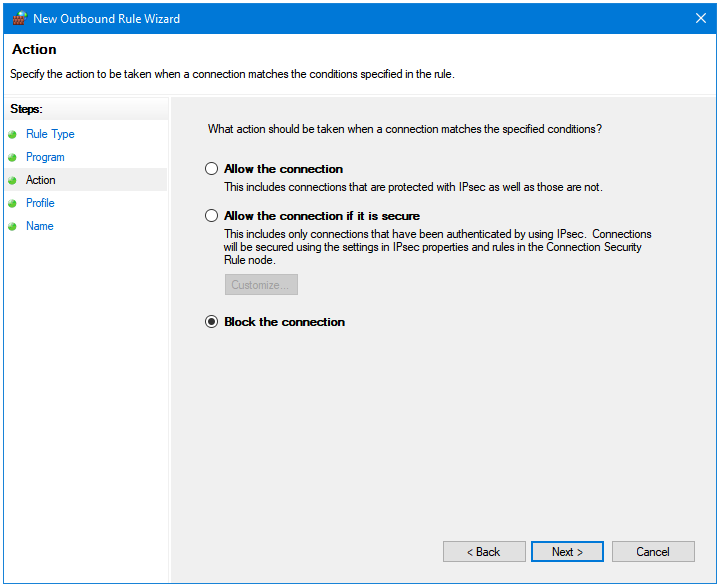
Step 9: In the Action window, the Block the connection option is selected by default. Click Next.
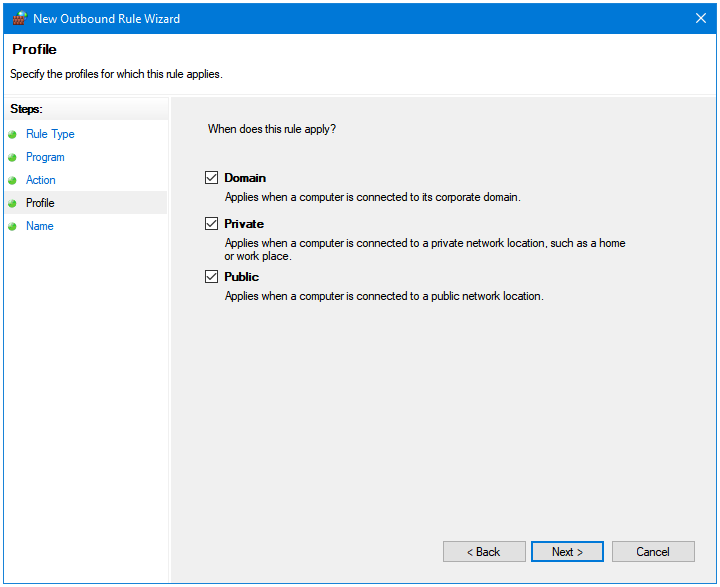
Step 10: In the Profile window, make sure all three of the checkboxes are ticked. Click Next.
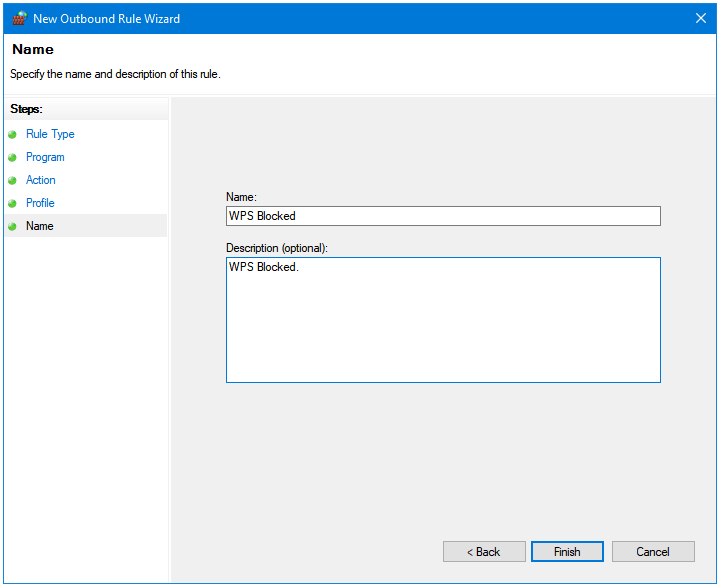
Step 11: Finally, in the Name window, type a name and description (optional) for the firewall rule. Click the Finish button to complete the rule creation process.
Step 12: Now, you’ll see the new rule that you just created in the Outbound Rules list of Windows Defender Firewall.
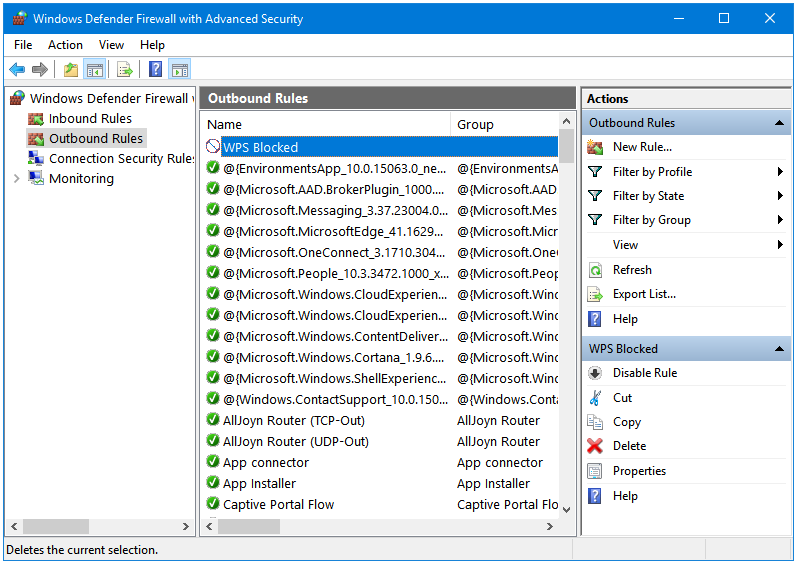
Congratulations! The selected program has been blocked from accessing the Internet.