By default, Microsoft fetches your Microsoft account picture to use as your Windows PC account picture. But, you are not limited to using only your Microsoft account picture as your PC picture. You can perform all of the User Account picture related tasks such as Add, Change, Delete, Remove, or Restore default account picture in Windows.
- How to Add or Change User Account Picture in Windows
- How to Delete User Account Picture in Windows
- How to Restore Default User Account Picture in Windows
- How to Remove User Account Picture in Windows
How to Add or Change User Account Picture in Windows
Step 1: Press Windows + I keys together to open the Windows Settings app.
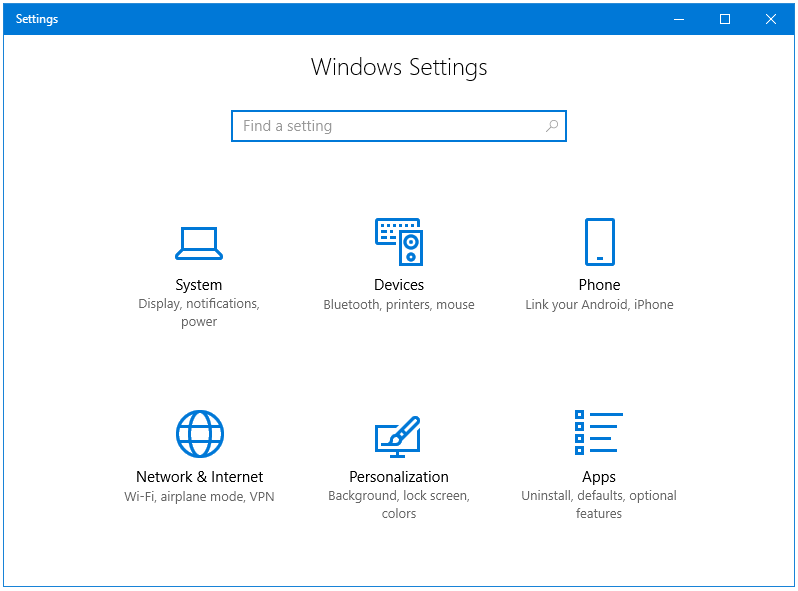
Step 2: Go to the Accounts option, and click on it.
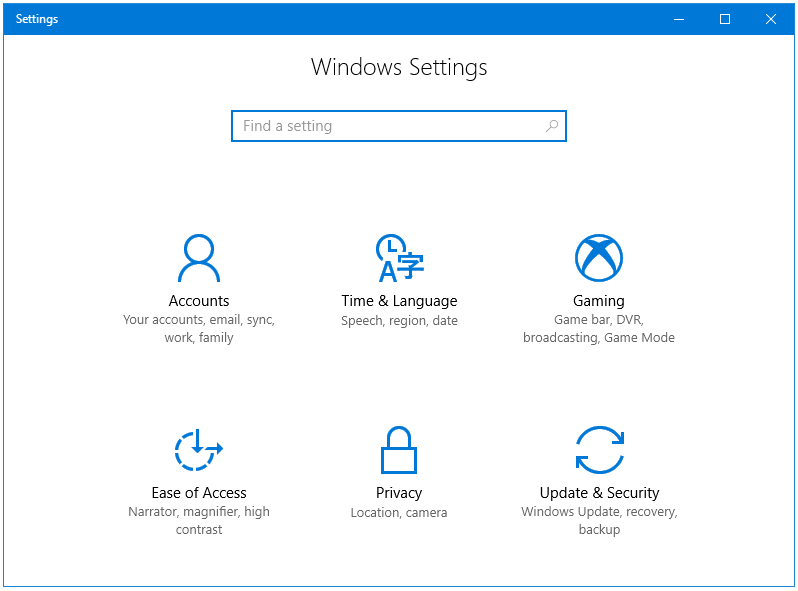
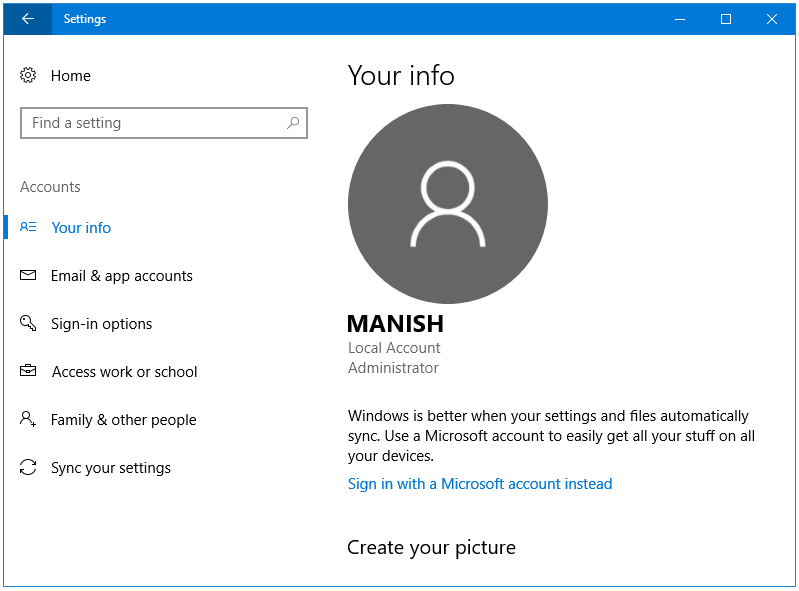
Step 3: Under Account Settings, on the right side, you’ll see the Your info section that contains the login picture, and other details of your account.
Step 4: Click on the Browse of one link in the windows to browse for the picture that you want to use as your User Account picture.
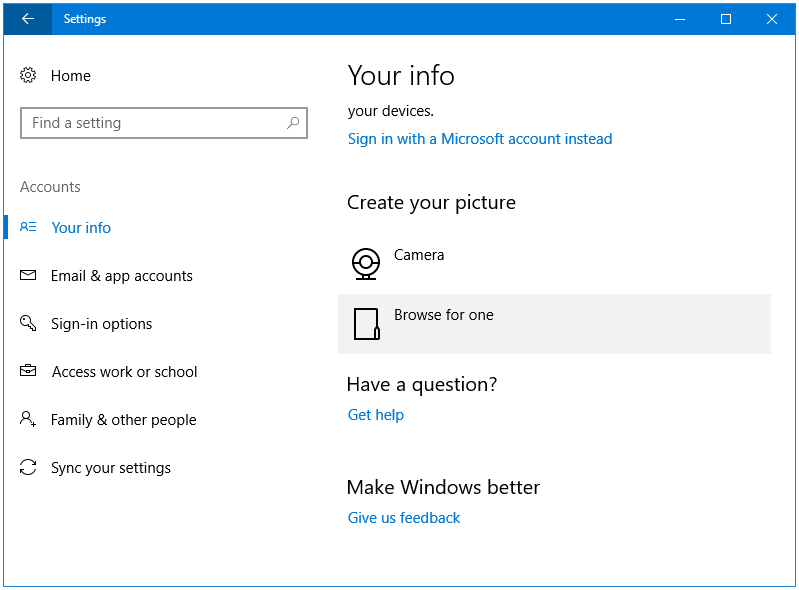
Step 5: Select your desired picture, and then click on Choose picture button to set it as your User Account picture.
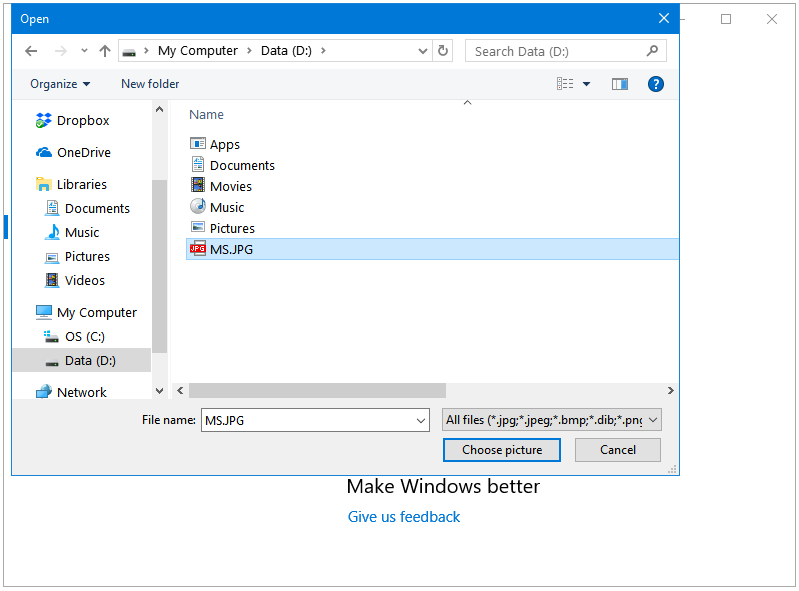
Step 6: You are now using a custom picture as your User Account picture.
How to Delete User Account Picture in Windows
Step 1: Open Windows File Explorer.
Step 2: Copy and Paste the following address into the Address Bar of Windows File Explorer.
C:\Users\Username\AppData\Roaming\Microsoft\Windows\AccountPictures
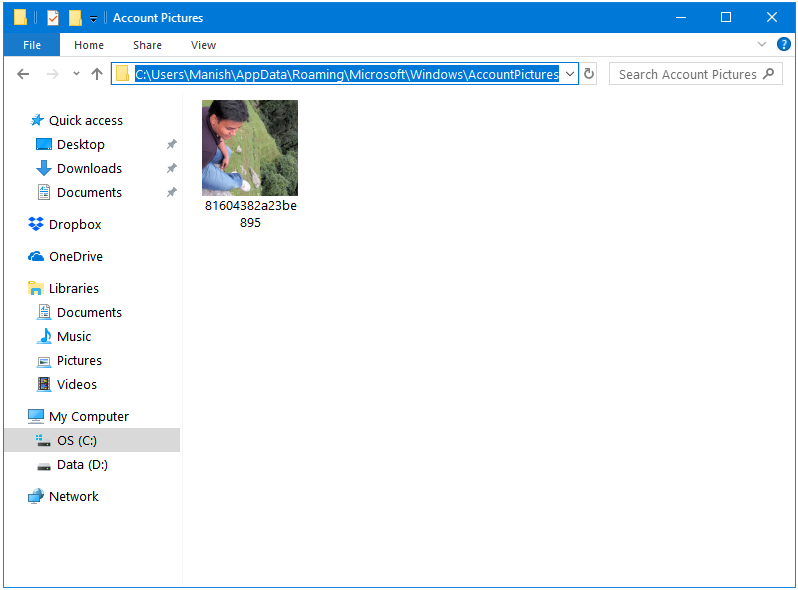
Replace the Username part in the above address with your User Account Name. This folder stores all of your current and past User Account pictures.
Step 3: Delete all of the pictures present in this directory. Close the window. Your Account picture cache has been deleted.
How to Restore Default User Account Picture in Windows
If you don’t want to use your own picture as User Account picture, and want to use the Windows default picture instead, then follow these steps.
Step 1: Press Windows + I keys together to open the Windows Settings app.
Step 2: Go to the Accounts option, and click on it.
Step 3: Under Account Settings, on the right side, click on the Browse of one link.
Step 4: Now in the Browse window, navigate to the following directory.
C:\ProgramData\Microsoft\User Account Pictures
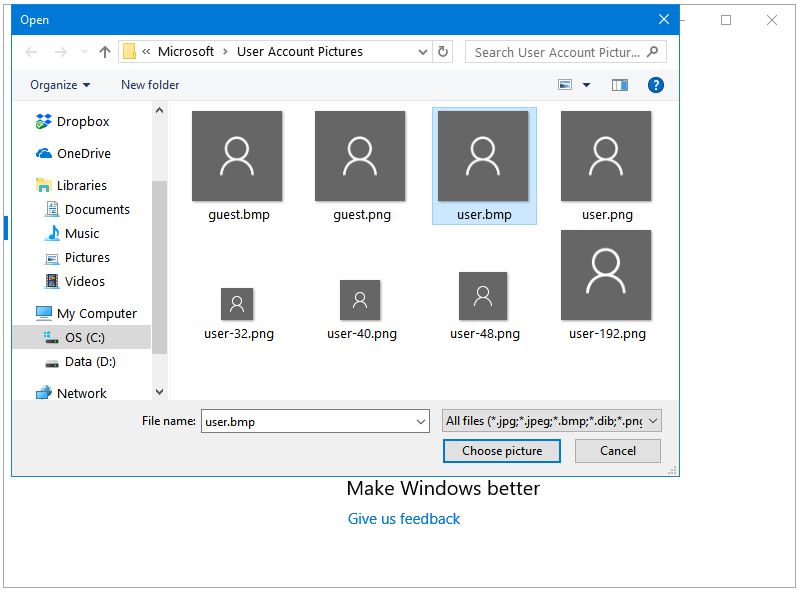
Step 5: Click on the user.bmp image, and then click on the Choose picture button to select it.
Step 6: You are now using default Windows User Account picture.
How to Remove User Account Picture in Windows
Step 1: Open Windows File Explorer.
Step 2: Copy and Paste the following address into the address bar of Windows File Explorer.
C:\ProgramData\Microsoft\User Account Pictures
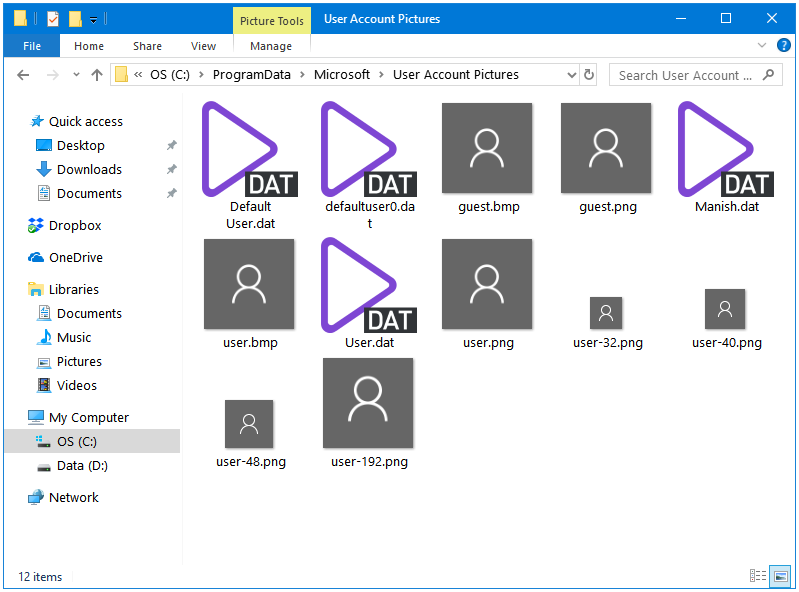
This folder stores the Windows default User Account pictures.
Step 3: Rename this folder or Cut and Paste all of the pictures from this folder so other location. That’s it.