ISO Image File
The .iso (ISO Image File) file format is the default file format for creating bootable disk image files. These image files are used for creating a variety of bootable utilities such as operating systems, rescue disks, partition managers, etc. All three of the major Desktop Operating Systems – Windows, Mac, and Linux, support the ISO file format. The ISO files are compatible with most of the hardware and virtualization software.
ISO is the most popular file format for creating bootable image files of Linux distributions such as Debian, Ubuntu, Linux Mint, etc. The Apple macOS prefers another image file type called .dmg (DMG Image File). Recently, Windows started using their down new disk image file format called .esd (Electronic Software Delivery file).
Microsoft lets you download the ISO files as well as create the bootable USB flash drives of various Windows editions using their Media Creation Tool. However, if you do not want to download gigabytes of data again, then here is how you can convert the ESD file to an ISO file.
How to Convert Windows Install.ESD file to ISO file
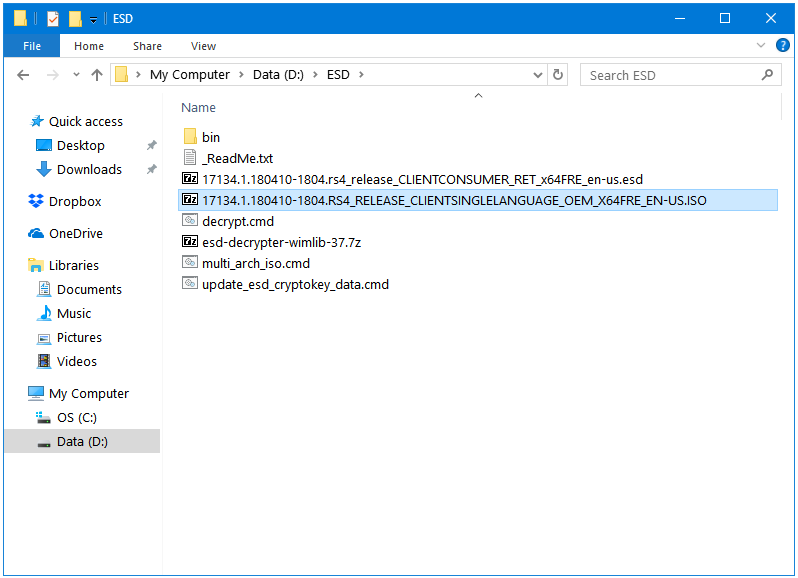
Step 1: Download the ESD Decrypter program. The esd-decrypter-wimlib-37.7z is working with the latest Windows 10 April 2018 Update ESD file.
Step 2: Move and Extract it in a location with a simple path like D:.
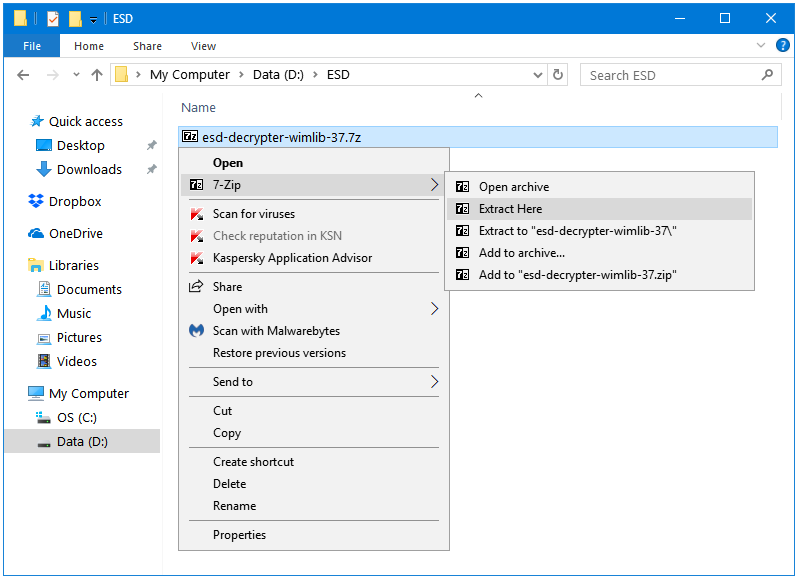
Step 3: Copy and Paste the ESD file in the ESD Decrypter folder.
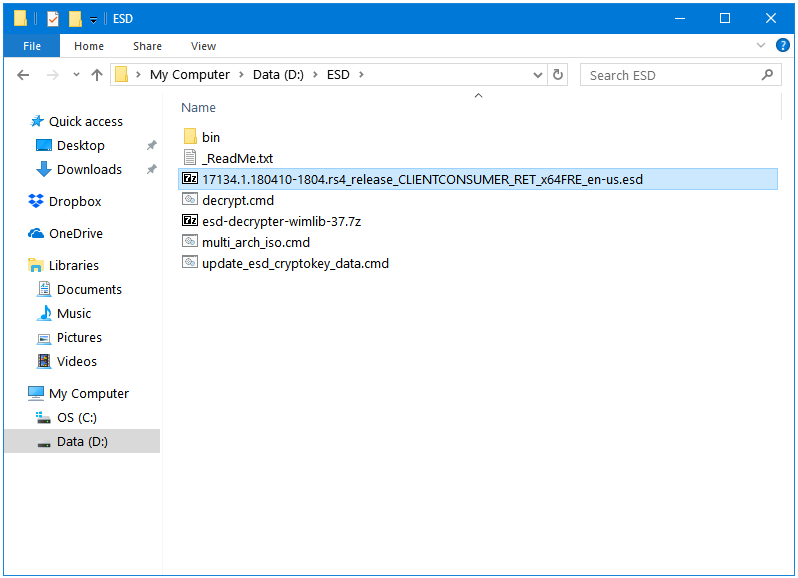
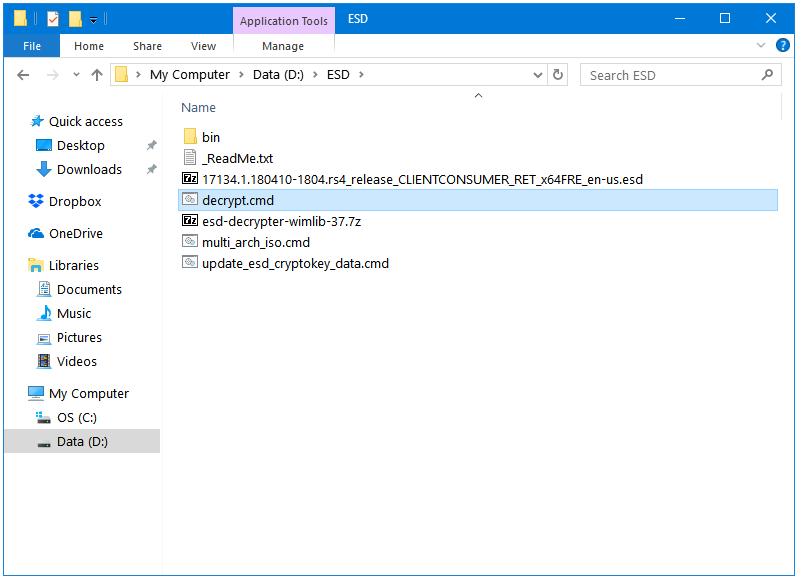
Step 4: Double-click the decrypt.cmd file to start the ESD > ISO wizard.
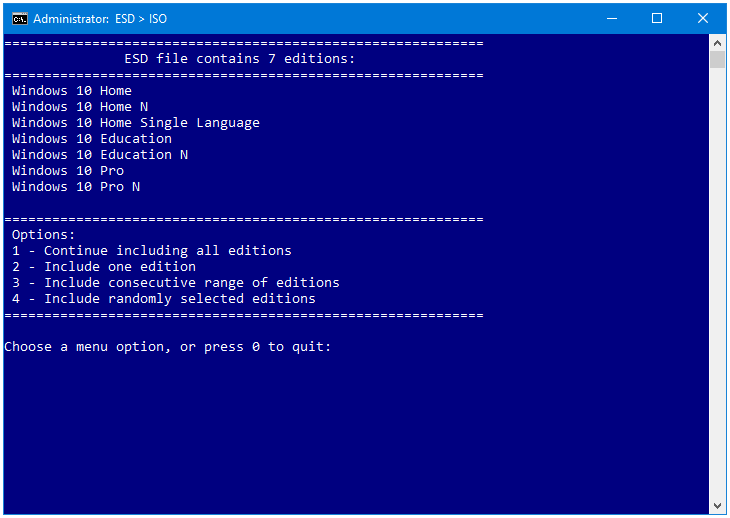
Step 5: In the first window of the ESD > ISO wizard, select any one option from 1 to 4 according to your preference. You can type 0 to quit.
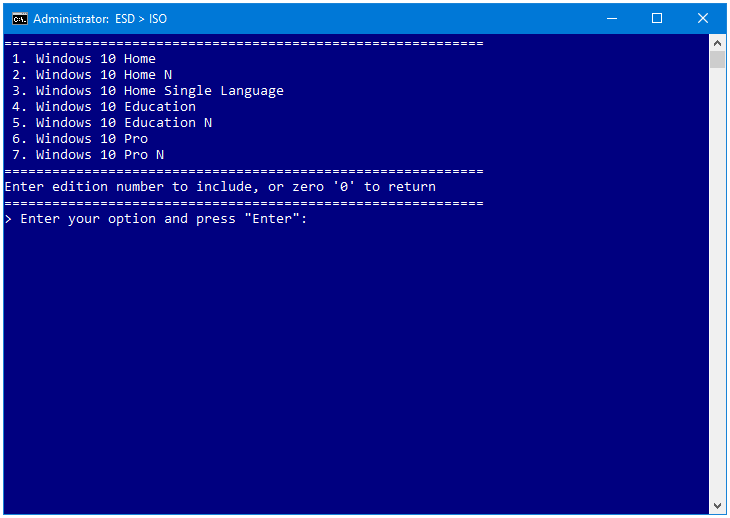
Step 6: Now, select the Windows edition of your ESD fIle. If you are unsure about your Windows edition then you can find it out by typing and opening msinfo32 in the Run window. This will open the System Information utility.
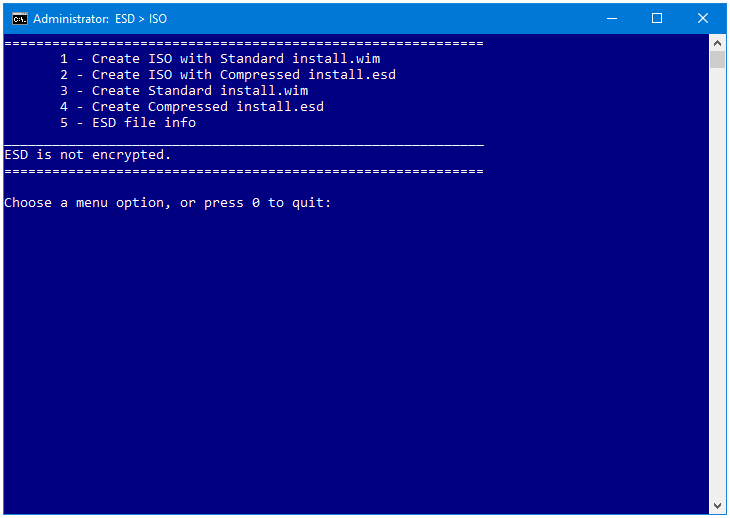
Step 7: This is the important bit. Select what do you want to do. The first option creates an ISO file with the install.wim; this will be the most compatible file. The .esd file format is a replacement of the .wim (Windows Imaging) file format. ESD provides a much better compression rate than WIM.
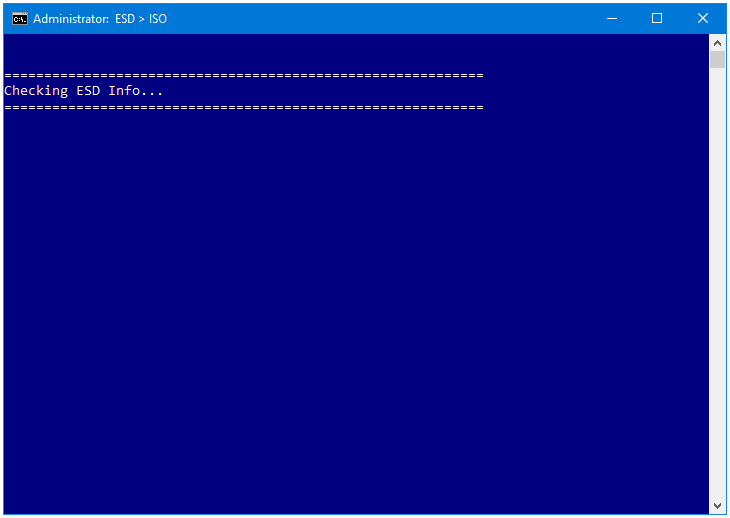
Step 8: ESD Decrypter starts its job.
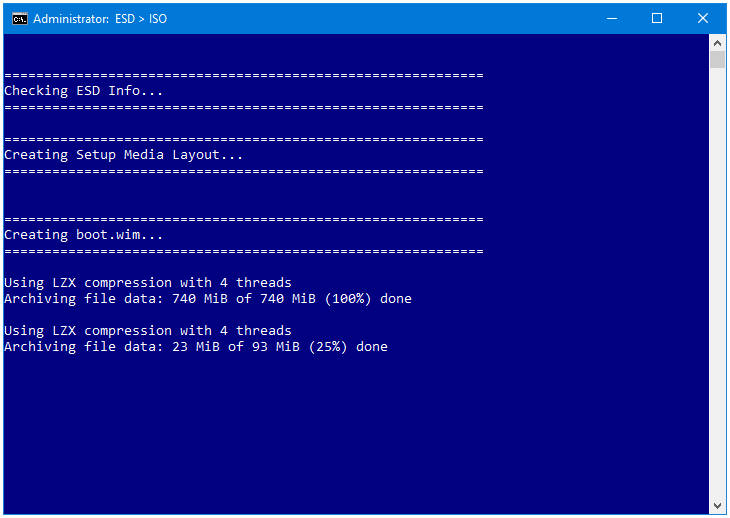
Checking ESD Info…
Creating Setup Media Layout…

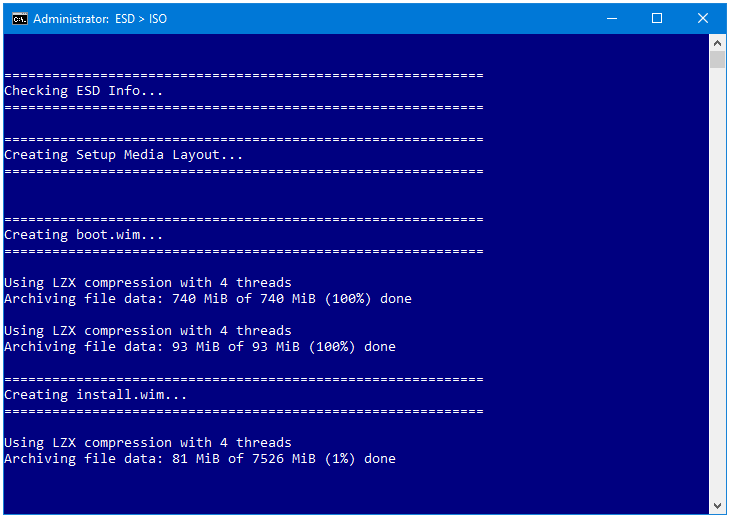
Creating boot.wim…
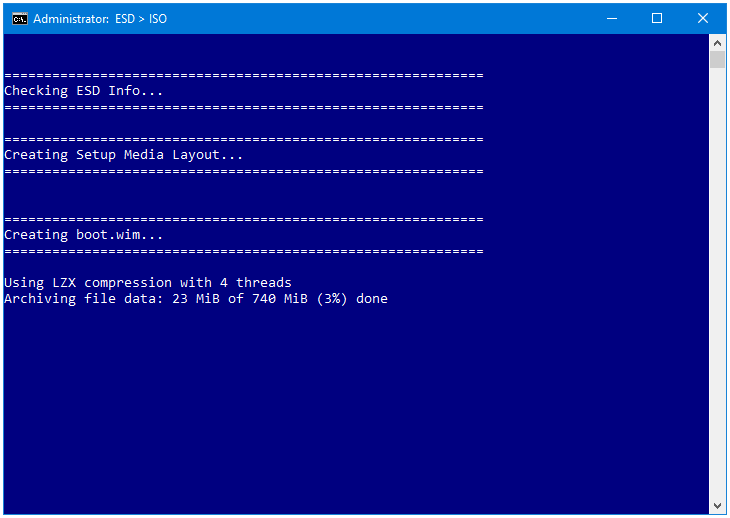
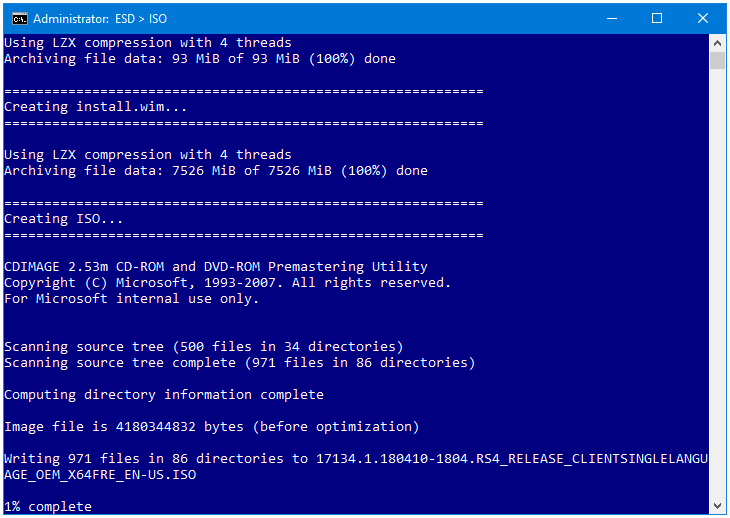
Creating install.wim…
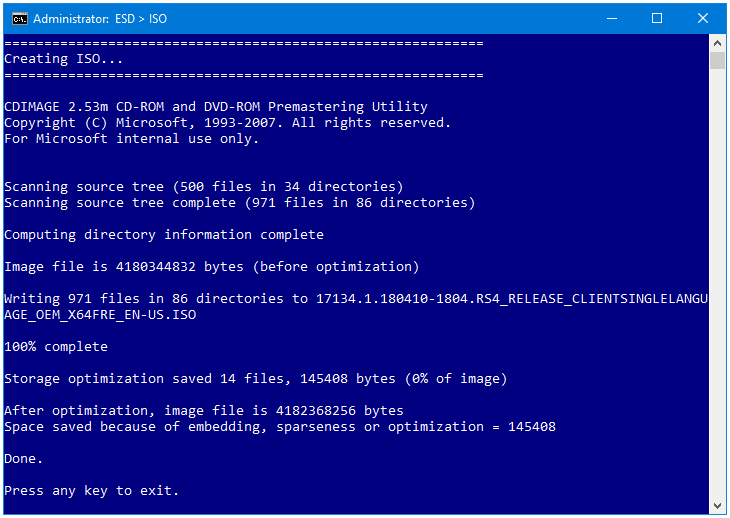
Step 9: Writing files to ISO. This is going to take some time. Keep doing your work, and minimize the window. ESD Decrypter will keep on working in the background.
Step 10: All right, so our ISO file is ready. Press any key to exit the ESD Decrypter window.
Our ISO file is ready. Cut and Paste the ISO file to another location where your store your other software installers and ISO files. You can delete the ESD folder.
Before using it on real hardware, test it on VirtualBox or VMware Workstation Player to make sure that everything is fine. If all goes well, you can create your bootable Windows USB using this ISO file.