Recover Accidentally Deleted Files Using Recuva
Recuva is pronounced as Recover. Recuva is nowhere as feature-rich as TestDisk (nothing is), but it is a good option for undeleting or recovering recently files. It is definitely not for recovering partitions, or complete disks. Recuva can recover pictures, music, documents, video, compressed, emails, and other types of files.
The main feature of Recuva is recovering files but it also has the ability to wipe the deleted files with the help of its secure overwrite feature which uses industry and military-grade deletion techniques.
Homepage: https://www.ccleaner.com/recuva
Steps to Recover Accidentally Deleted Files Using Recuva
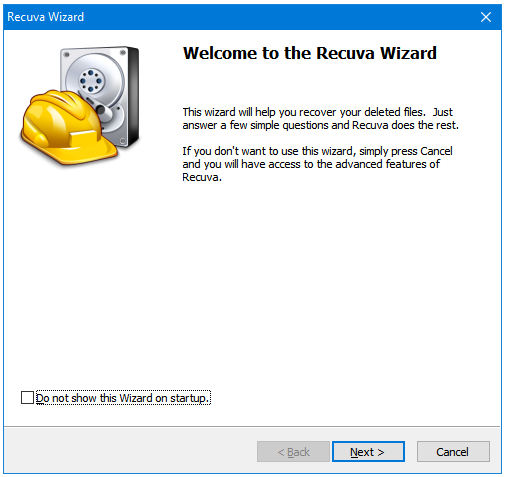
Step 1: Open Recuva. Click on the Next button to start Recuva’s Scanning and Recovery Wizard.
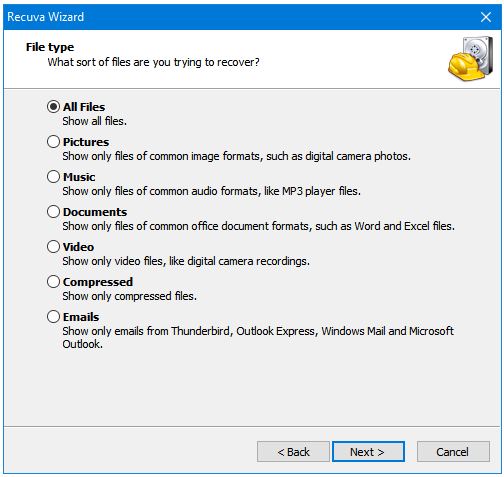
Step 2: Select the deleted File type that you are looking for. Click Next to go to the next option.
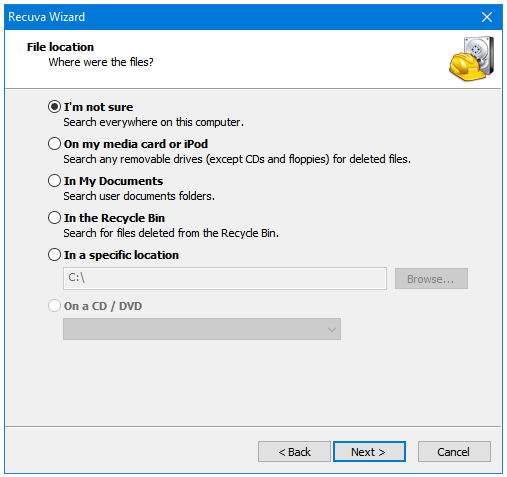
Step 3: Select the deleted File location. If you don’t know the location then use the default setting, and click Next.
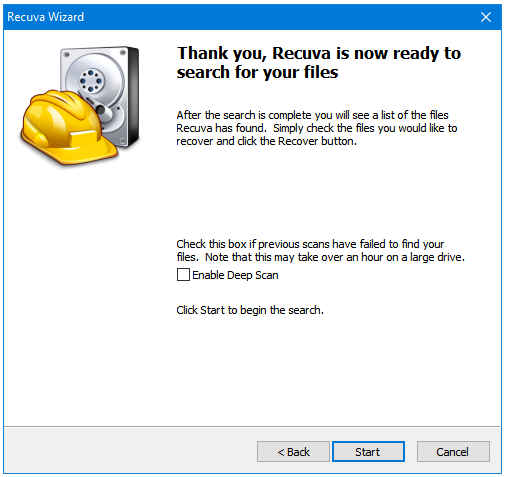
Step 4: Click Start to start the scanning process. If Recuva does not find the deleted files then you can run it again with Enable Deep Scan option enabled.
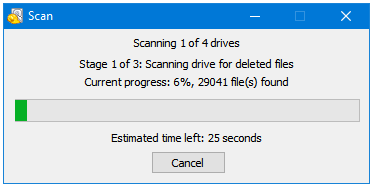
Step 5: Stage 1 of the scanning process is scanning the drive for deleted files.
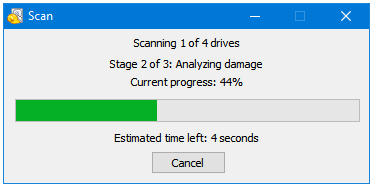
Step 6: Stage 2 of the scanning process is analyzing the damage.
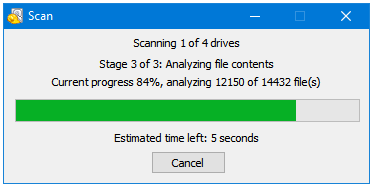
Step 7: Stage 3 of the scanning process is analyzing the files contents.
Step 8: Recuva displays all of the files that it could find.
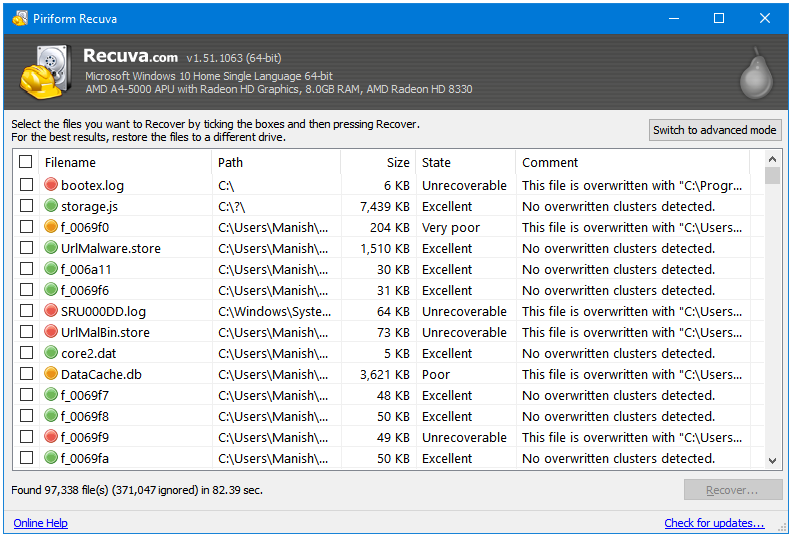
Step 9: You can click on each of the tabs to sort the files. The most important tab here is State. This tells you the possibility of recovering a file. Click on it to display the found files in the Excellent to Very poor file condition order. Tick the checkbox of files that you want to recover. After making selection (s), click on the Recover button.
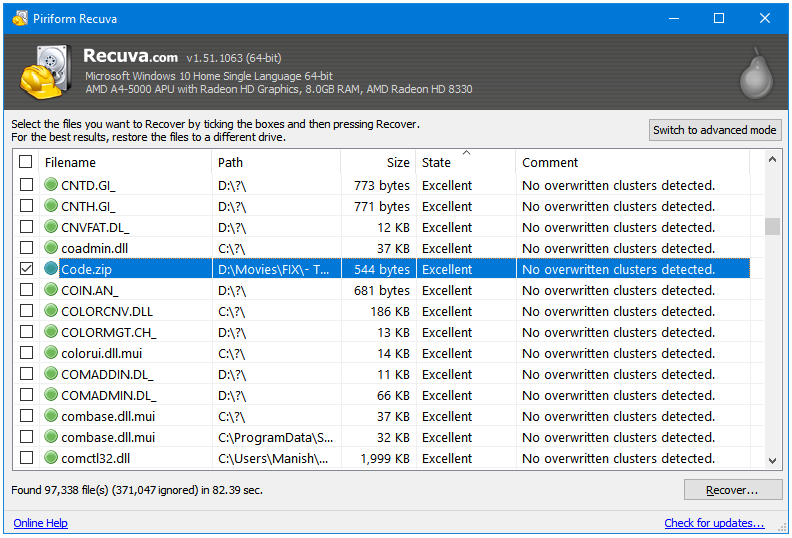
Step 10: Clicking on Recover open a Browse window. Never store the files that you are recovering on the same drive where it was originally located. This will result in corrupt file recovery. In this example, I’m recovering a file that was originally located on D:\ drive, so I’ll choose a location on any drive other than D:\ to recover that file.

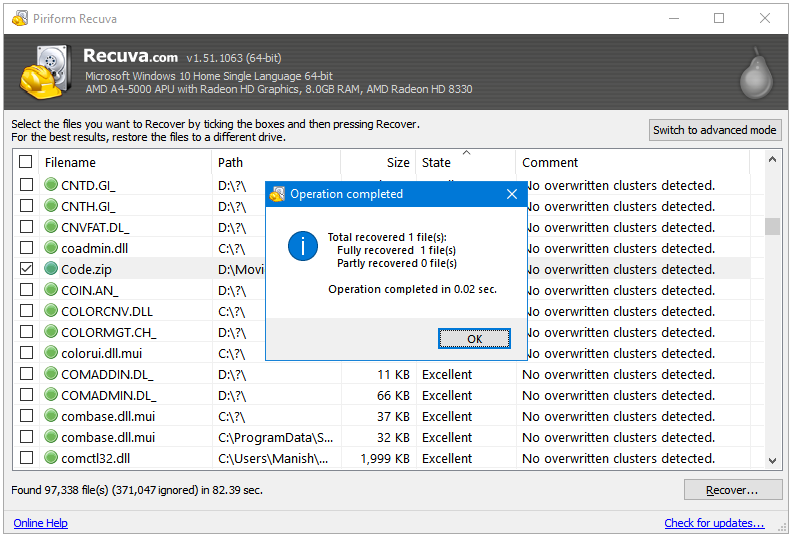
Step 11: After completing the file recovery process, Recuva will display the summary in the Operation completed window.
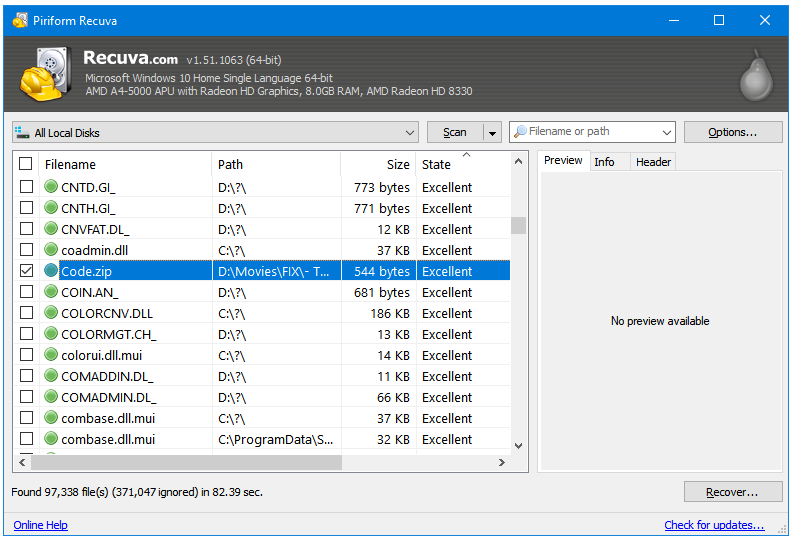
Step 12: Recuva also has an advanced mode that gives you additional information about files such as Preview, Info, and Header. Here’s how it looks like.
If you did not find the deleted files using the default scanning method of Recuva then you run Recuva again and select the Enable Deep Scan option. This will take a lot more time to scan the drives (s) but it will find more files as well.