Delete Services in Windows
Enabling and Disabling Services in Windows is easy. You can accomplish that by either using the System Configuation utility (msconfig) or the Services utility (services.msc). But, sometimes disabling services is not enough. For example, an Antivirus that you have uninstalled may not have deleted its services from the computer. Now, the next Antivirus that you try to install may not complete the installation process until you remove the previous Antivirus completely. Looking at the services left behind by the Antivirus 1, the Antivirus 2 may assume that the Antivirus 1 is still present on system. In such a scenario, the user has to delete the service to be able to install Antivirus 2 on his computer.
Services can be easily deleted with only one command in the Windows Command Prompt. The syntax of that command is:
sc delete ServiceNameReplace the ServiceName part of the command with the name of the service that you want to delete.
Steps to Delete a Service in Windows
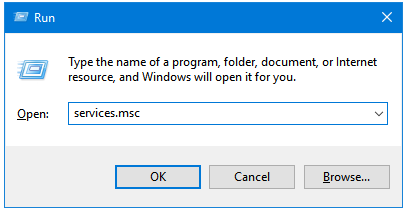
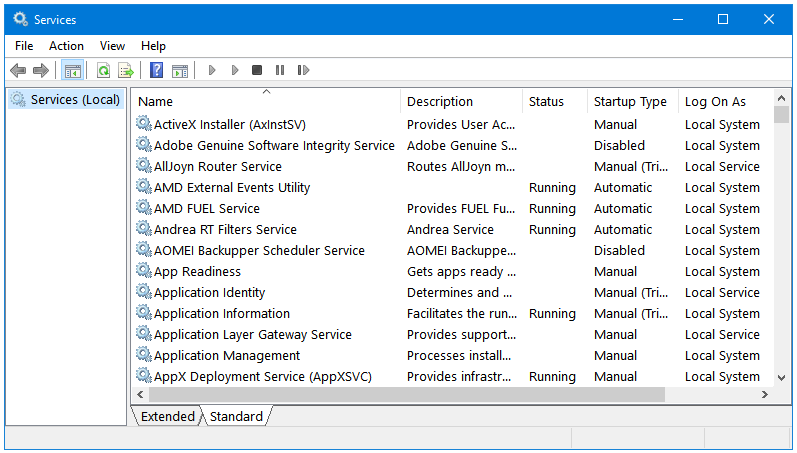
Step 1: Press Windows + R keys together to open the Run dialog box. Type services.msc in the text field, and then press OK to open the Services window.
Step 2: In the Services window, locate the service that you want to delete.
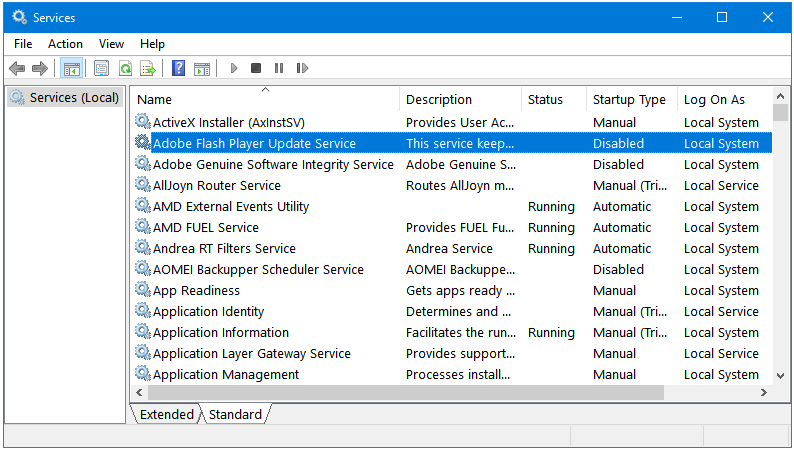
Step 3: Double-click that service to open its Properties window. Copy the service name.

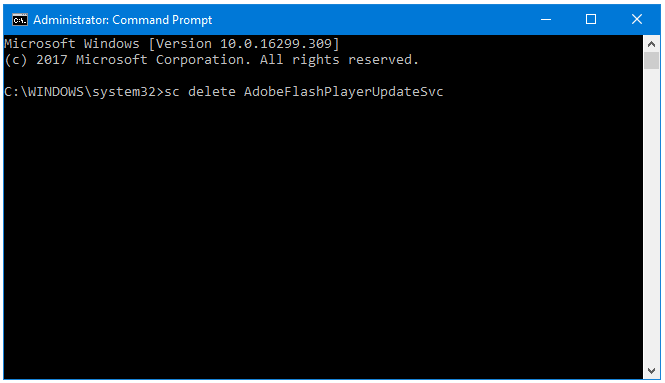
Step 4: Press the Windows + X keys together to open the Windows Power User Menu. Click on the Command Prompt (Admin) option to open Command Prompt with Administrative privileges.

Step 5: In the Command Prompt window, right-click to paste the copied text. Press the Enter key.
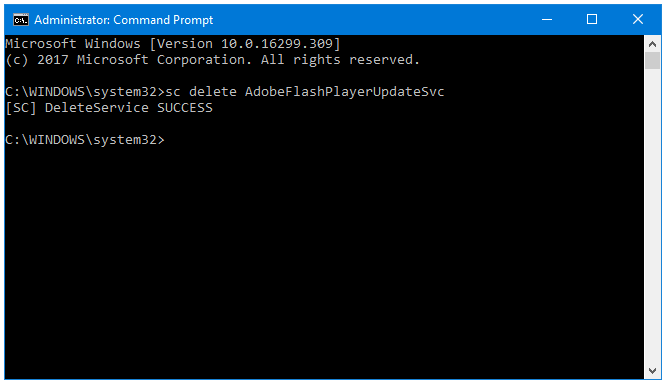
Step 6: Windows will execute the command, and delete the service. You’ll see a [SC] DeleteService SUCCESS message in the next line in Command Prompt.
Step 7: Close the Command Prompt window. Now, you’ll notice that the selected service is no longer listed in the Services window.
This way, you can delete the redundant Services from Windows.