The ESET SysRescue Live is an emergency rescue disk utility that can be used to create a bootable CD/DVD, or a bootable USB drive to recover your computer for malware infections, and perform file and data recovery operations.
The ESET SysRescue Live has the most polished interface for a rescue disk, that is because it’s based on a Linux distro, Lubuntu, to be more precise. Along with the main antivirus scanning and rescue function, you get other utilities as well such as a fully functional File Manager, TeamViewer, GParted, and some other tools. You can use the File Manager to transfer important documents from the infected host computer to a removal storage device. TeamViewer can be used to get the remove assistance. GParted is a fully feature partition manager that can be used to fix partitioning related errors.
In order to create the rescue disk, we need two things – the ESET LiveUSBCreator tool, and the ESET SysRescue image file.
You can download both of these files by visiting the following official link:
https://www.eset.com/int/support/sysrescue/
Creating ESET SysRescue Live Rescue Disk
Step 1: Open the ESET LiveUSBCreator tool.
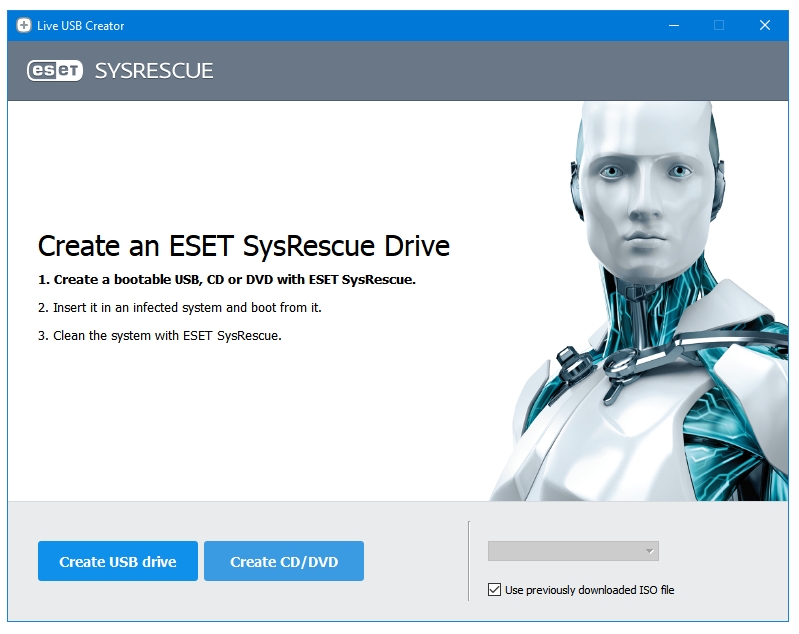
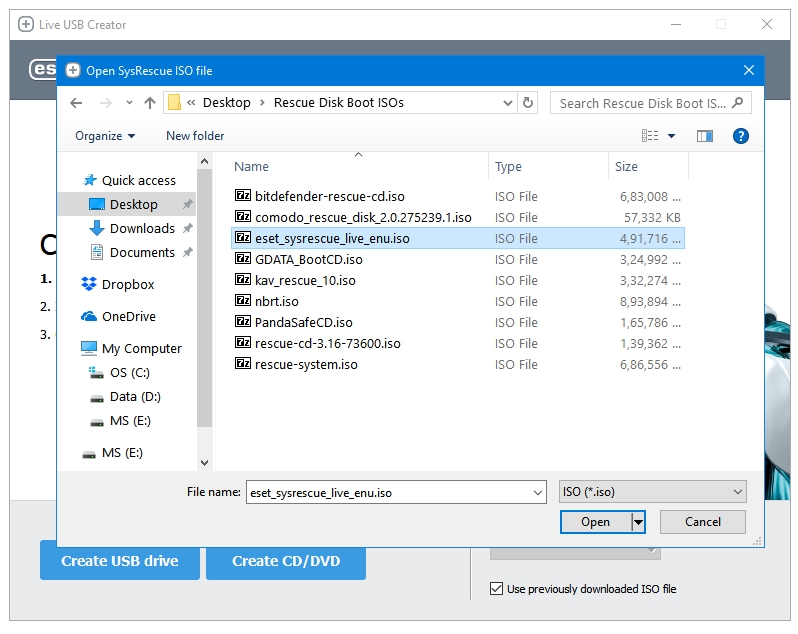
Step 2: Click on the check box that says Use previously downloaded ISO file. This will open the browse window to browse for the ESET SysRescue image file. It is titled eset_sysrescue_live_enu.iso, select and open it.
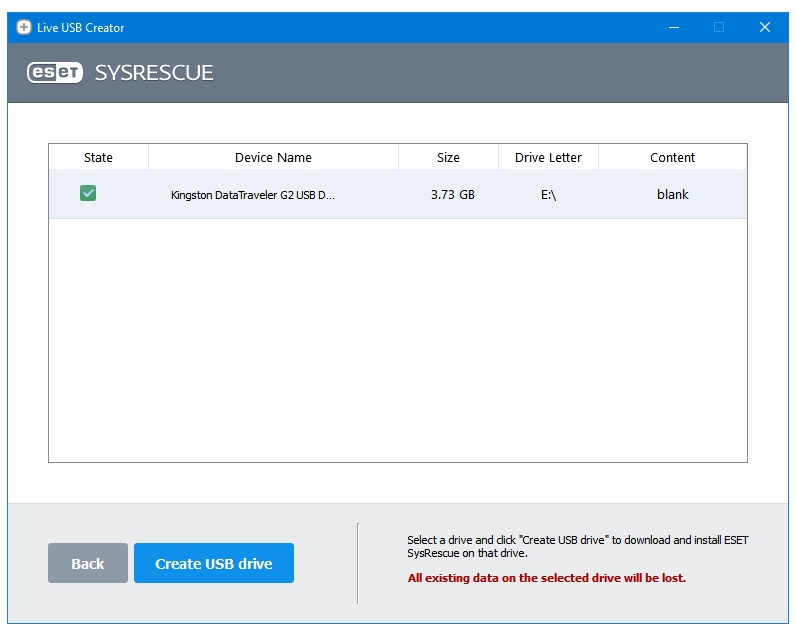
Step 3: Now, click on the button that says Create USB drive. The resulting window will display all of the USB drives attached to the computer; select the drive carefully.
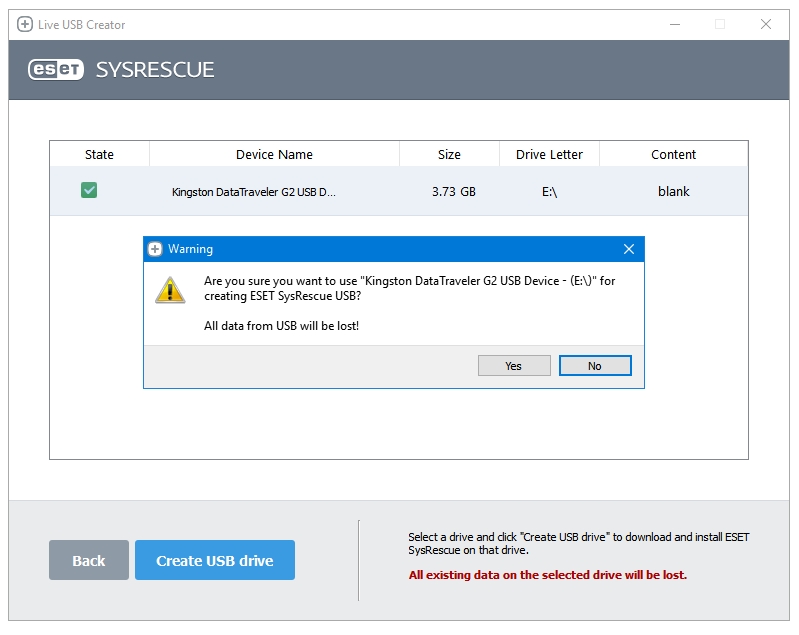
Step 4: Click on Create USB drive button again to start the process. It displays a Warning message that All data from USB will be lost!. Proceed with caution.
Step 5: The USB creator tool starts the process by copying the files.
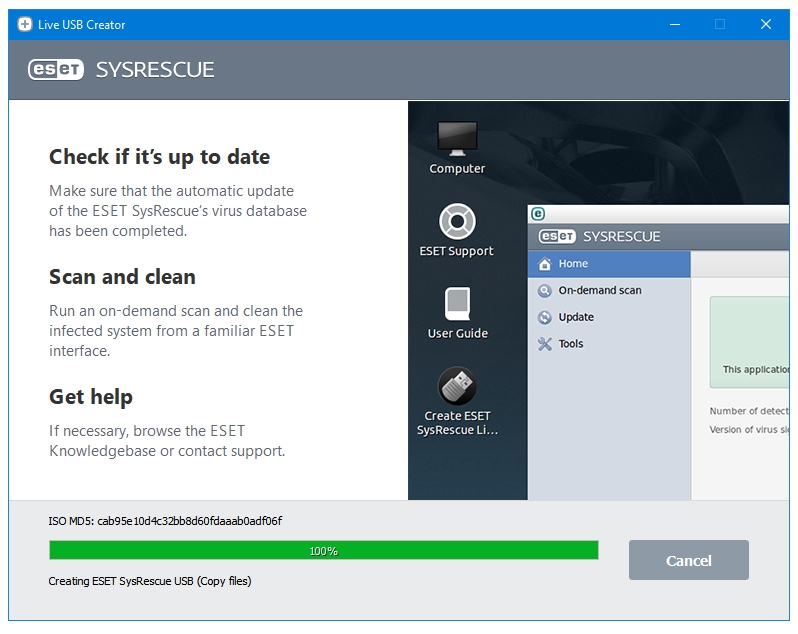
Step 6: After a few minutes, the process is completed. Click the Close button to close the program, and remove the USB drive.
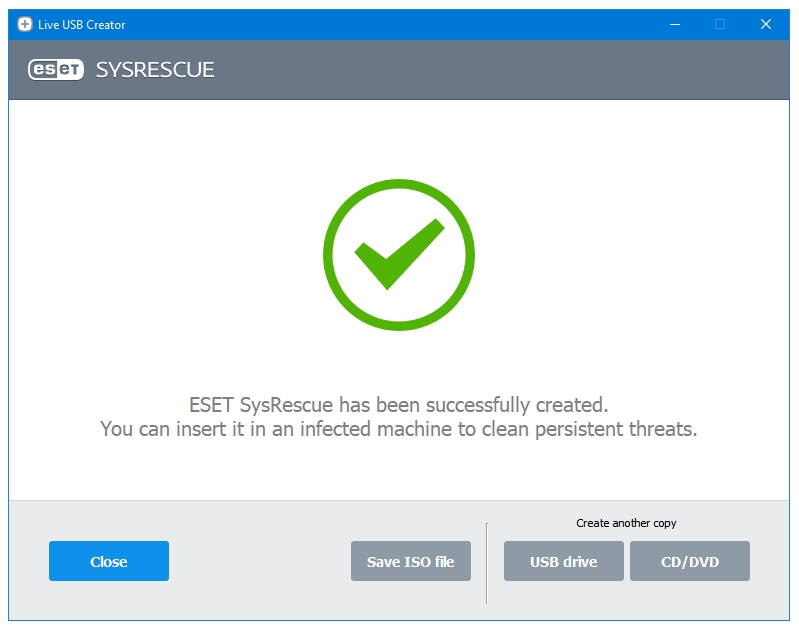
Your ESET SysRescue Live Rescue Disk is now ready.