Windows10Upgrade
The Windows10Upgrade folder is created and used by the Windows Update Assistant program for downloading and installing the Windows Upgrade file(s). The Windows Upgrade file, which comes in the .esd format, is downloaded into this directory. After a successful download, the Windows Update Assistant program uses this ESD file to upgrade your computer to the latest version of Windows.
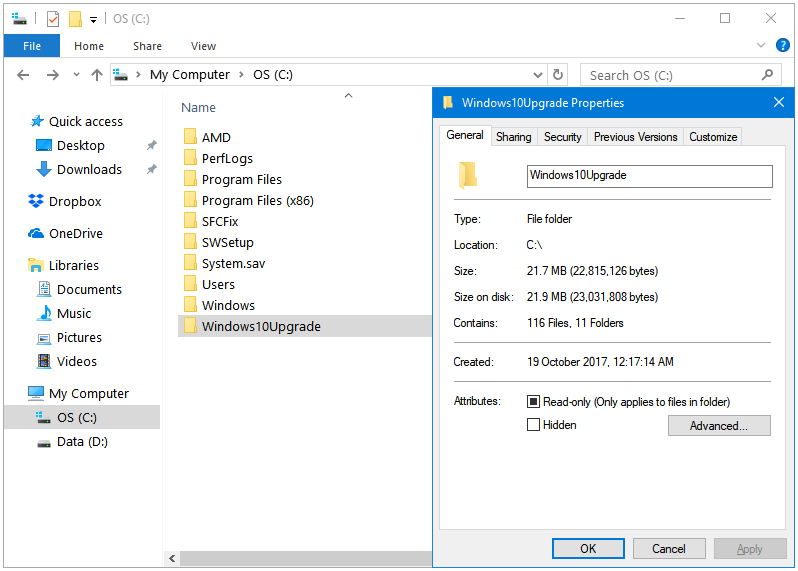
ESD (.esd) file – ESD stands for Electronic Software Distribution. Microsoft downloads the Windows upgrade files in the .esd file format. This file format provides a better compression than the older .wim (Windows Imaging Format) file format. The downloaded ESD files are used by Windows to install the latest update to the computer. The ESD files can be converted into the ISO format, and then be used to perform a clean install using a bootable USB/DVD.
Windows automatically deletes the .esd Upgrade file after the successful system upgrade. This folder only contains only a few megabytes of data afterwards. If Windows does not delete the .esd file automatically then you can delete it yourself either by using the Disk Cleanup utility or directly by using the Delete function in the Windows File Explorer.
How to delete the Windows10Upgrade folder completely from Windows 10
Here is how you can delete the Windows10Upgrade folder completely from Windows 10.
Step 1: Press the Windows + I keys together to open the Windows Settings app.
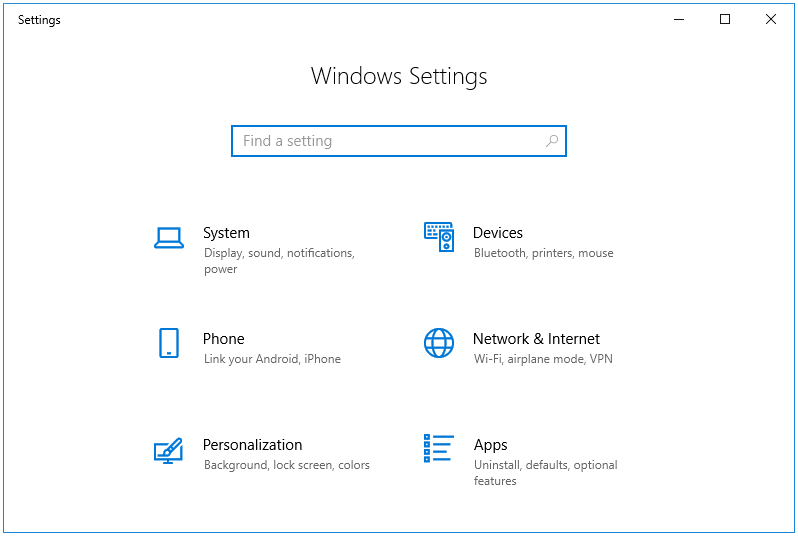
Step 2: In the Settings app, click the Apps button.
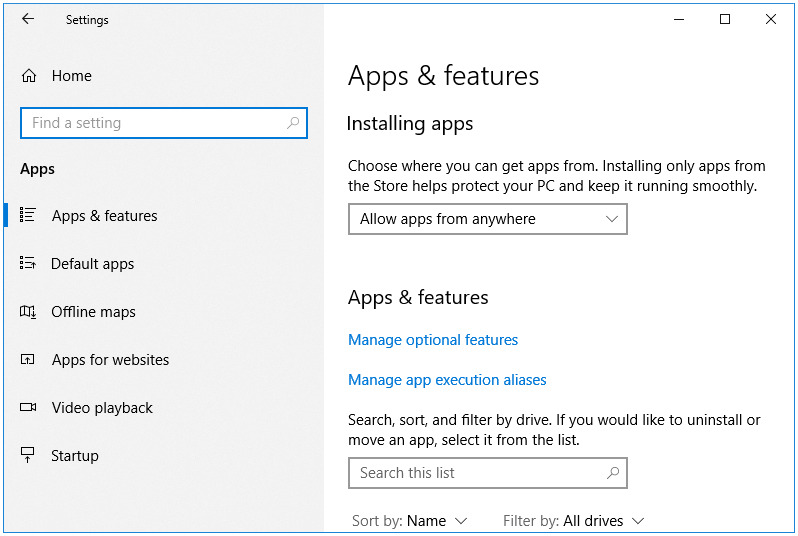
Step 3: Locate the Windows 10 Update Assistant program, click on it, and then click the Uninstall button.
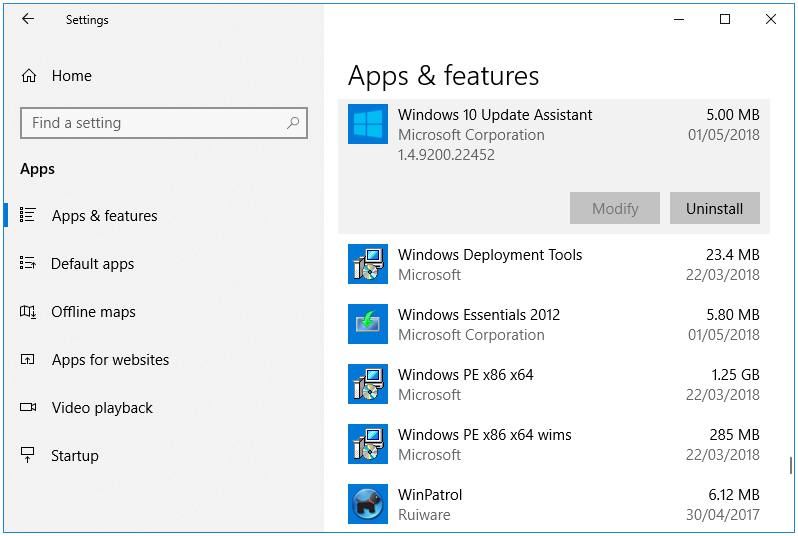
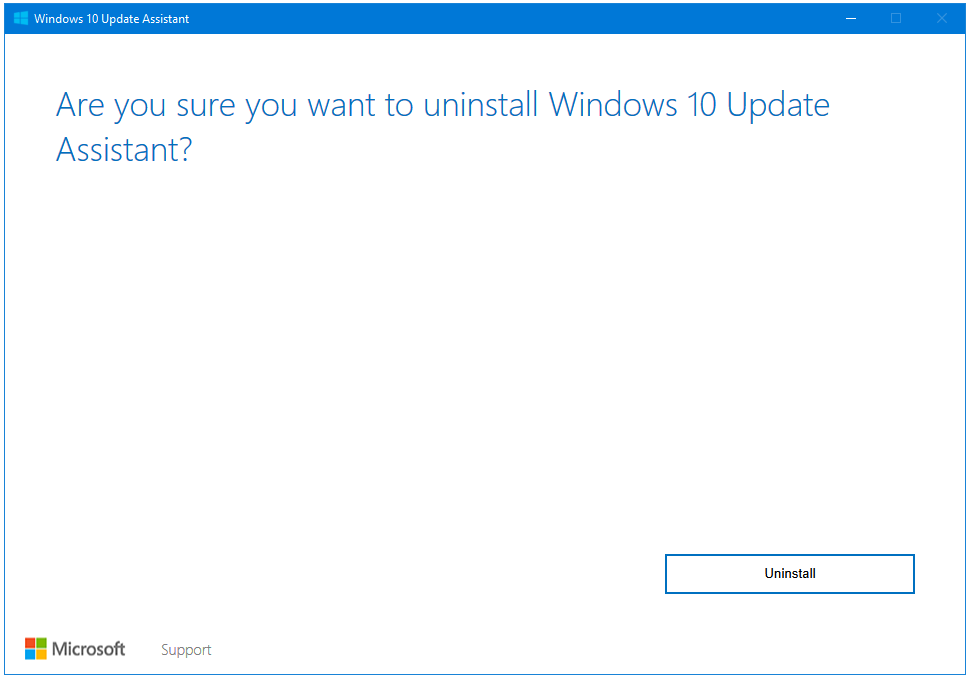
Step 4: Click Uninstall in the Windows 10 Update Assistant program window as well. This uninstalls the Windows10Upgrade folder completely from Windows.
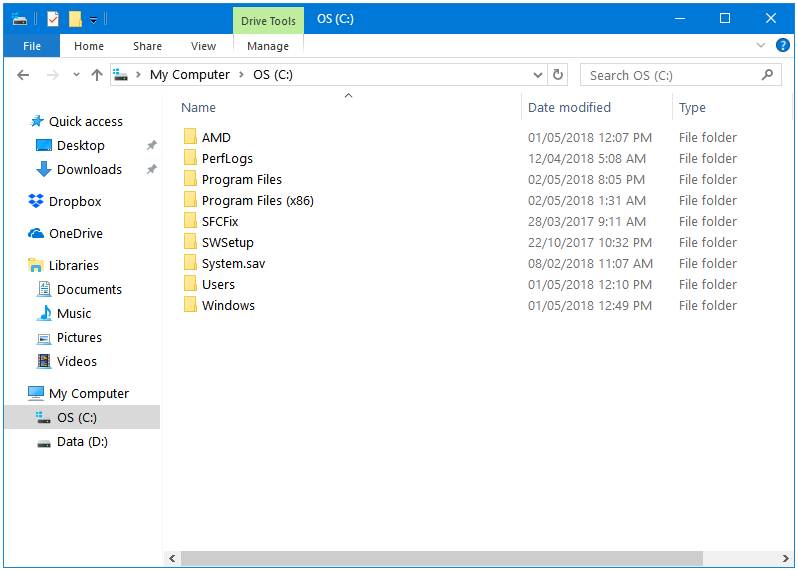
Step 5: Open the C: drive in the Windows File Explorer. You won’t see the Windows10Upgrade folder anymore.
See here how you can delete the unnecessary Windows System files safely using the Disk Cleanup utility.