Libraries
Windows Libraries are a great way to organize your files. Libraries represent four folders that help the user organize the four most popular types of files – Documents, Music, Pictures, and Videos. Users can add or delete folders in Libraries; they can also rename the existing Libraries. Libraries can aggregate files and folders from various folders present on same or different drives, and show them inside one location. For example, insider the Music Library, you can import all of the folders on your computer that contain music files, this way; you can see all of your music files at one place. The Libraries feature was introduced with Windows 7 in 2009. However, with the release of Windows 10, Microsoft removed the Libraries option from the File Explorer Navigation pane. Here’s how you can get it back in your File Explorer.
Show or Hide Libraries in Windows File Explorer Navigation pane
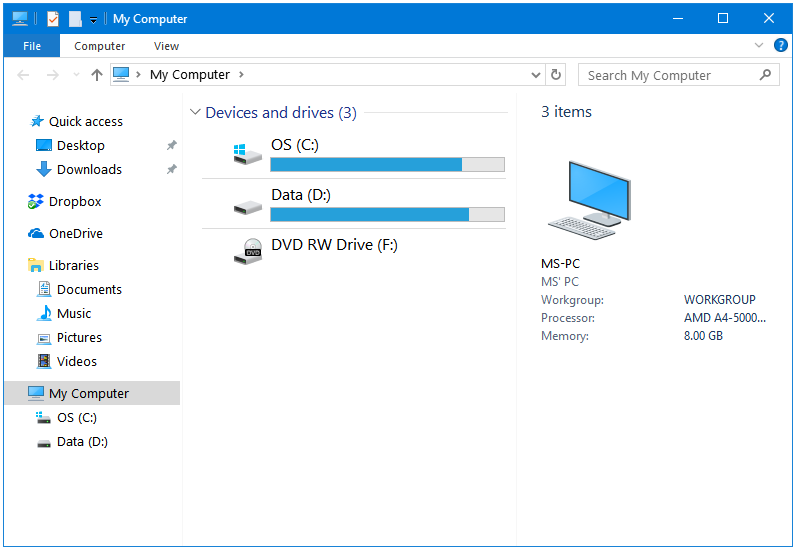
Step 1: Press Windows + E keys together to open the Windows File Explorer.
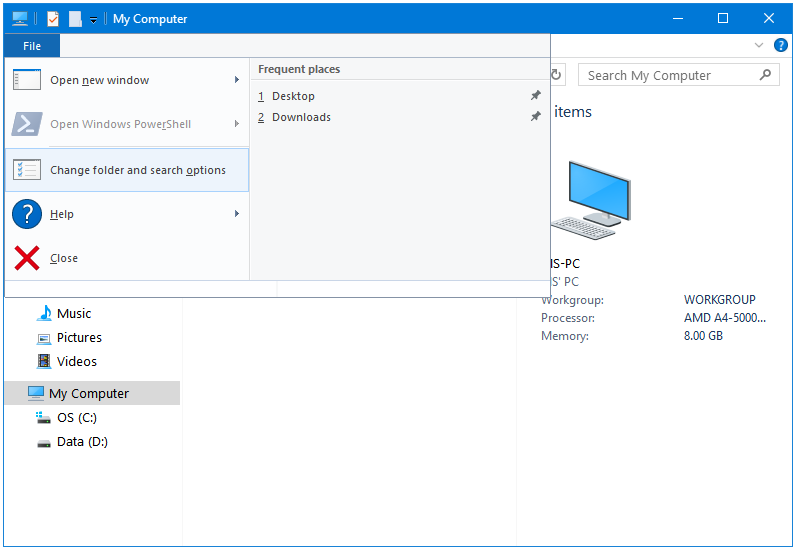
Step 2: Click the File tab in Windows File Explorer. Then click on Change folder and search options to open Folder Options.
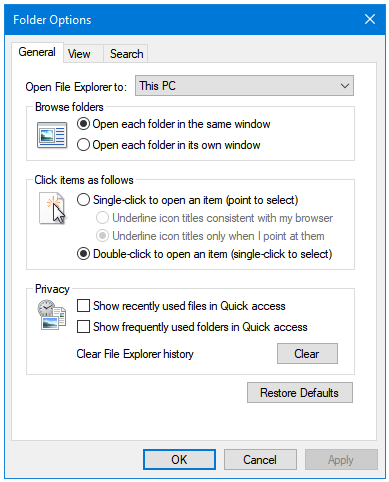
Step 3: In the Folder Options window, click on the View tab.
Step 4: Now, go to the bottom of the window. Inside the Navigation pane option, look for the Show libraries option. By default, it is disabled in Windows. To Show Libraries in Windows File Explorer, tick the checkbox.
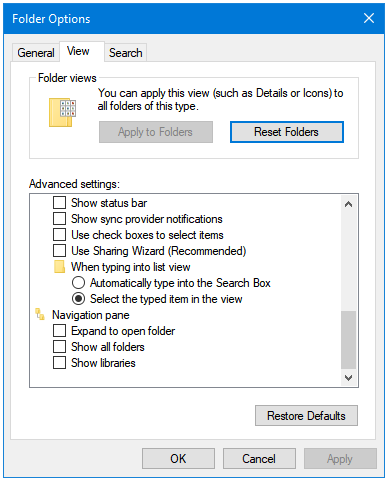
Step 5: Click Apply to apply the changes, and OK to close the window.

If you want Hide Libraries in Windows File Explorer, then untick the Show libraries checkbox. And, then click Apply and OK.