Schedule Tasks in Windows Using Task Scheduler
Windows has an inbuilt scheduling tool called the Task Scheduler, which you can use to make Windows perform certain tasks on specified schedules. The Task Scheduler will automatically execute the scheduled program on the specified time or event without the user intervention. Here’s how to use Task Scheduler to schedule tasks in Windows.
How to Use Task Scheduler to Run Programs Automatically in Windows 10
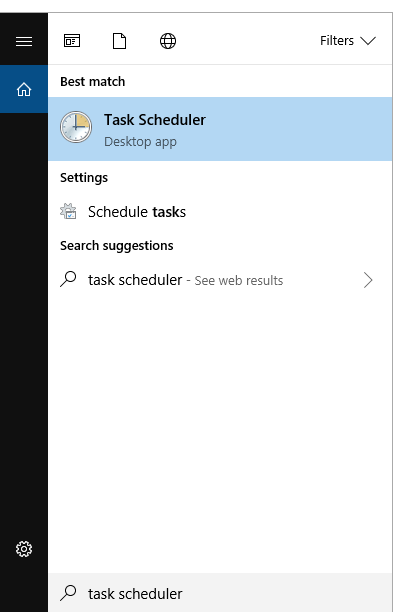
Step 1: Type task scheduler in Windows Search to find and open the Task Scheduler program.
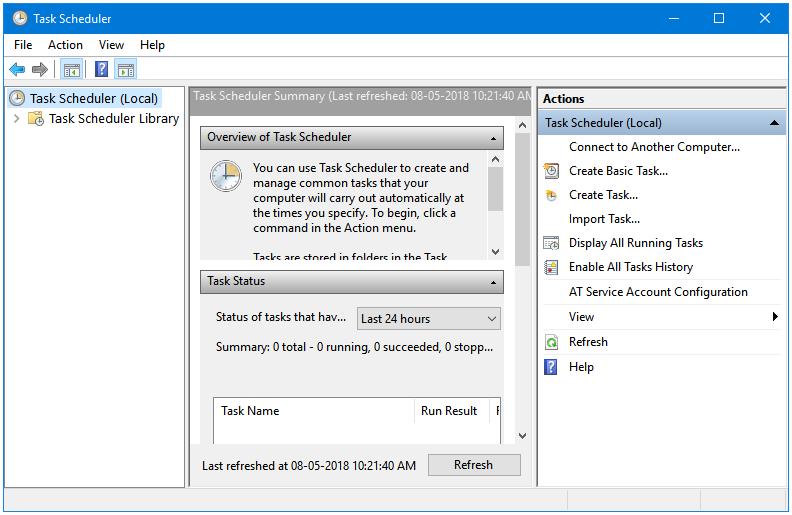
Step 2: In the Task Scheduler window, click on the Create Basic Task link to start the Create Basic Task Wizard.
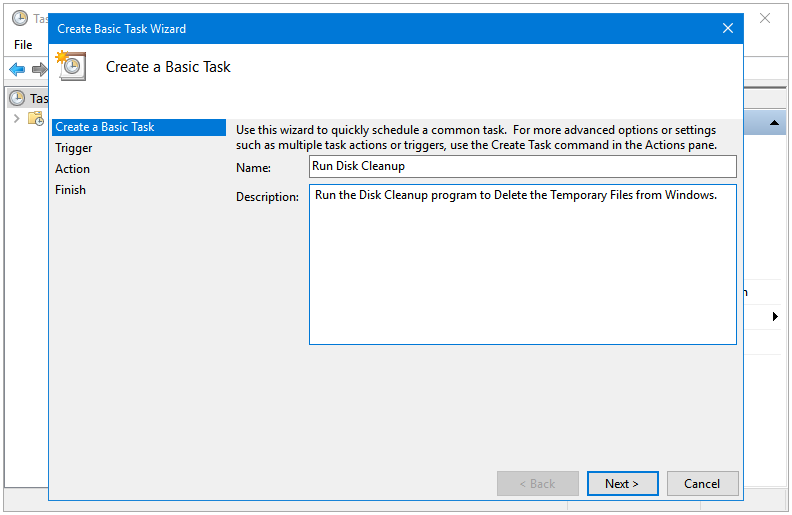
Step 3: In the Create Basic Task Wizard, the first step is Create a Basic Task where you need to input the Name and Description of the task that you are going to create. Click Next.
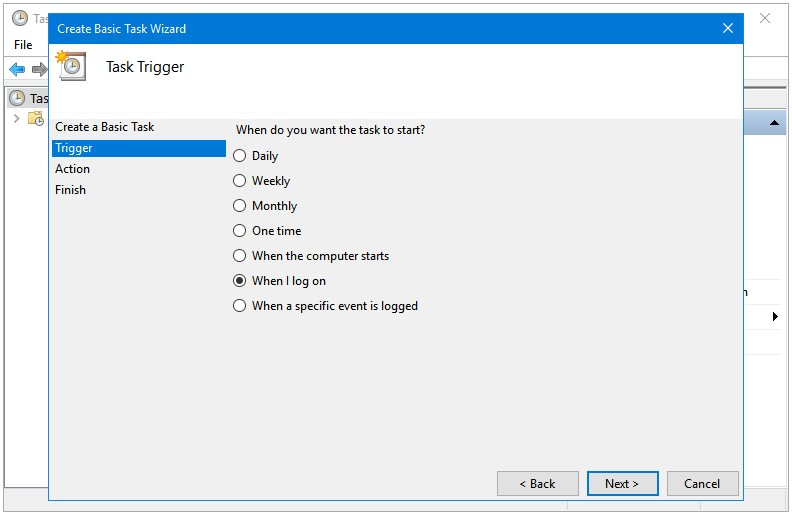
Step 4: Under Trigger, select the time or event when you want the task to run. Click Next.
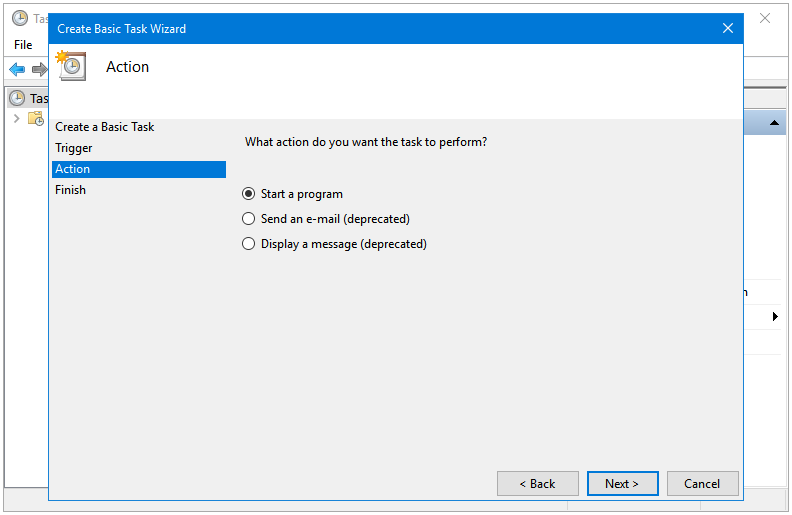
Step 5: Under Action, select the type of task that you want to perform. Click Next.
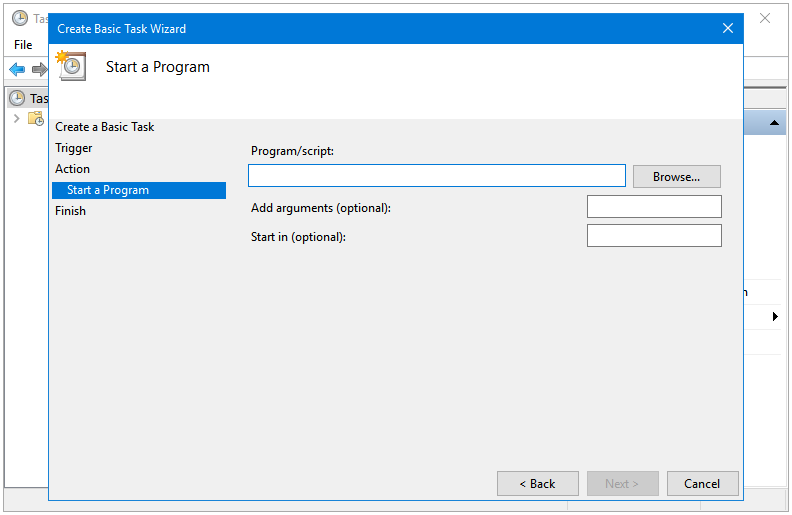
Step 6: If you selected Start a program option then the next window lets you browse for and select the executable file of that program. Click on the Browse… button to browse for the program file.
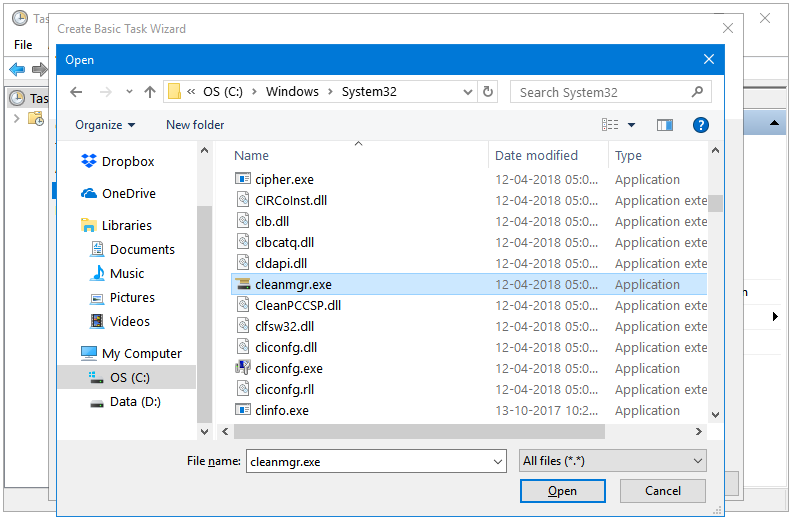
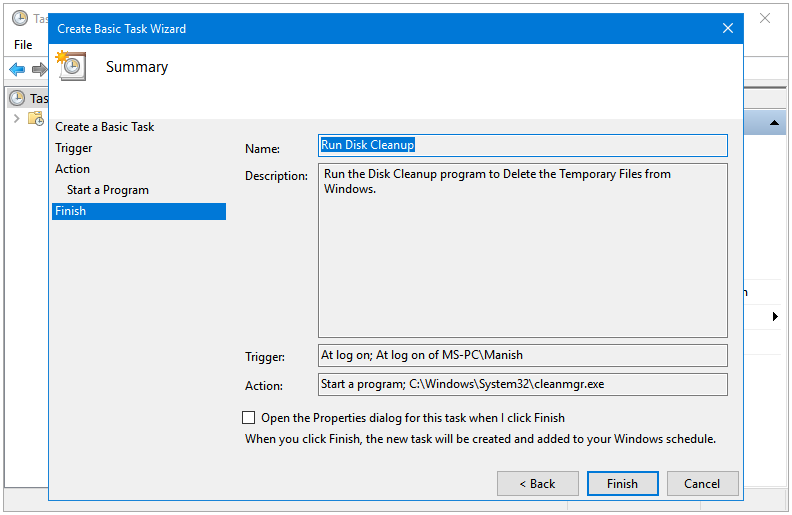
Step 7: Select the executable file, and then click Open to select it. The Disk Cleanup program is located in the C:\Windows\System32 directory, and its executable file is named cleanmgr.exe.
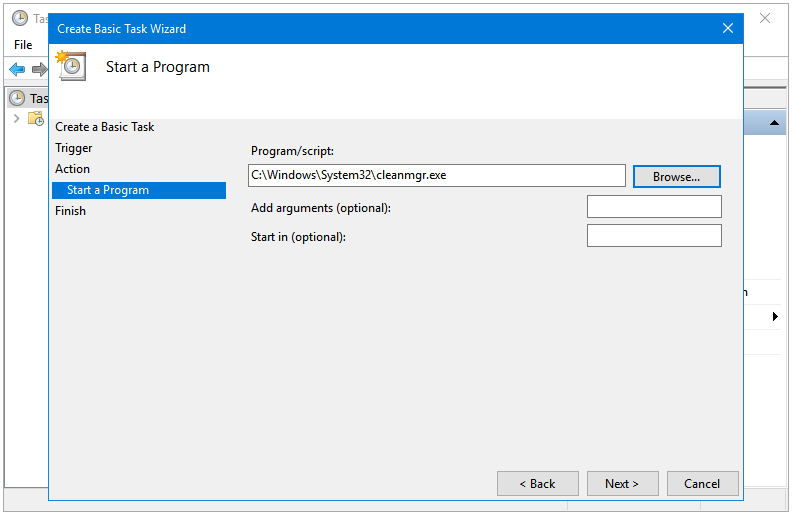
Step 8: The path is visible now. Click Next.
Step 9: The Finish window displays the summary of the task. Click Finish.
Step 10: Click on Task Scheduler Library to see your newly created task in the list of tasks.
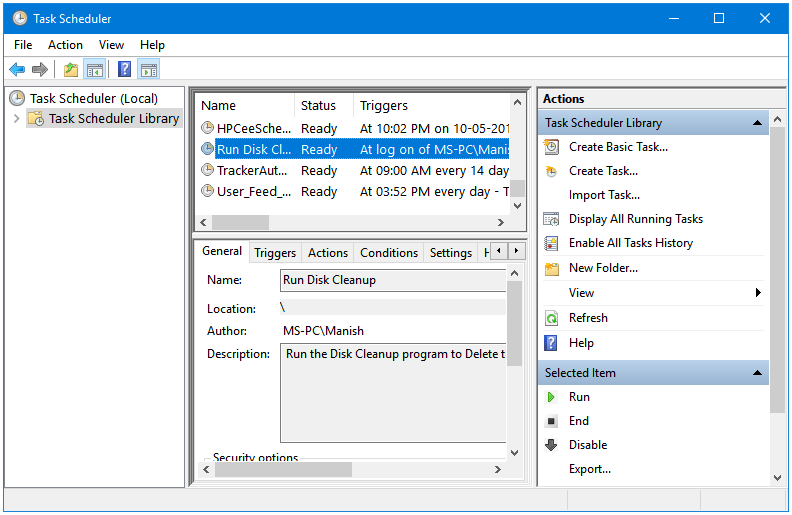
Now, Disk Cleanup will automatically start at every system start. If you don’t want to use it anymore, then you can easily disable or delete this task by right-clicking on the task name in the Task Scheduler Library. The context menu for each task has the following six options.
- Run
- End
- Disable
- Export…
- Properties
- Delete
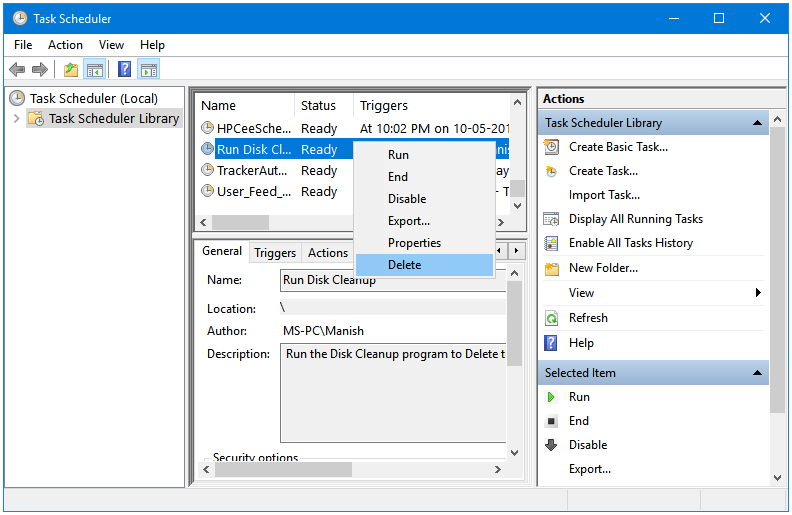
Choose the one that you want to use.