System Restore
System Restore was first introduced in Windows ME. It allows the Operating System to revert to the point of Restore Point creation. A Restore Point is created automatically or manually. It is the first tool that users should try in recovering from Windows errors. It is recommended to create Restore Points before playing with Windows Registry, or Windows and Programs settings.
- How to Create a Restore Point in Windows
- How to Perform a System Restore in Windows
- How to Configure System Restore in Windows
1. How to Create a Restore Point in Windows
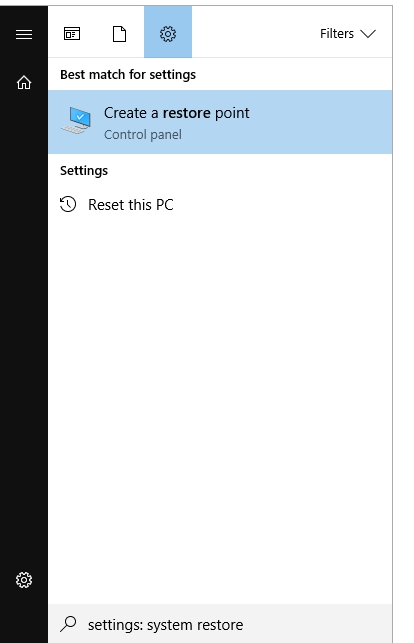
Step 1: Type system restore in Windows Search to open System Protection feature of Windows.
Step 2: You’ll find yourself on the System Protection tab in the System Properties window.
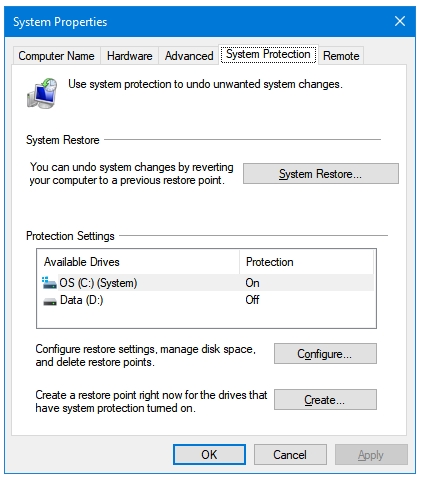
Step 3: Under the Protection Settings area, click on the drive name for whom you want to create the restore point.
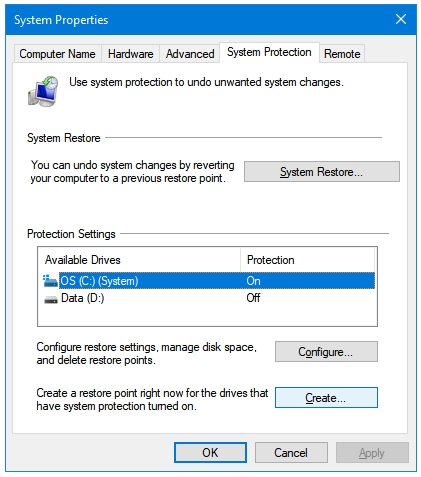
Step 4: After selecting the drive, click on the Create button to start the creation process of restore point.
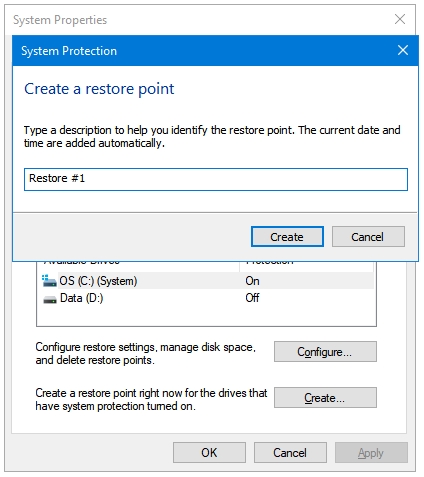
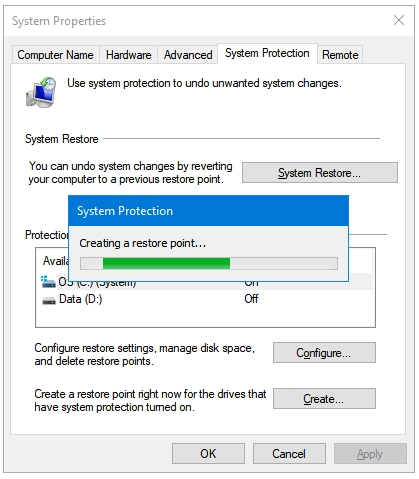
Step 5: Enter the name for your restore point, and then click Create.
Step 6: Wait for the program to complete the creation process.
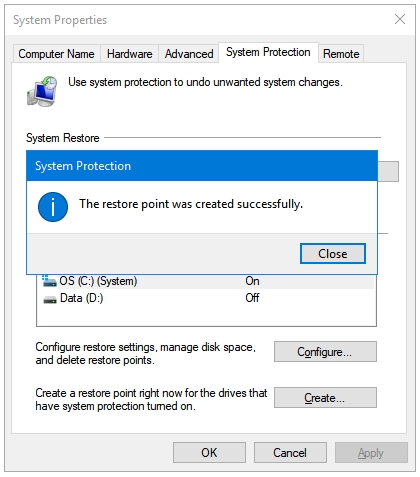
Step 7: A few moments later, you’ll see a message box informing you that the restore point was created successfully. Click the Close button.
2. How to Perform a System Restore in Windows
Step 1: Open System Restore.
Step 2: In the System Protection window, click on the System Restore button.
Step 3: Click Next to proceed further.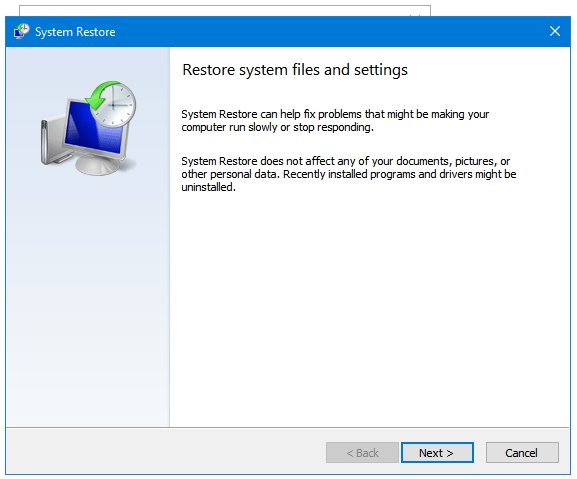
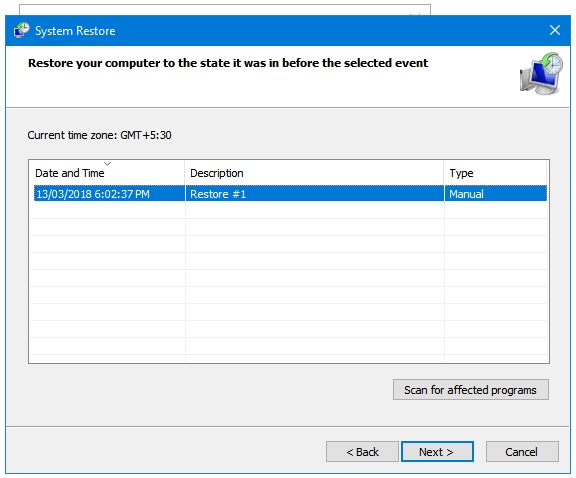
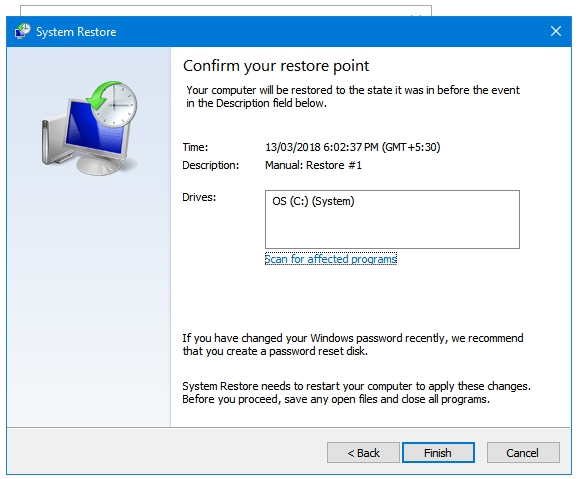
Step 4: Click on the restore point that you want to use. If you want to get the information about the affected programs or the programs that be deleted or come back by restoring the system to that restore point, click on the button that says Scan for affected programs. Click Next when you are ready.
Step 5: Here is your last chance to go back. Click the Finish button to start System Restore.
3. How to Configure System Restore in Windows
Step 1: Open System Restore.
Step 2: Click on the Configure button to start system restore configuration process.
Step 3: In the window, you have following three options – Restore Settings, Disk Space Usage, and Delete.
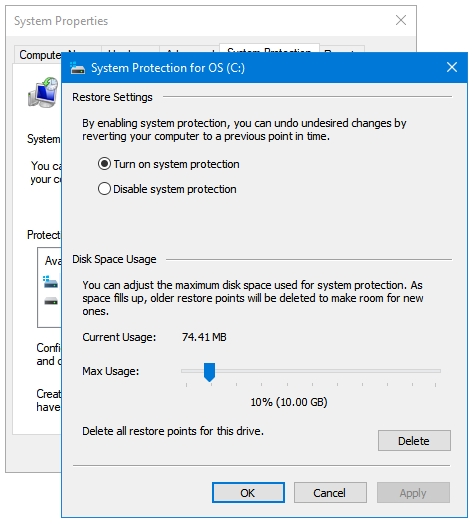
- Restore Settings: It lets you enable of disable the System Restore component of Windows.
- Disk Space Usage: In Disk Space Usage, you can adjust the maximum disk space usage limit by moving the Max Usage You can see the current disk space being used in front the Current Usage option.
- Delete button: Clicking this button will delete all restore points of that drive. Windows automatically deletes old restore points, but if you are low on space, and you are not having any problems with your Windows then you can manually delete these restore points, too. Make sure you create one restore point right after that.
Step 4: Click Apply and then OK to implement the changes.
Step 5: Click Apply and OK again to close system restore.