How to Enable or Disable Thumbnail Previews in Windows 10 File Explorer
Thumbnails are the small sized version of each image that previews the contents of that image. All those files that have some sort of visual content related to them can have thumbnails such as an image file, a video file, or a song with album art.
When you have the thumbnails previews enabled, opening a folder that has many images takes a lot of time, as Windows has to load the thumbnail preview of each image file from the Thumbnail Cache. The user has to wait for the thumbnails to load, which makes the computer feel slower.
You can disable the Thumbnails by using the Icons instead. When Icons are used instead of Thumbnails, Windows only needs to load one icon for all of the images stored in that folder. This loads the Windows File Explorer a lot quicker, and the computer feels faster.
Out of the Eight View types in the Windows File Explorer, the thumbnails are visible in the following five – Extra Large Icons, Large Icons, Medium Icons, Tiles, and Content.
The Thumbnails do not appear in the following Three View types – Small icons, List and the Details.
How to Enable or Disable Thumbnail Previews in Windows 10 File Explorer
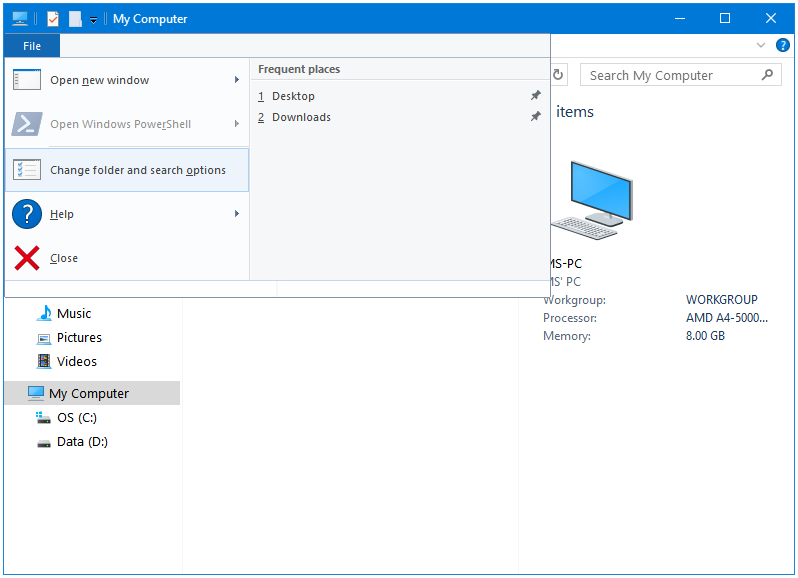
Step 1: Open Windows File Explorer.
Step 2: Click on the File tab in the Windows File Explorer toolbar, and then click on Change folder and search options button to open Folder Options.
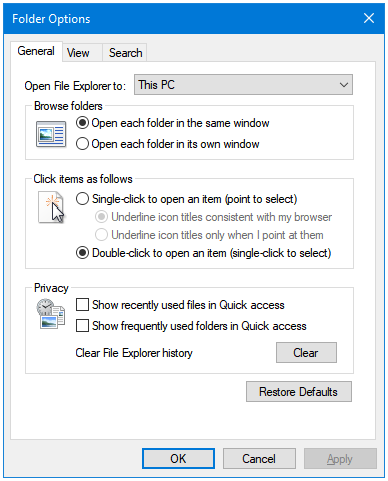
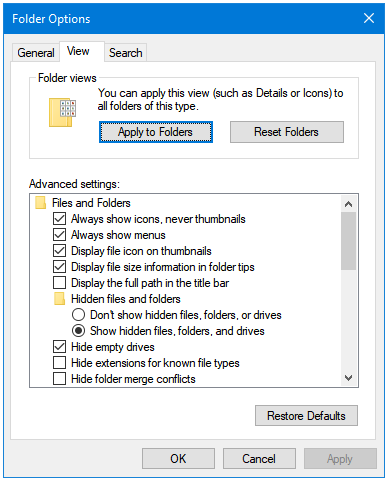
Step 3: In the Folder Options window, click on the View tab.
Step 4: Under the View tab, the first option called Always show icons, never thumbnails is unticked by default. Tick the checkbox to enable this option.
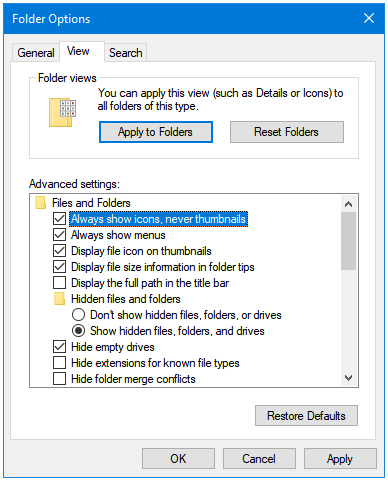
Step 5: Click Apply, and then OK.
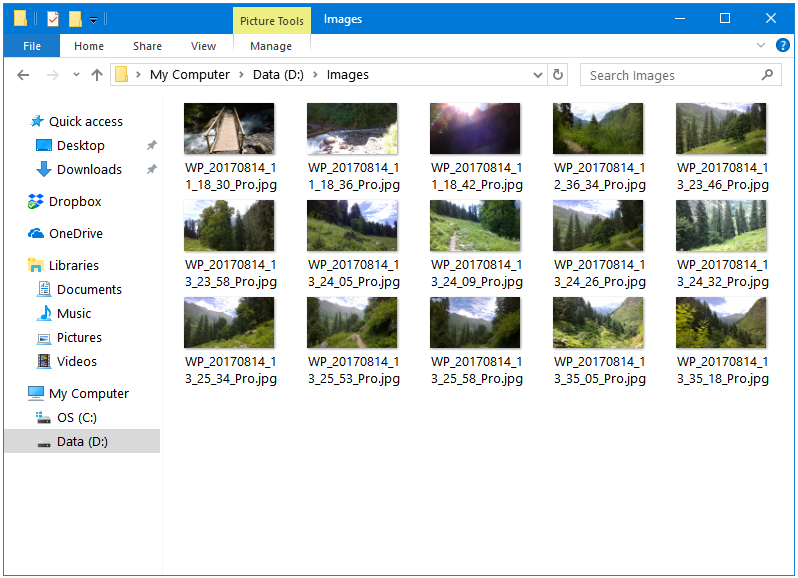
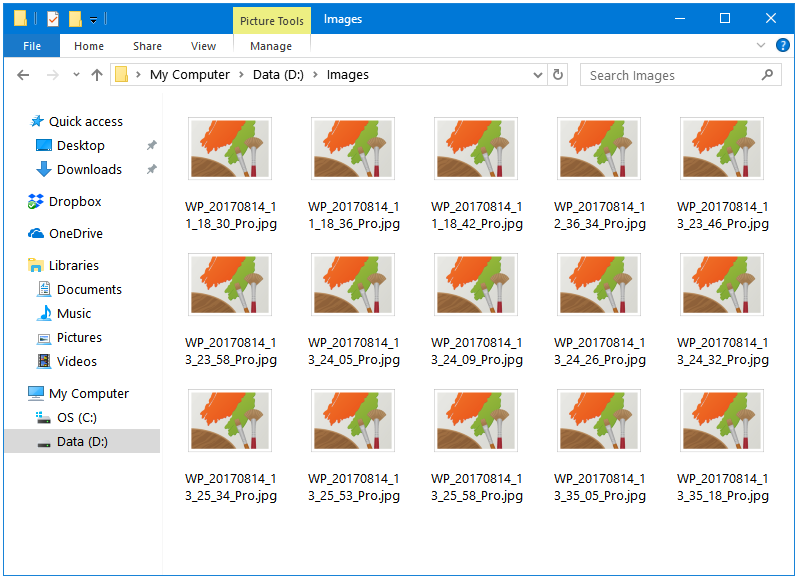
Open a folder that has images inside it, it’ll look like this now. Only Icons, and no Thumbnails.
Clear the checkbox of this option in the Folder Options to get back the Thumbnails instead of the Icons.