Comodo Rescue Disk
The Comodo Rescue Disk is a free bootable disk image for Windows computers that can be used to scan and clean viruses, spyware, rootkits, and many other types of malware.
Downloading Comodo Rescue Disk
In order to create Comodo Rescue Disk, you need to have at least one Comodo real-time security product installed on your system. The feature is called Create Rescue Disk in Comodo products. You can find this in theur free Internet Security, Antivirus, and even in Firewall.
You can access their free computer protection programs by visiting the following official page:
https://www.comodo.com/home/free/free-protection.php
Creating Comodo Rescue Disk
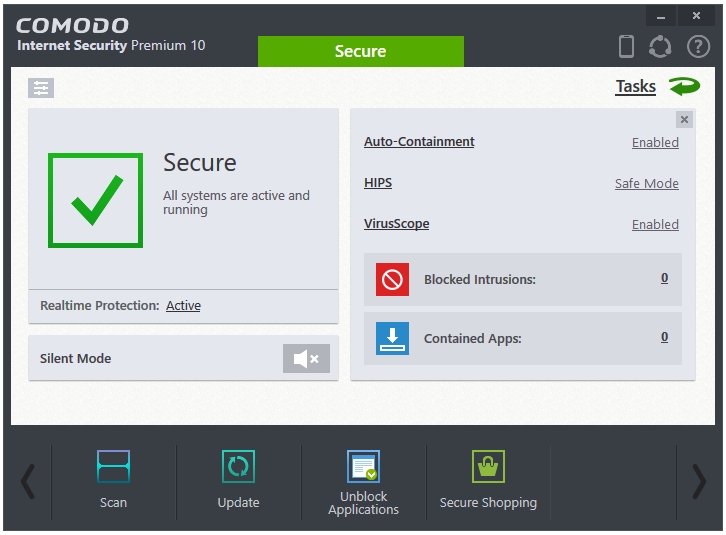
Step 1: Open any Comodo real-time protection product such as Antivirus, Firewall, or Internet Security. I have Comodo Internet Security installed, so I’ll be using that to access the Rescue Disk feature.
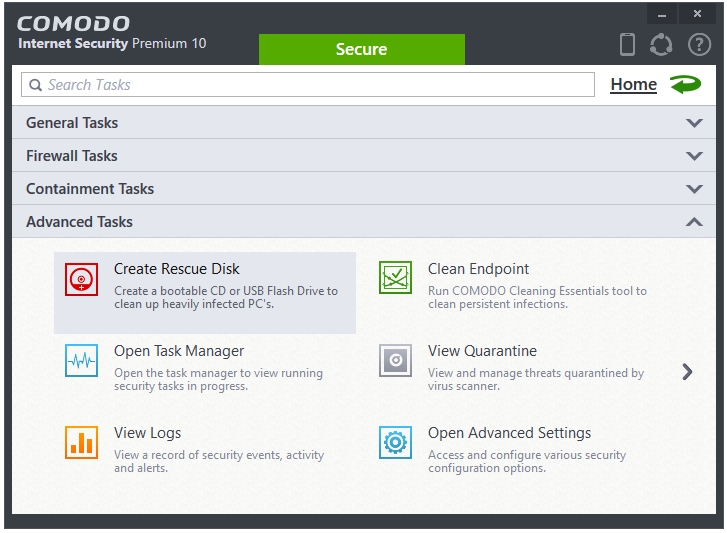
Step 2: To access the Rescue Disk tool, click on the Tasks link in the main window of the program. It will lead you to Comodo’s dedicated window of various types of tasks. The Tasks window display four sections of Tasks – General Tasks, Firewall Tasks, Containment Tasks, and Advanced Tasks. Click on the Advanced Tasks link to expand it. The first option is the one that we want to use – Create Rescue Disk. Click on it to open the Comodo Rescue Disk wizard.
Step 3: The Comodo Rescue Disk Wizard creates your Rescue Disk in three easy steps – Select ISO file (Optional), Select Target Drive, and Start.
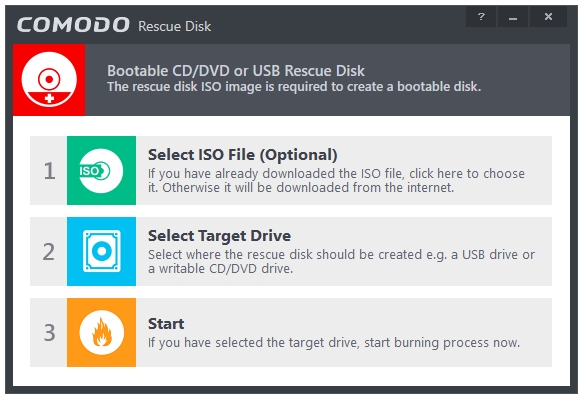
Step 4: Start the process by clicking on the first link called Select ISO file (Optional). Comodo provides a separate ISO file for Rescue Disk creation, if you have already downloaded that ISO file then browse for that ISO and click Open to select it.

Step 5: The next step is selecting the target drive for your rescue disk ISO file. Click the Select Target Drive link to view the available removable drives connected to the computer. You can use either a CD/DVD or a USB flash drive to create your Rescue Disk. Click the one you want to use, and then click OK.

Step 6: Finally, start the rescue disk creation process by clicking on the Start link. If you didn’t select an ISO file in Step 4 then Comodo will download it now.
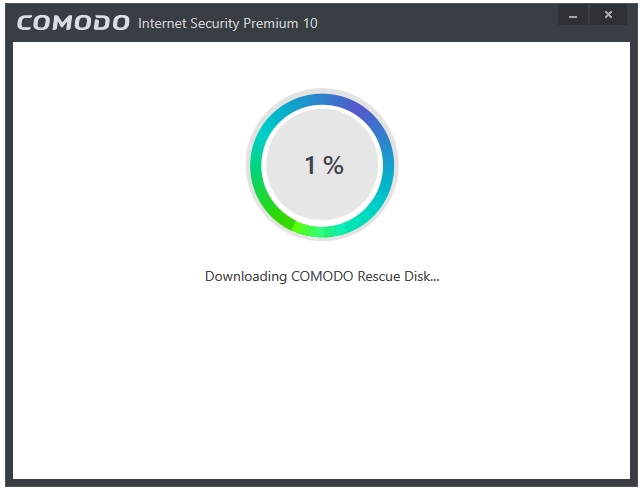
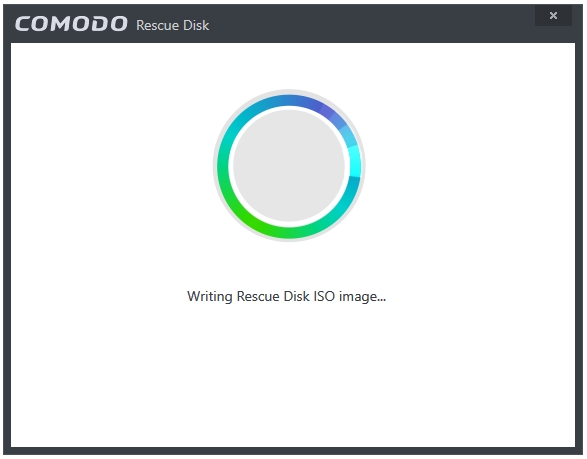
Step 7: The downloaded or selected ISO file is being written on the drive.
Step 8: The Rescue Disk creation process completed successfully.
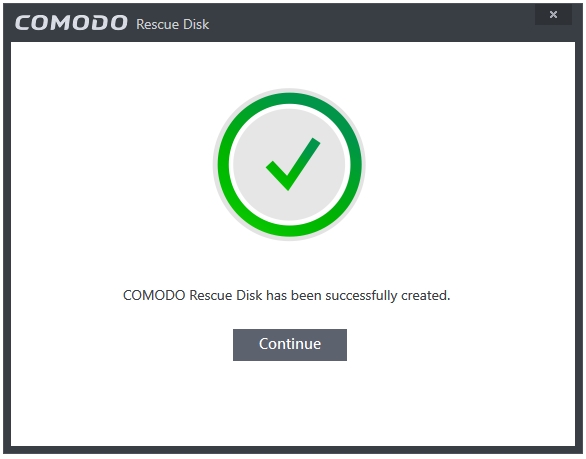
Your Comodo Rescue Disk is ready.