Avira Rescue System
The Avira Rescue System is based on the Linux distribution called Ubuntu. You get many other features along with the main virus removal option. A Linux File Manager that you can use to backup or copy your files from the host computer to a removal storage device. Another important utility available to users is the Windows Registry Editor that can be used to fix Registry related issues. A partitioning tool and a web browser are also included.
Downloading Avira Rescue System
The Avira Rescue System ISO file can be downloaded from the following official link:
https://www.avira.com/en/download/product/avira-rescue-system
The program used to create bootable disk is Rufus; you can download it from its official website here:
https://rufus.akeo.ie/
Creating Avira Rescue System
Step 1: We’ll use a portable tool called Rufus to burn the ISO to USB drive. Open Rufus.
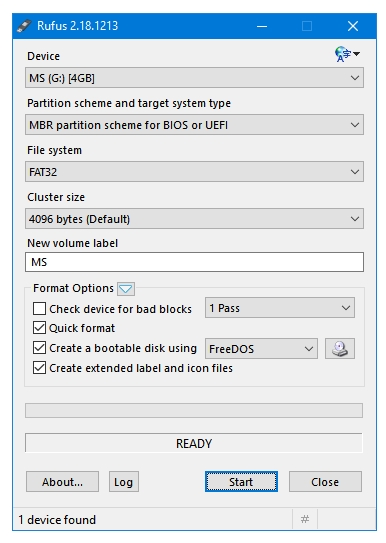
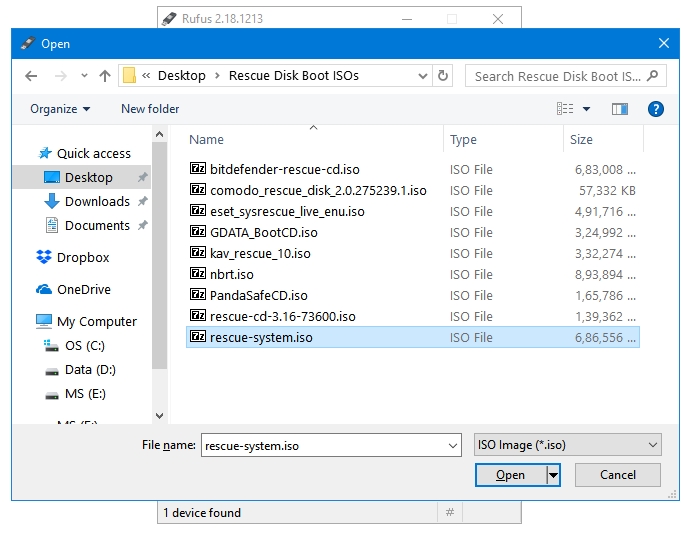
Step 2: The first option is the most important one in Rufus; carefully select the USB drive that you want to use as your rescue drive. All of the content present inside this USB drive will be deleted by Rufus before creating the Rescue Disk. Click on the Disk icon the Format Options area of Rufus to browse for the Avira Rescue System ISO file. Select image file, and then click Open.
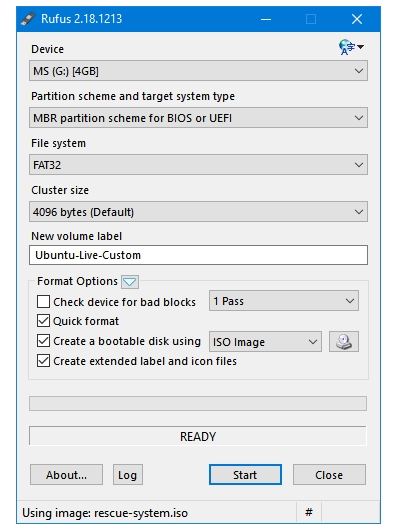
Step 3: You’ll notice that the New volume label has changed automatically. Click the Start button to start the process.
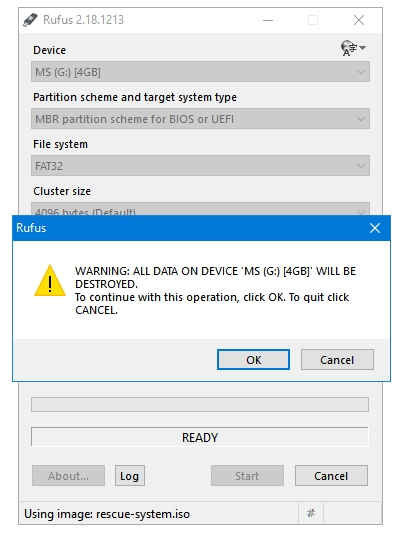
Step 4: Rufus displays the USB Format Warning message. Click OK when you are ready.
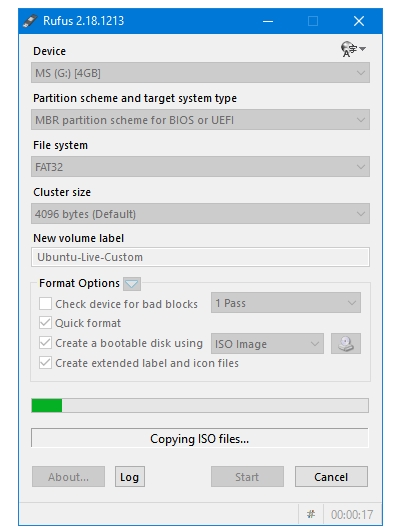
Step 5: The installation process starts.
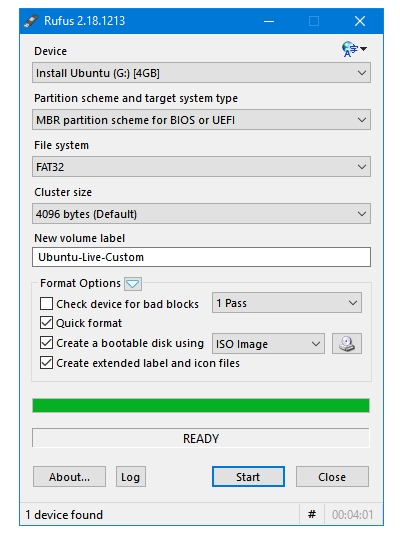
Step 6: You’ll see the READY message in Rufus status bar when it has finished the Rescue Disk creation process successfully. Click the Close button to exit program.
Your Avira Rescue System is ready.