Avast Rescue Disk
An antivirus rescue disk is the most efficient way of detecting and deleting malware from an infected computer. A Rescue Disk scans Windows files and User files outside of Windows. So, all those malware that start along with Windows, and hide themselves from antivirus programs cannot do that when you scan your computer using a bootable rescue disk. The Avast Antivirus has a Rescue Disk feature that lets you create a bootable Rescue Disk using either a CD or a USB flash drive.
Downloading Avast Rescue Disk
The Avast Free Antivirus can be downloaded from the following official link:
https://www.avast.com/en-in/free-antivirus-download
Avast does not provide a separate downloadable image file that you can burn on your USB flash drive or a CD. You have to install any one of their antivirus products in order to create the Avast Rescue Disk. Once the software is downloaded and installed on the system, you can access the Avast Rescue Disk feature.
Creating Avast Rescue Disk
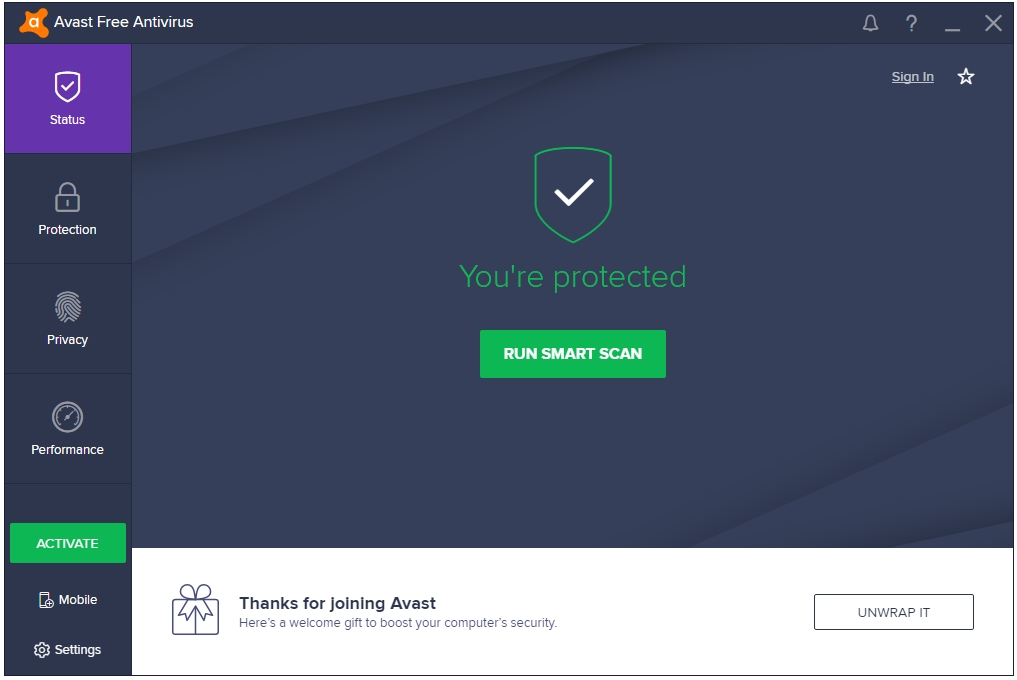
Step 1: Open the main interface of Avast Free Antivirus.
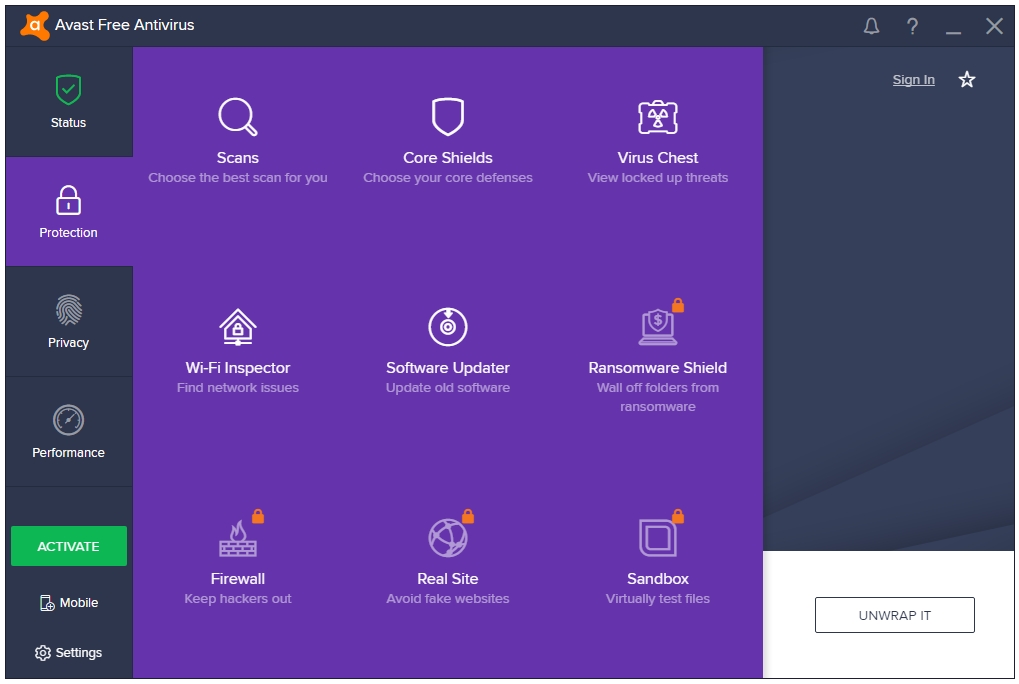
Step 2: In the left sidebar, click on the Protection tab, and then Scans.
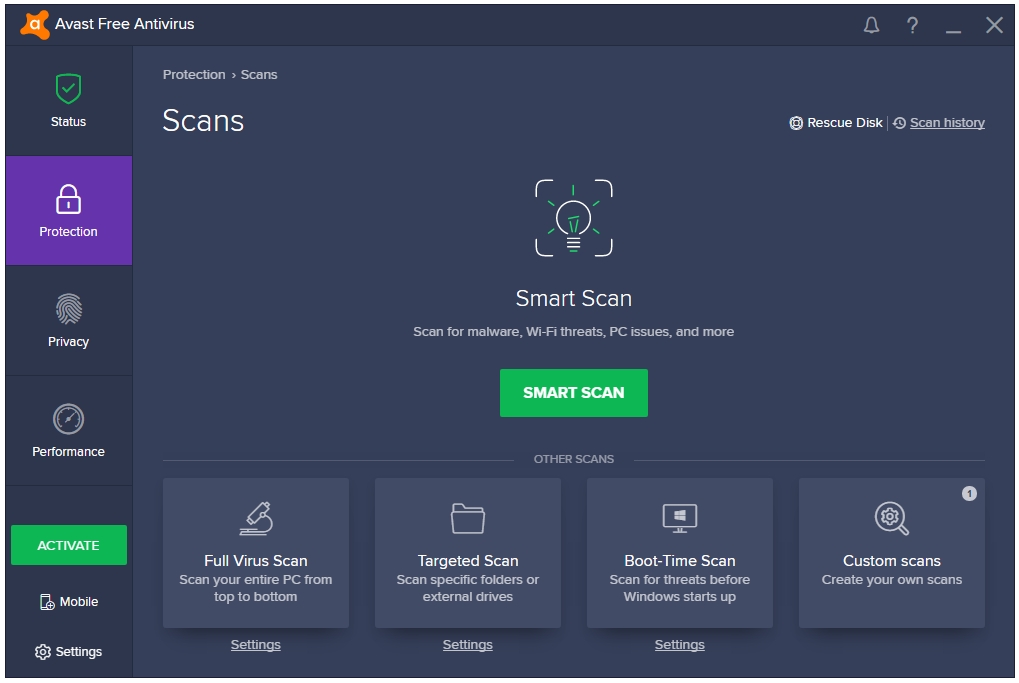
Step 3: In the Scans window, click on the Rescue Disk link.
Step 4: The Rescue Disk wizard starts. You can use either a CD or a USB as Rescue Disk. I’ll be using a USB flash drive.
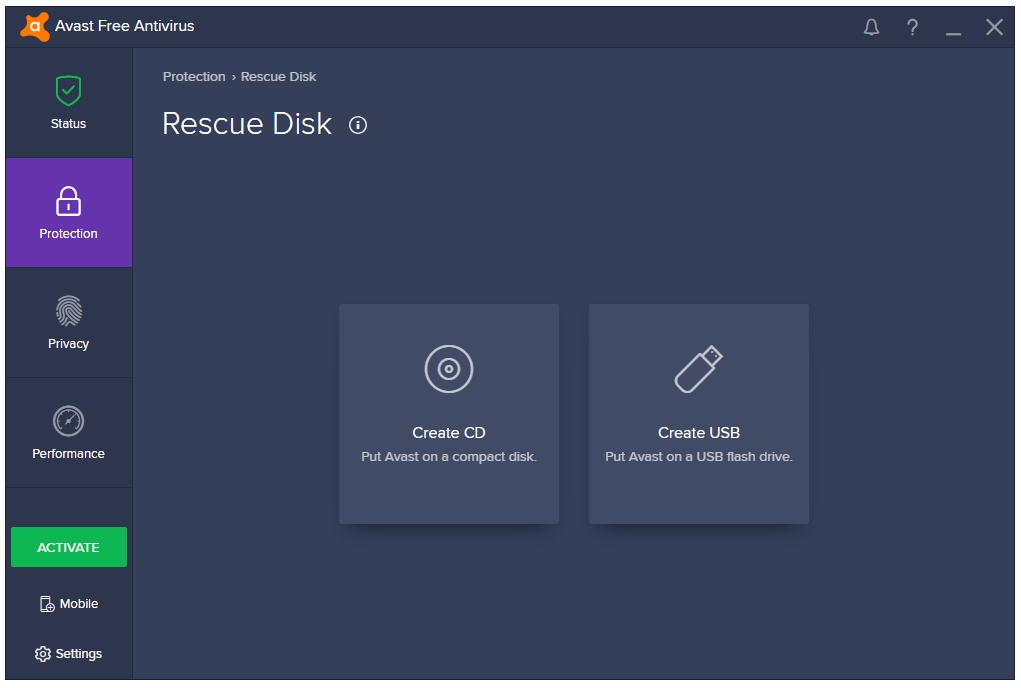
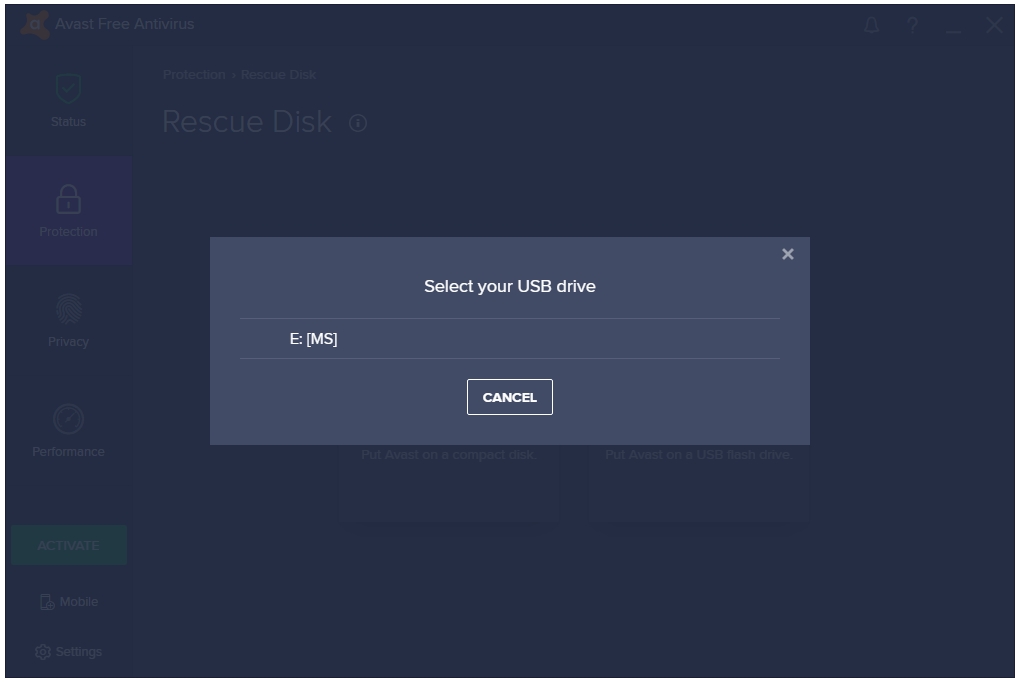
Step 5: The next window displays all of the connected USB drives. Select the one that you want to use.
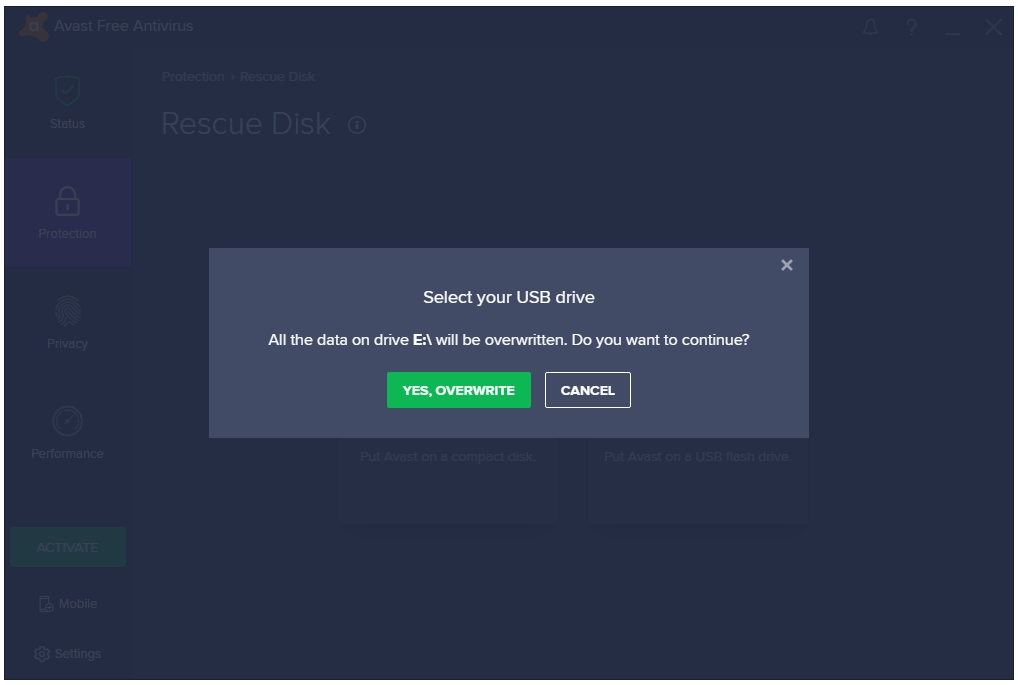
Step 6: All of the data on your USB drive will be deleted before the creation of the Rescue Disk. So, make that you have backed up the data present on your USB drive. Click the YES, OVERWRITE button when ready.
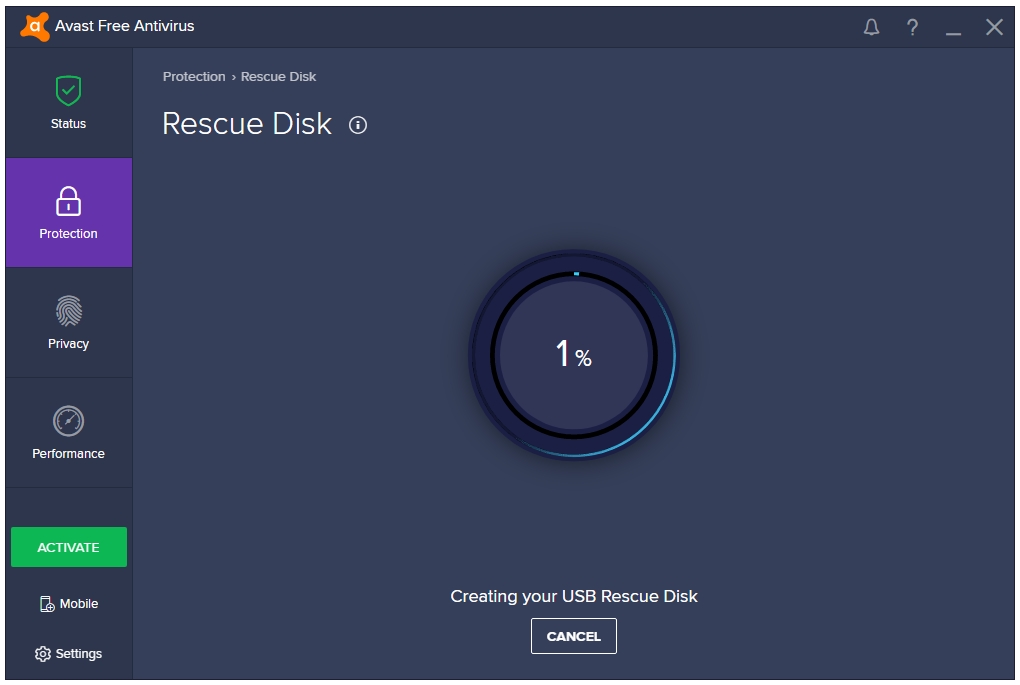
Step 7: Avast starts creating your Rescue Disk.
Step 8: And, it’s done. Safely remove your USB drive, and close the program.

Your Avast Rescue Disk is ready.