Boot from a USB Drive in VirtualBox in Windows
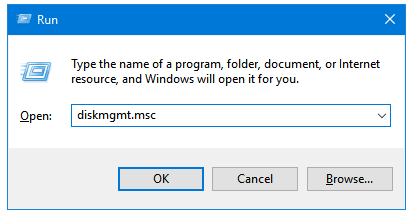
Step 1: Press the Windows + R key together to open the Run dialog box. Type discmgmt.msc and press the OK button to open the Disk Management program in Windows.
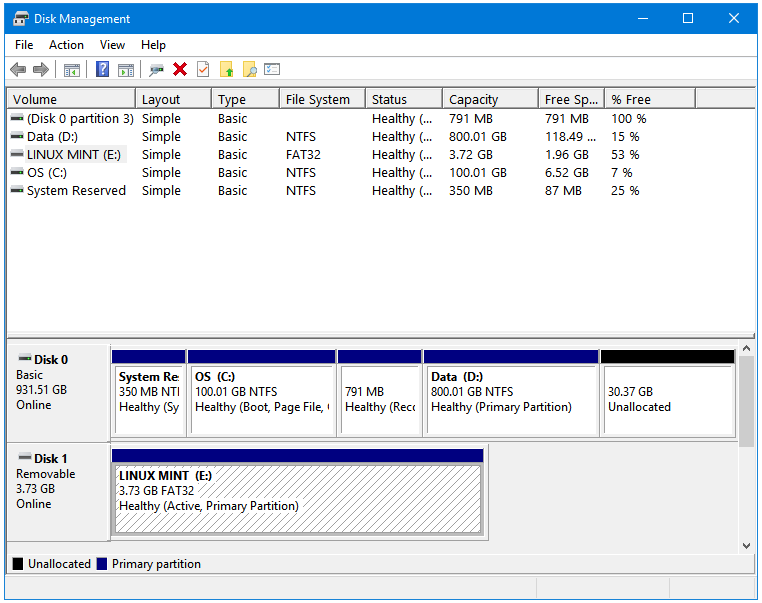
Step 2: In the Disk Management window, you’ll see all of your disks and partitions. Disk 0 is the main computer disk, the disk that has the currently running Windows installed. Note the disk number of your USB drive that you want to boot in VirtualBox; in this case, Disk 1 is the bootable USB drive. Minimize the Disk Management window.
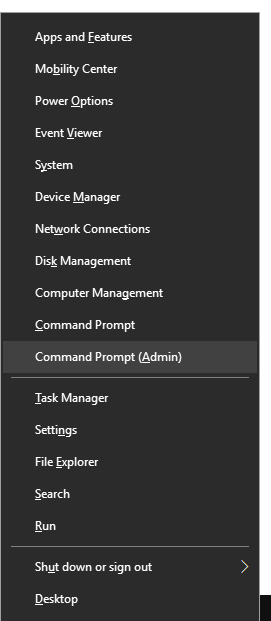
Step 3: Press the Windows + X keys together to open the Windows Power User Menu. Click on the Command Prompt (Admin) option to open Command Prompt with Administrative privileges.
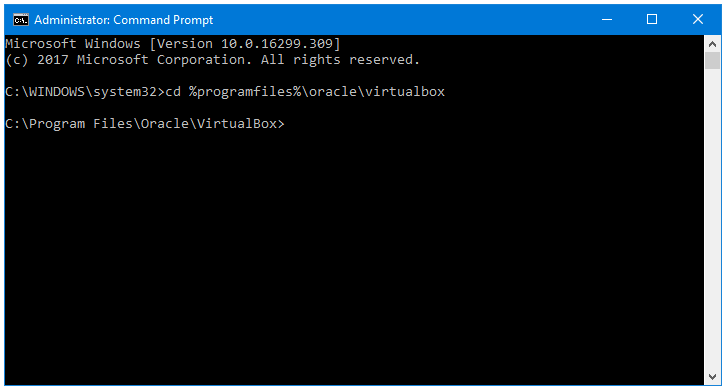
Step 4: In the Command Prompt window, type the following command, and then press the Enter key.
cd %programfiles%\oracle\virtualbox
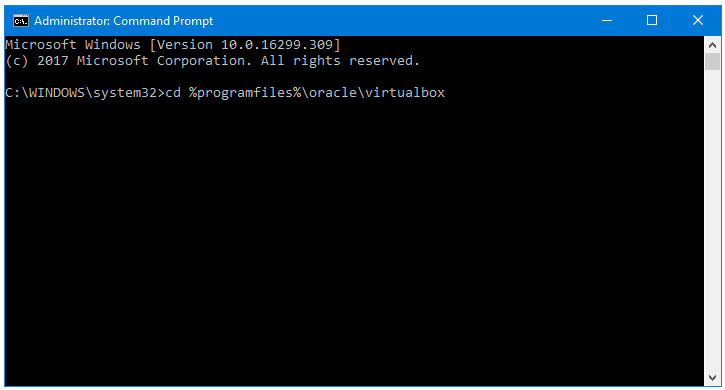
This will take you to the C:\Program Files\Oracle\VirtualBox directory.
Step 5: Now, we are going to create a bootable virtual hard disk. Type the following command to do that:
VBoxManage internalcommands createrawvmdk –filename C:\usb.vmdk -rawdisk \\.\PhysicalDrive1
- The C:\usb.vmdk is the path of our hard disk file. You can use any other location for storing the Hard disk file.
- Notice that our Hard disk file has .vmdk The VMDK (Virtual Machine Disk) is a hard disk container file format for storing hard disk images used in Virtualization programs.
- The 1 in PhysicalDrive1 represents the Disk letter 1 that we discovered in the Step 2. If in your case, the Disk 2 is the disk that you want to boot your VirtualBox from then enter 2 here along with PhysicalDrive in the command.

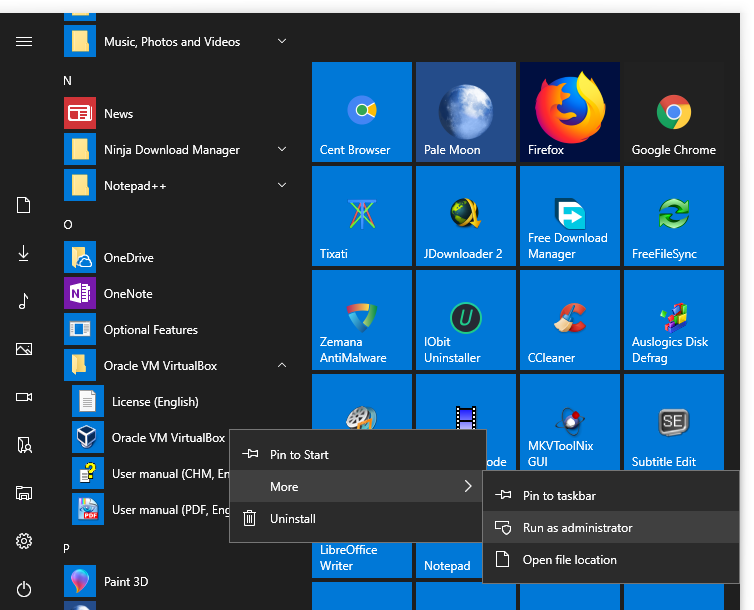
Step 6: In the Start Menu, go to Oracle VM VirtualBox > More > Run as administrator.
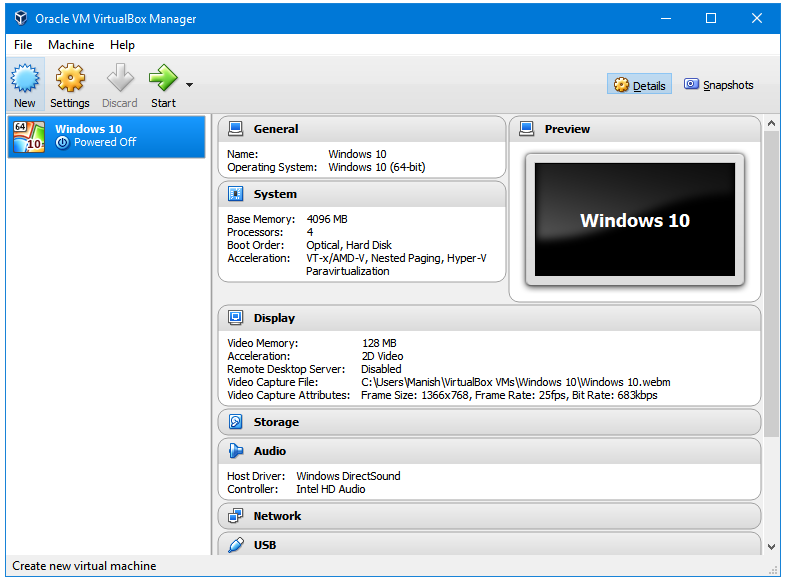
Step 7: In the VirtualBox program window, click on the New button to start creating a new Virtual Machine Operating System.
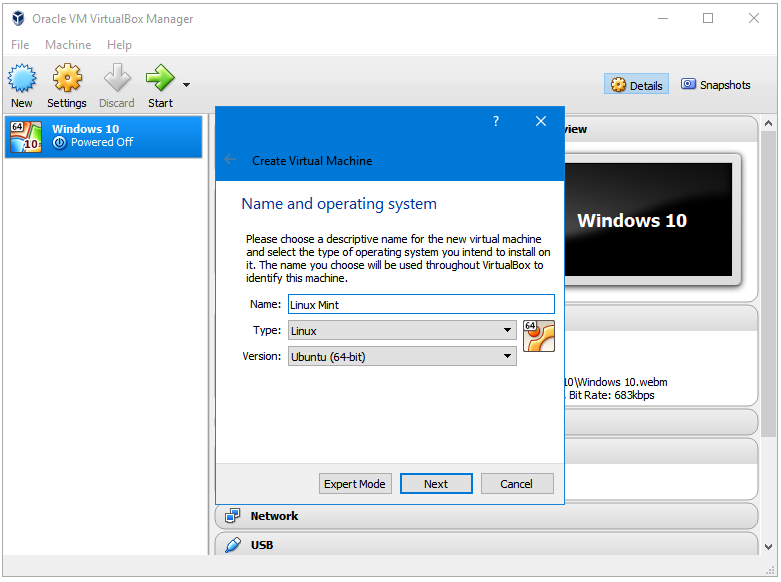
Step 8: The first step in VM creation wizard is selecting the Name, Type, and Version of the operating system that you are going to install. In this case, Linux Mint is the operating system. You’ll notice that based on the name of the operating system, VirtualBox automatically fills the rest of the two entries. Linux Mint is based on Ubuntu therefore, VirtualBox automatically selected Ubuntu under the Type option. If you are using the 32-bit architecture instead of 64-bit then you can use the Version drop-down menu to select the 32-bit variant. Click Next.
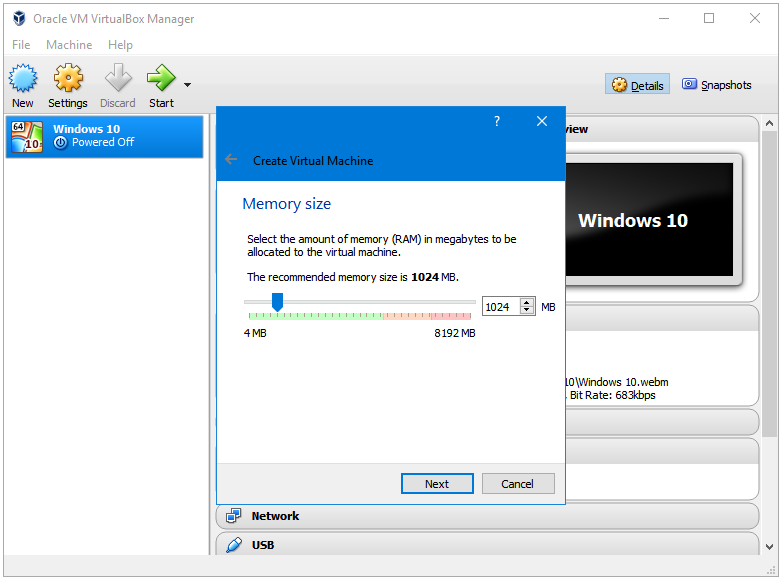
Step 9: The next step is allocating the RAM or Memory to your VM. The default is 1024. You can move the slider to increase or decrease the limit. 2048 MB (or 2 GB) is the alright for Linux Distributions but Windows requires much more than that. You need at least 4 GB to run a Windows VM. Click Next after selecting the Memory size.
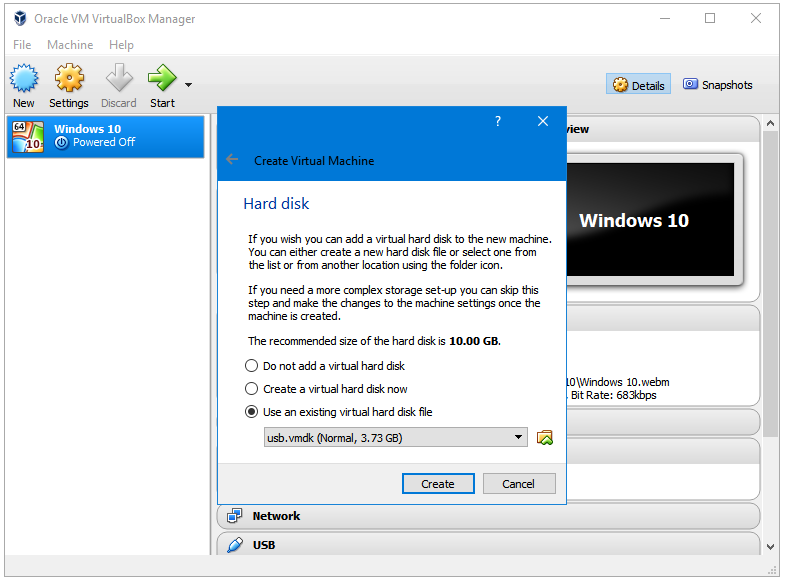
Step 10: Now comes the important part. The Hard disk window gives the user the following three options to choose from:
- Do not add a virtual hard disk
- Create a virtual hard disk now
- Use an existing virtual hard disk file.
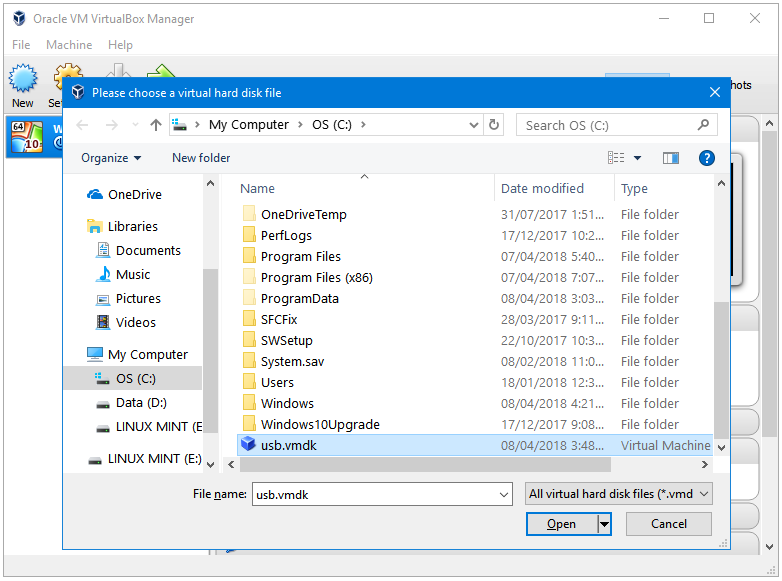
Click on the third option that says Use an existing virtual hard disk file. Click on the folder button next to this option to browse for the .vmdk file that we created in Step 4. Select the file, and then click Open.
Step 11: Click Create to proceed further.
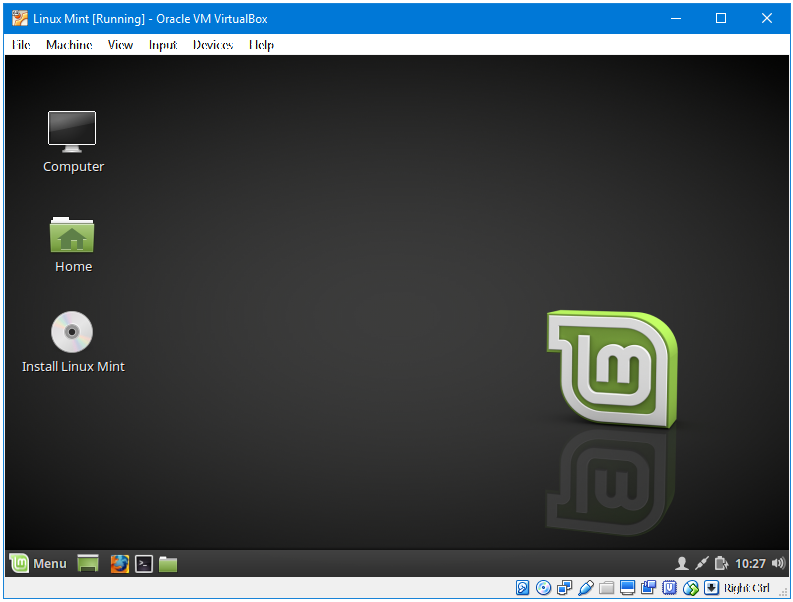
Step 12: Click on the entry of your recently created VM OS, which in Linux Mint in this case, and then click the Start button in the program toolbar.

Step 13: Congratulations! Your USB boots!
This way, you can boot your VirtualBox machines using USB flash drives.