- What is VirtualBox
- Benefits of Using VirtualBox or Virtual Machine
- How to Create Virtual Machines Using VirtualBox
What is VirtualBox
VirtualBox is a cross-platform open-source hypervisor software that lets the users run multiple operating systems within their host operating system. For example, you can install VirtualBox in your Windows installation, and then create Virtual Machines for any other operating system such as Linux, Mac, etc. to run them inside Windows. You can also run other versions or editions of your current operating system.
Benefits of Using VirtualBox or Virtual Machine
1. Run Incompatible Software
You may be running the latest version of Windows (Windows 10) but there may be some essential software that are not yet compatible with or have not been updated to work with the latest version of Windows. In that scenario, you can install the Windows version that works the best with those software, say Windows 7, and do your work there.
2. Run Software Available Only for Other Platforms
Your host operating system is Windows but you may need a software that only works in Linux. Instead of creating a dual-boot setup, you can just create a Virtual Machine of Linux, and use that software in there.
3. Test Software
You may want to test a software for bugs or errors. Or, you may want to test a software that is in earlier stages of its development. These software can have incompatibility issues, and can crash systems, therefore a better option would be to use them in a virtual environment.
4. Test Anti-Malware
Various people test antivirus products before buying them to see their protection levels and performance impact on the system. You can safely test antivirus (or antimalware) software using virtual systems.
5. Test Operating Systems themselves
Who hasn’t used VirtualBox to test or run a Linux distro for the purpose of distro-hopping! You can use VirtualBox to test Linux distros and other operating systems for new features, and other options.
How to Create Virtual Machines in VirtualBox
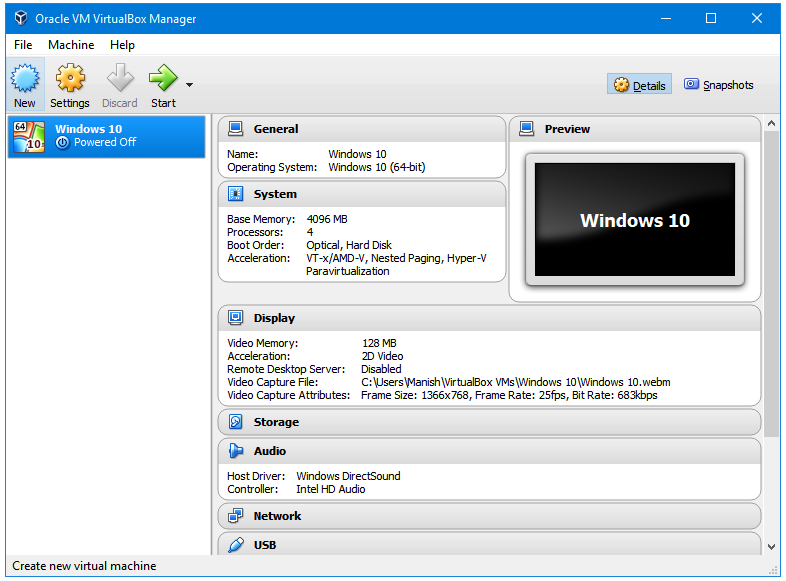
Step 1: Open VirtualBox.
Step 2: Click on the New button in the VirtualBox Toolbar. This will start the Virtual Machine creation wizard.
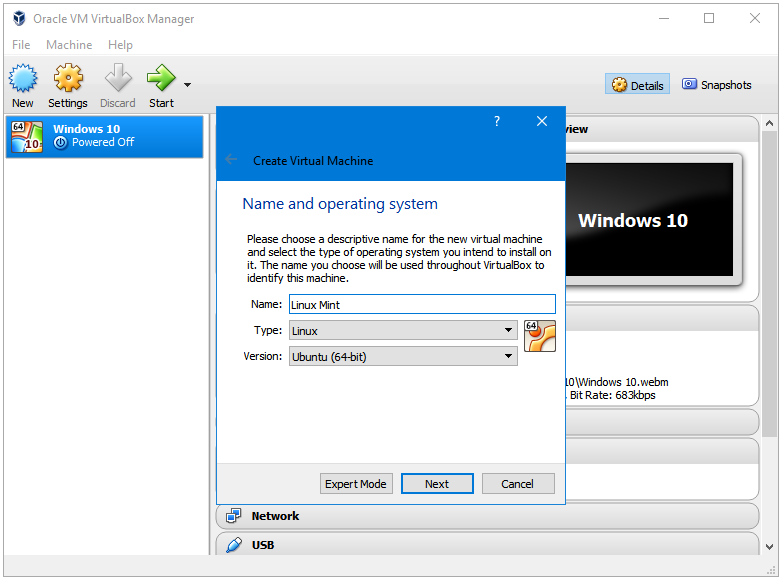
Step 3: The first step in VM creation wizard is selecting the Name, Type, and Version of the operating system that you are going to install. In this case, Linux Mint is the operating system. You’ll notice that based on the name of the operating system, VirtualBox automatically fills the rest of the two entries. Linux Mint is based on Ubuntu therefore, VirtualBox automatically selected Ubuntu under the Type option. If you are using the 32-bit architecture instead of 64-bit then you can use the Version drop-down menu to select the 32-bit variant. Click Next.
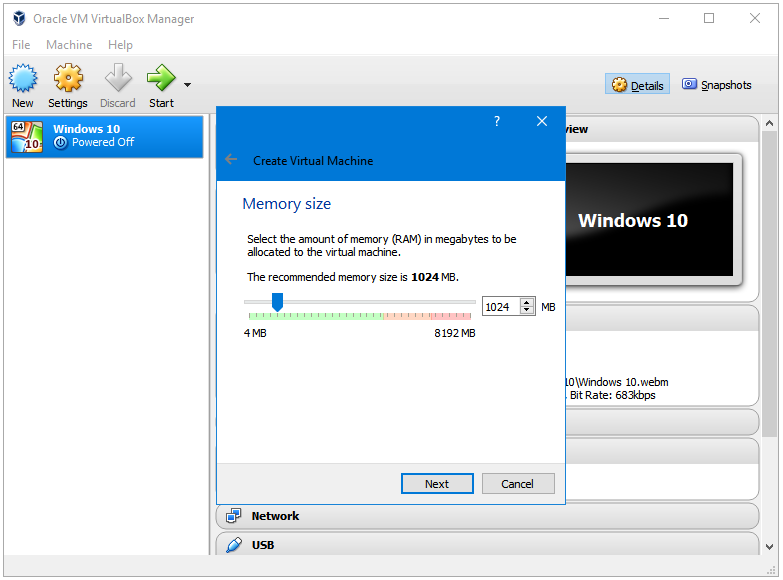
Step 4: The next step is allocating the RAM or Memory to your VM. The default is 1024. You can move the slider to increase or decrease the limit. 2048 MB (or 2 GB) is the alright for Linux Distributions but Windows requires much more than that. You need at least 4 GB to run a Windows VM. Click Next.
Step 5: Just like Real OS installations, you need a hard disk for Virtual OS installations, too. The Hard disk window gives the user the following three options to choose from:
- Do not add a virtual hard disk
- Create a virtual hard disk now
- Use an existing virtual hard disk file.
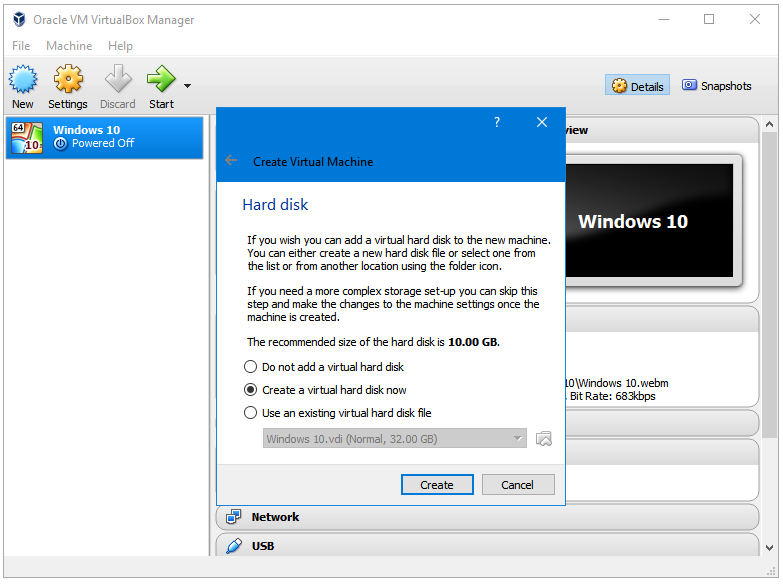
By default, the second option called Create a virtual hard disk now is selected, and this is what we want to use. Click Next.
Step 6: Select the Hard disk file type. VirtualBox supports the following three hard disk container file formats:
- VDI (VirtualBox Disk Image)
- VHD (Virtual Hard Disk)
- VMDK (Virtual Machine Disk)
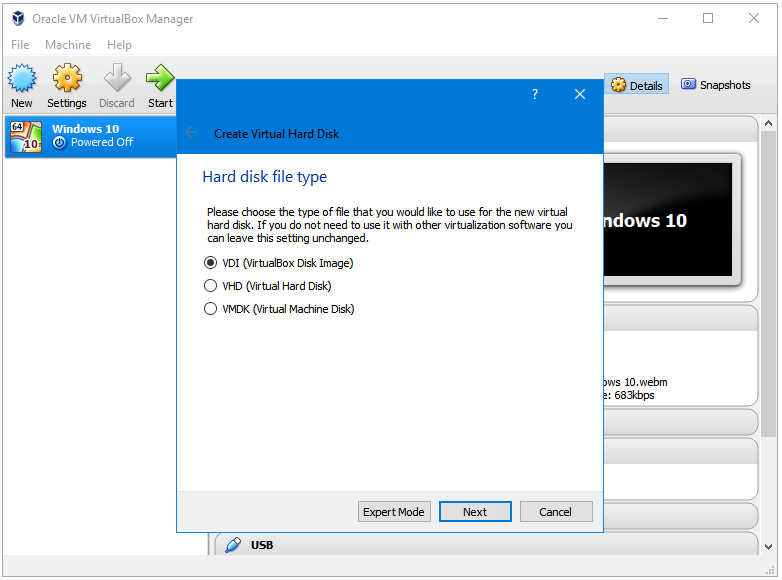
By default, the first option called VDI (VirtualBox Disk Image) is selected. There is no need to select any other option here. Click Next.
Step 7: The Hard disk storage type can be of the following two types:
- Dynamically allocated – This storage file type uses the hard disk space allocated to the Virtual Machine as the size of that machine increases. Suppose, you allocated 10 GB of disk pace to the VM. If the VM is using only 5 GB of that space then the other 5 GB is still available to use for other files on your host operating system.
- Fixed size – This storage file type reserves the storage space that you allocate to your Virtual Machine. So, choosing this option means that if you allocated 10 GB of disk space then that 10 GB becomes unavailable for other files on your computer even if your VM is using only a fraction of that 10 GB.
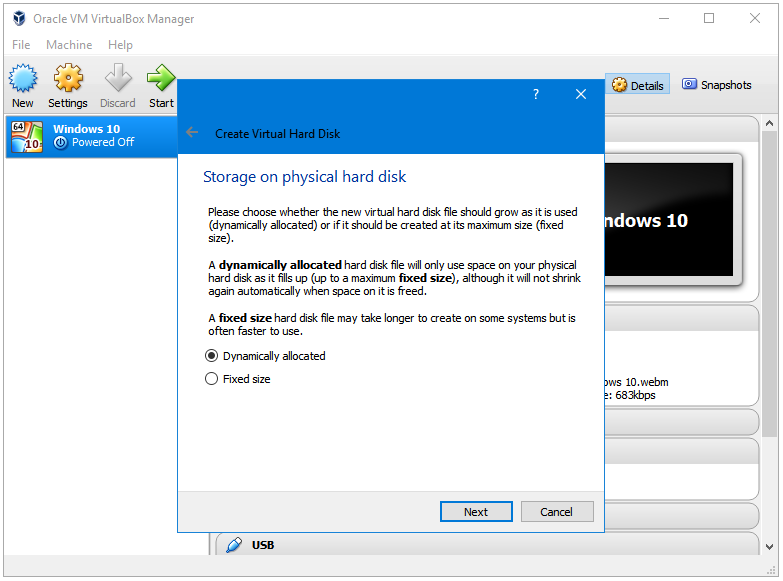
The default option, Dynamically allocated, is the one that I’m going to use. Click Next.
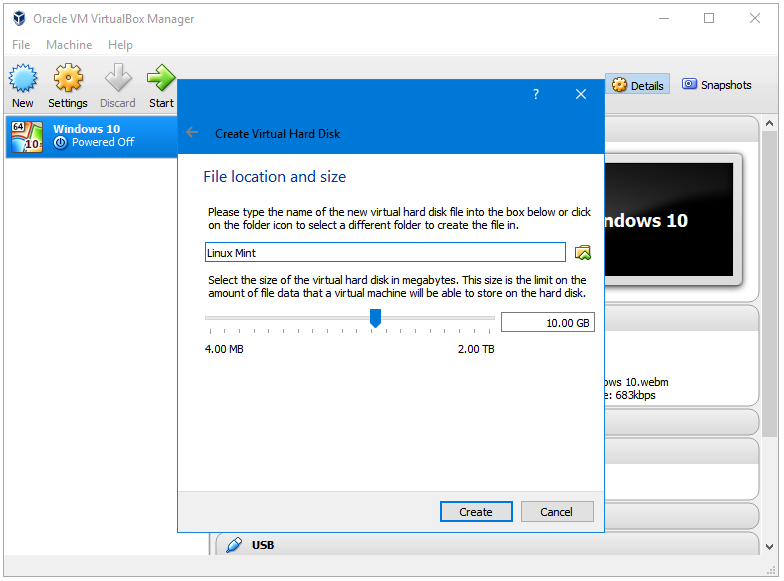
Step 8: Now, you have to pick a size for your Hard disk. The default is 10 GB. You can move the slider to increase or decrease the limit. 10 GB is good enough for Linux Distributions but you need to allocate more space, like 20-30 GB, for Windows. Click Create.
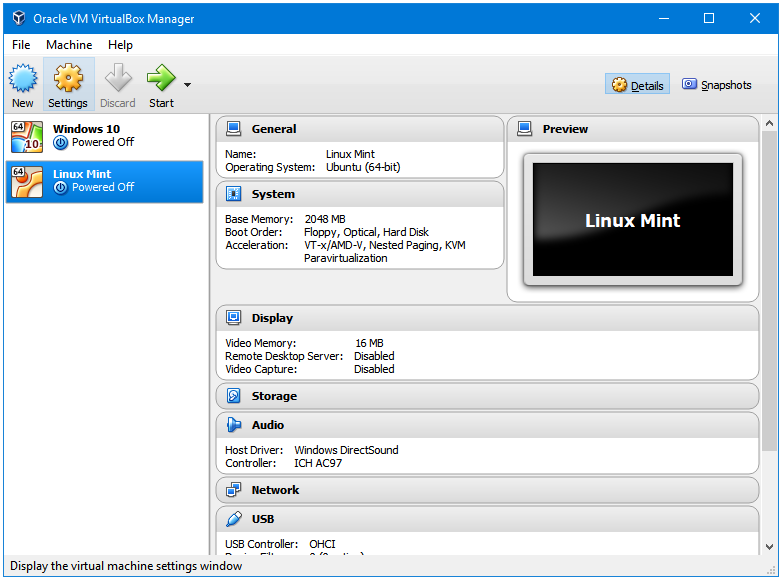
Step 9: There is still one thing left to do, and that is selecting the source of Operating System Installation files. Click on the name of your recently created Virtual Machine, and then click on the Settings button in VirtualBox Toolbar.
Step 10: In the Virtual Machine Settings window, click on the Storage side tab.
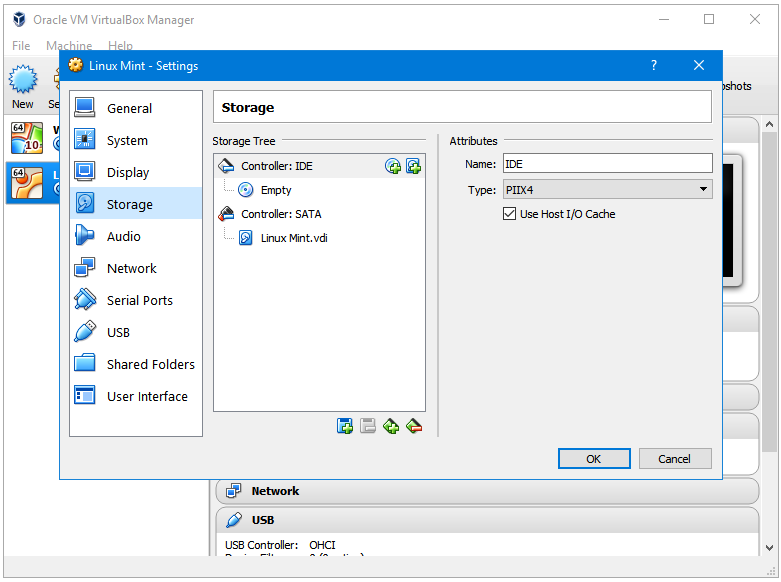
Step 11: Now, Under the Storage Tree section, click on the +Disc icon adjacent to the Controller: IDE text.
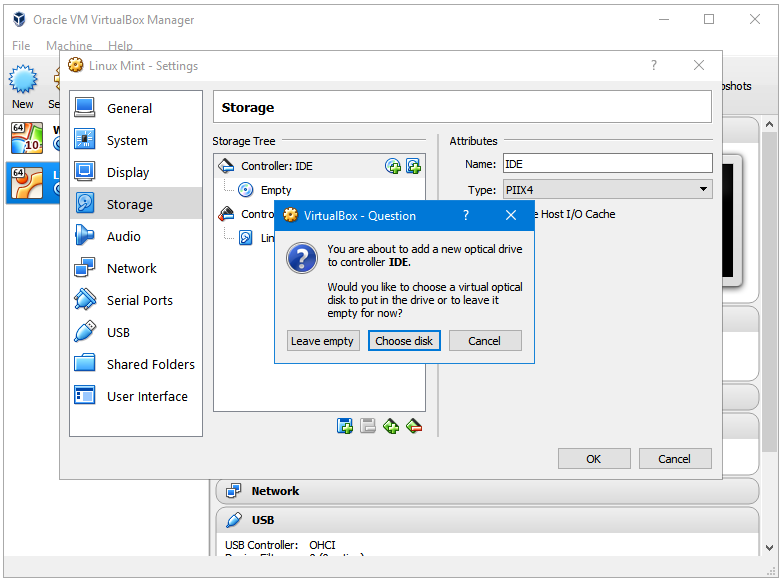
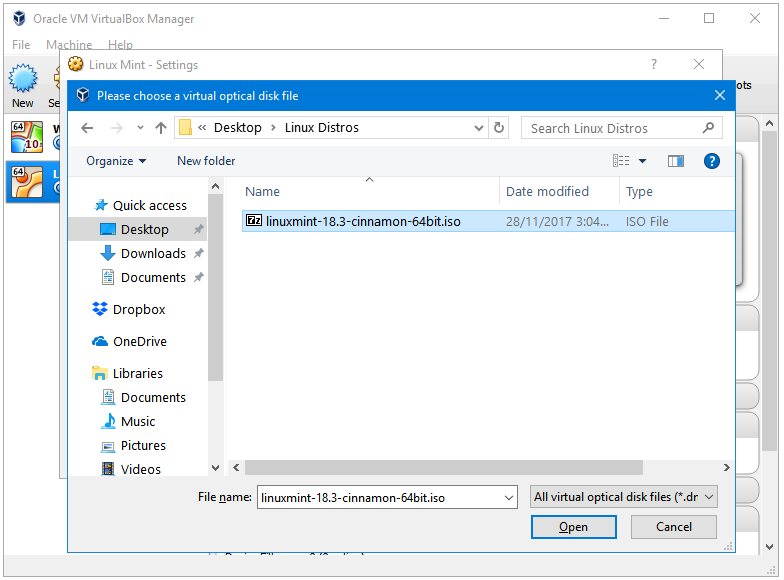
Step 12: Click on Choose disk to browse for the ISO file of the operating system that you are installing. Locate your ISO file, select it, and then click Open.
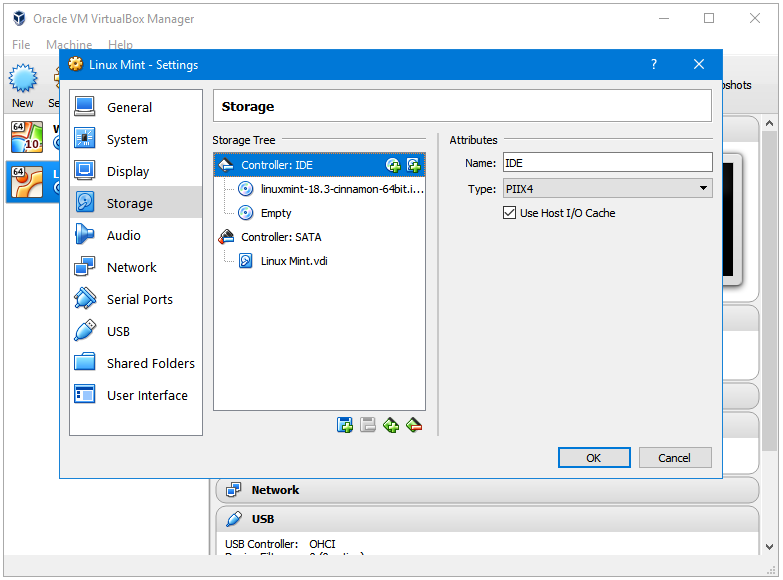
Step 13: You’ll notice that the ISO file has been added to the Storage Tree section now. Click OK to close the Settings window. We’re finally done with Settings.
Step 14: Click on the name of your Virtual Machine, and then click on the Start button in VirtualBox Toolbar.

Step 15: You’ll be greeted with the operating system boot screen.
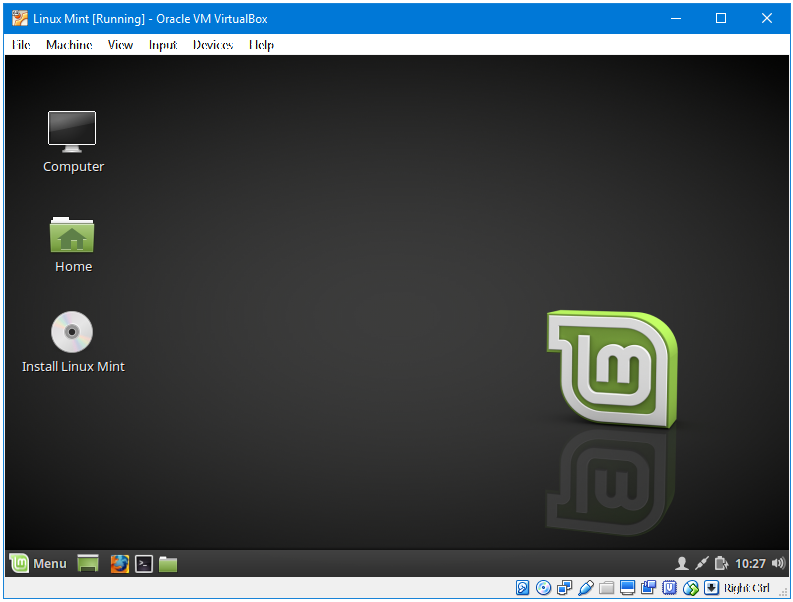
That’s how you can create Virtual Machines from ISO files using the VirtualBox software in Windows.