PhotoRec
PhotoRec is developed by, CGSecurity, the same developers who make TestDisk. While TestDisk is focussed on recovering lost data from the whole disk or partitions, PhotoRec is aimed at the recovery of specific files and folders. It may have the word Photo in its title but it does not recover only photos. It is a complete data recovery program, which can be used to recover deleted photos, audio, video, documents, and other file types from hard disks, memory cards, CD/DVD, USB drives, and other portable multimedia devices.
Like TestDisk, PhotoRec is also an open-source program, and is distributed under the GNU GPL license. In addition, it is also available on all of the operating systems that are supported by TestDisk.
Unlike TestDisk, PhotoRec has GUI version of itself called QPhotoRec.
PhotoRec Homepage: https://www.cgsecurity.org/wiki/PhotoRec
Benefits of Using PhotoRec
- Small size
- Portable
- Cross-platform
- Open-source
- No Malware, Ads, or Promos
- Thorough Disk Scanning and Data Recovery
How to Run TestDisk in Windows
- PhotoRec comes inside the TestDisk Zip file. Download TestDisk from their official download page mentioned below:
https://www.cgsecurity.org/wiki/TestDisk_Download - Extract the downloaded TestDisk Zip (.zip file).
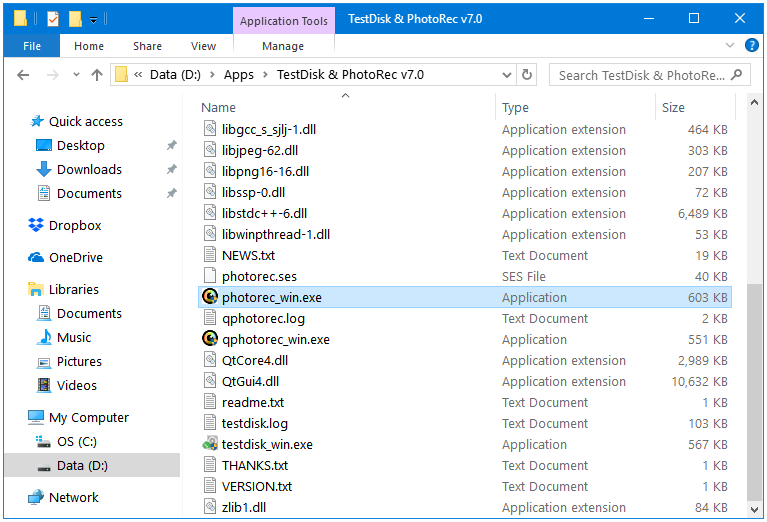
- Find and open the photorec_win.exe file to start PhotoRec.
How to Recover Deleted Files and Folders Using PhotoRec
WARNING
DO NOT STORE THE RESTORED FILES ON THE SAME PARTITION WHOSE FILES YOU ARE RECOVERING. DOING SO CAN OVERWRITE THE PREVIOUSLY DELETED FILES RESULTING IN CORRUPTED FILE RECOVERY.
Step 1: The first step is creating a Recovery location for your data. I have created a folder called Recovery in D:\ drive to use as the destination for recovered files.
Step 2: Open the photorec_win.exe file from the extracted TestDisk folder.
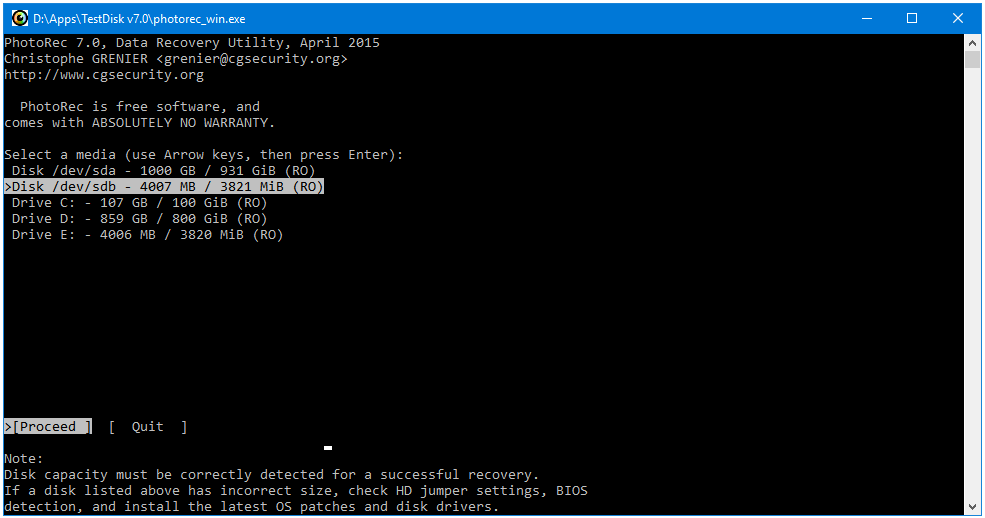
Step 3: PhotoRec displays all of the connected Disks and Partitions within them. You can select a Disk if you want to scan and recover data from the entire disk, or you can select a Partition if you only want to perform recovery on that single partition. Click Proceed to go ahead or Quit to go back.
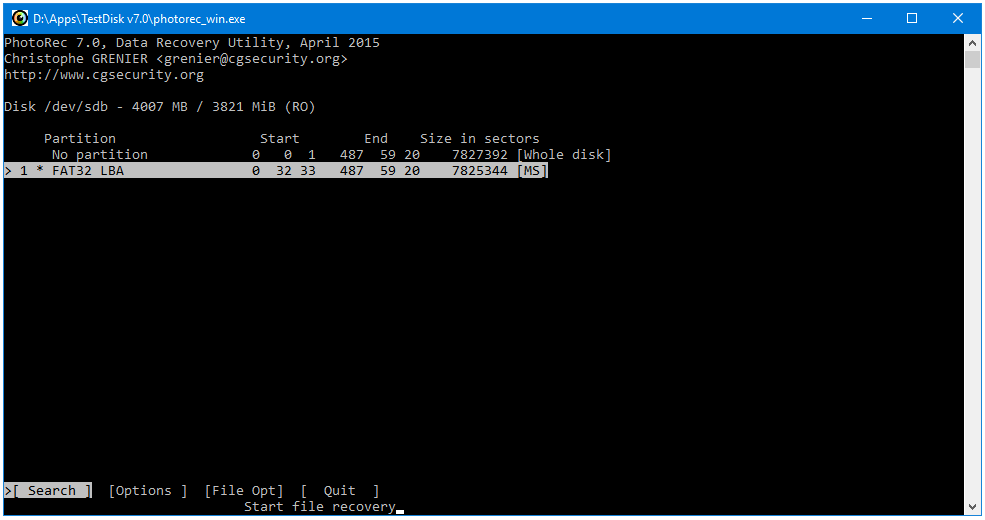
Step 4: The Search option is selected by default. Click the Enter key to start searching the disk for deleted files.
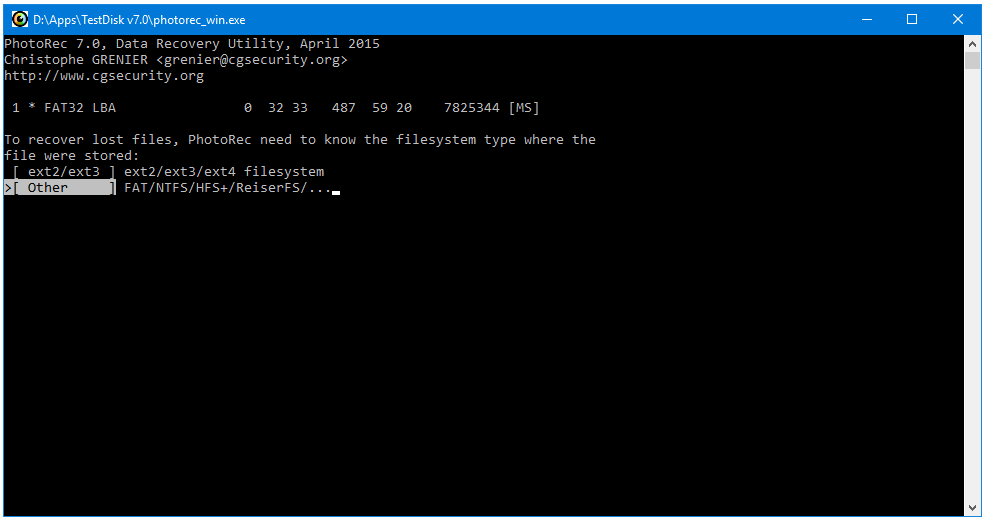
Step 5: The next screen asks you to select the type of File System of the damaged disk. Windows, and Removable Hard Disks use NTFS, USB flash drives use FAT, Linux uses ext, etc. The Other option is selected by default. Press Enter on your keyboard to go ahead.
Step 6: Now, you have to select the disk space to scan, you can scan either for the unallocated space only or the whole partition. The unallocated space is that space on your disk does to belong to any partition. If you accidentally deleted a partition or if something corrupted your partition then the space belonging to that partition becomes unallocated (on unused) space on your disk.

The Free option scans only the unallocated space on the disk, and not the complete disk whereas the Whole option scans everything on your disk – all of the partitions as well as the unallocated space. Click Enter to proceed further.
Step 7: When you have selected files or folders for recovery, PhotoRec will automatically take you to the directory from where it is being run.
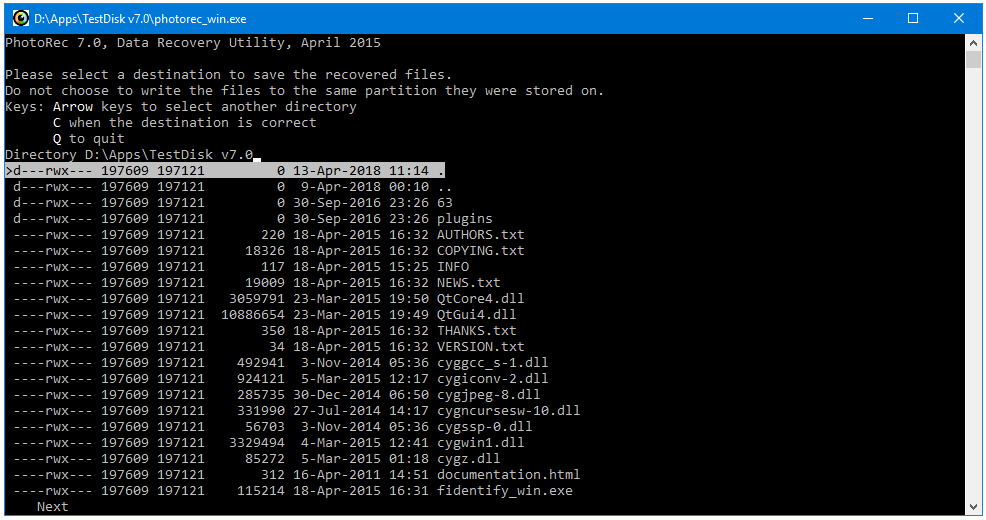
Step 8: The time has come for you to select a destination to save the recovered files. Remember we created a Recovery directory in Step 1. Navigate to that location using the Arrow keys on your keyboard. Press the < (Backward) key to go back, and press the > (Forward) key to change directory or go inside the selected location.
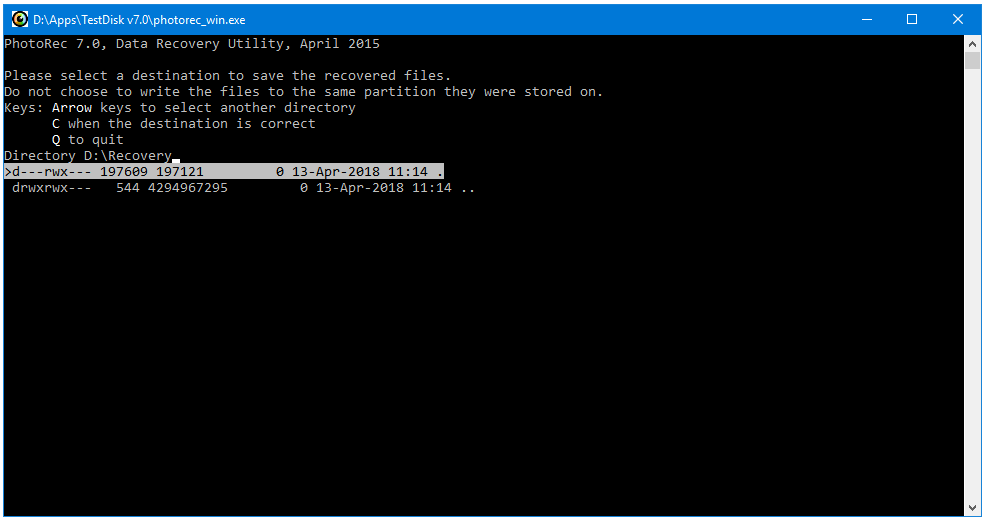
All four of the Arrow keys, Backward, Forward, Up, and Down, are used in this program. I’m running this program from D:\Apps\TestDisk v7.0 directory, and I want to go to D:\Recovey. In order to do that I’ll press < twice to go to the root of my D drive, and then use the Recovery folder using the Down arrow key. Then press > to go inside that folder. Finally, press C to select that folder and go to the next option.
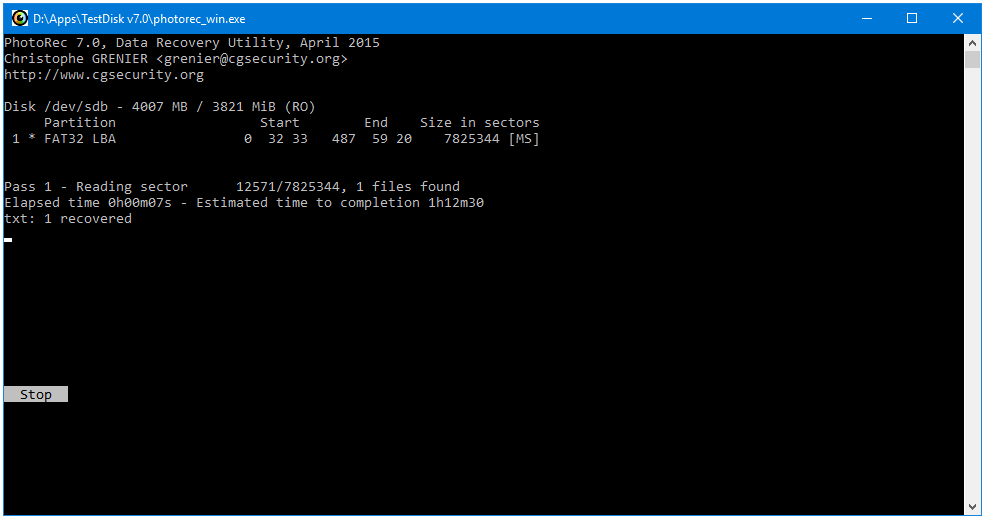
Step 9: PhotoRec starts scanning and recovering files from your damaged drive to the recovery location.
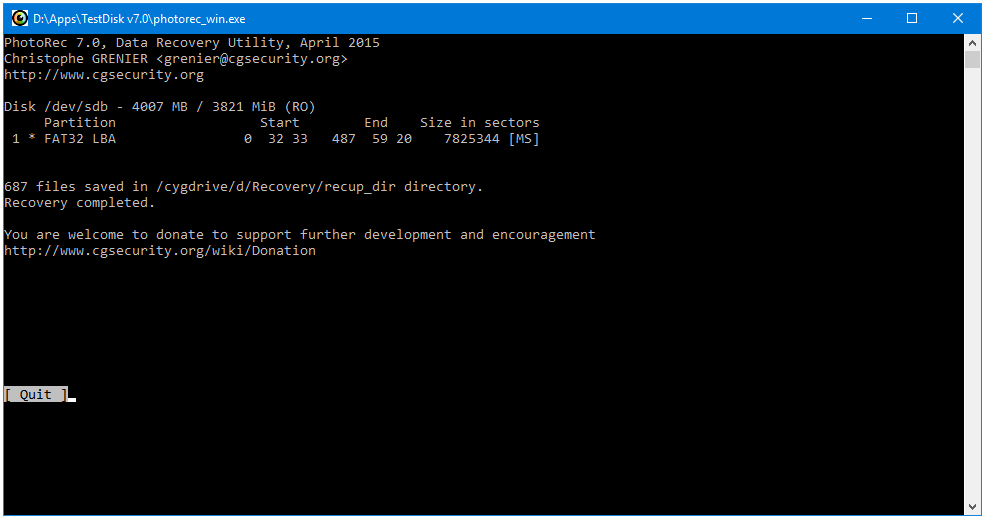
Step 10: The recovery was successful. Press Enter to Quit the window, or Close the program by clicking the Close (X) button.
Step 11: Now, go to your Recovery folder that you created in Step 1. There, you’ll find your recovered data.