Windows Recycle Bin
The Recycle Bin is a great feature but it uses a lot of disk space. If you don’t use this feature too much or want to save some disk space then you can use one of the following two options – limit its maximum size or disable it completely.
Disable or Enable Recycle Bin in Windows
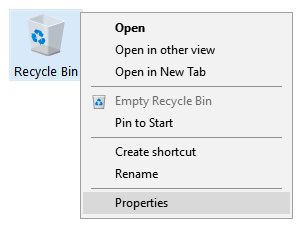
Step 1: Right-click on the Recycle Bin icon on the Desktop. In the context menu, click on the last option called Properties.
Step 2: In the Recycle Bin Properties window, click on the partition name for which you want to disable the Recycle Bin settings.

Step 3: Now, navigate to the Settings for selected location section. Here, select the second option called Don’t move files to the Recycle Bin. Remove files immediately when deleted. This deletes files completely from Windows bypassing the Recycle Bin. Do the same thing for each partition.
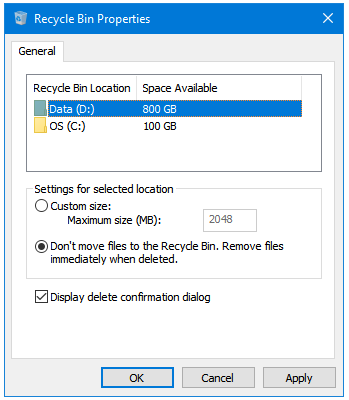
Step 4: Click on the Apply button to apply the changes, and then OK to close the window.
Now, you have disabled the Recycle Bin feature on your selected partitions. If you want to enable it again, then select the Custom size option in the Settings for selected location section, and then apply the changes.