Windows Recovery Drive & Windows Recovery Environment (WindowsRE)
Windows Recovery Drive opens the gates to all kinds of recovery options available in the Windows Recovery Environment (WindowsRE). Windows automatically boots the computer in the Windows Recovery Environment whenever it finds something wrong with the Windows. However, it doesn’t work every time. The WindowsRE files are stored in the Recovery folder in your System partition. If those files are damaged, or deleted, or are unable to load then the WindowsRE won’t be able to boot. Then, the only way for the user is to boot through the Recovery Drive. This Recovery Drive is a bootable removable media that contains all of the files of the Windows Recovery Environment.
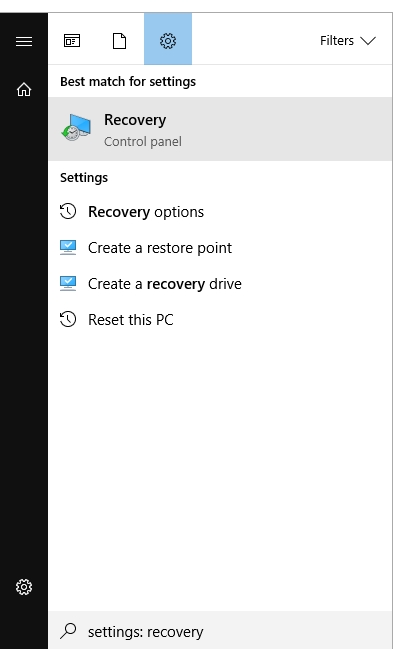
Step 1: Type recovery in Windows Start Menu. Click on the Control Panel app called Recovery.
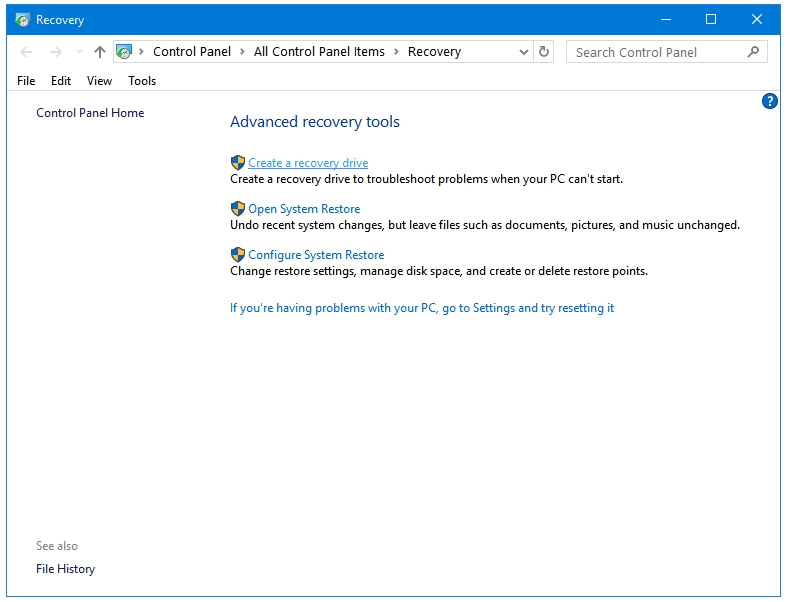
Step 2: Under Advanced recovery tools in the Recovery window, click on the Create a recovery drive option. This will open Windows’s Recovery Drive creator tool.
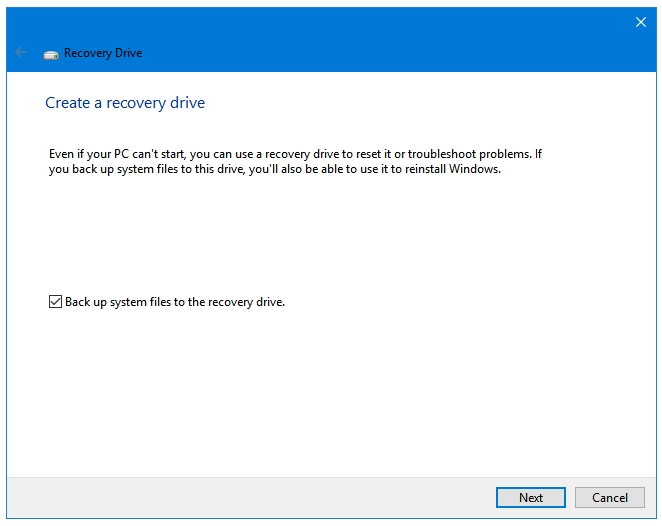
Step 3: The Recovery Drive creator tool opens. Make sure the option that says “Back up system files to the recovery drive” is checked. Click Next.
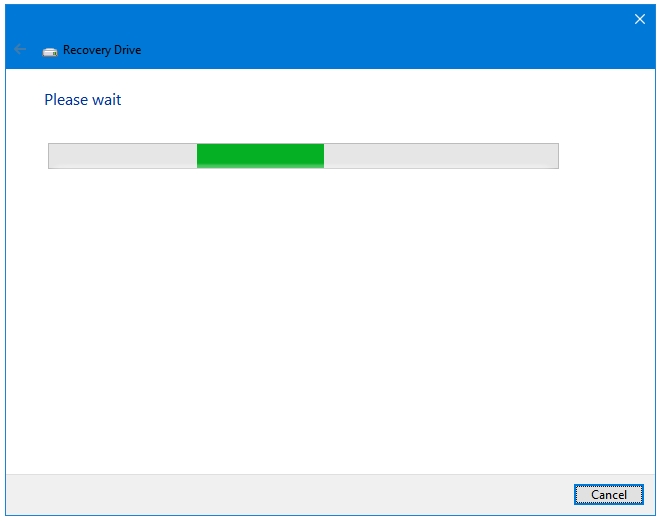
Step 4: Please wait while it does its thing.
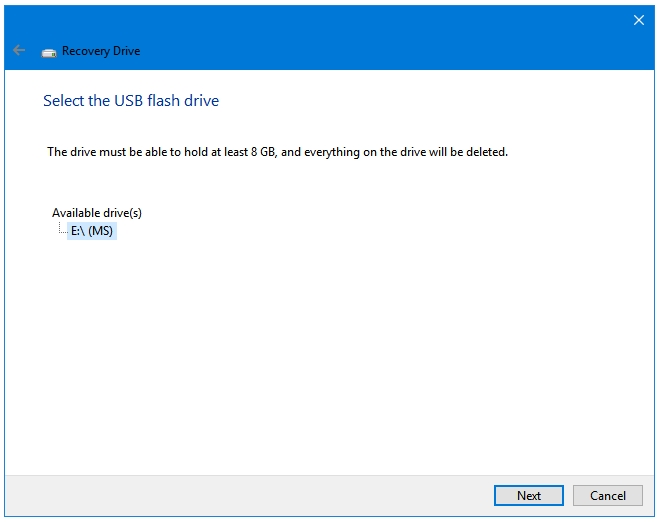
Step 5: After some time, you’ll be presented with all of the connected removable drives. Carefully select the one that you want to use. All the content of that removable drive will be deleted so make sure that you have backed up the data of that drive. Click Next to start the creation process.
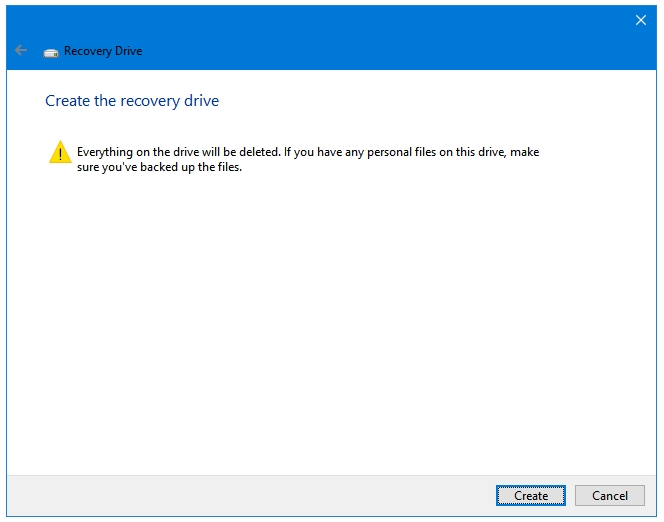
Step 6: Here comes your Warning sign. Click Create.
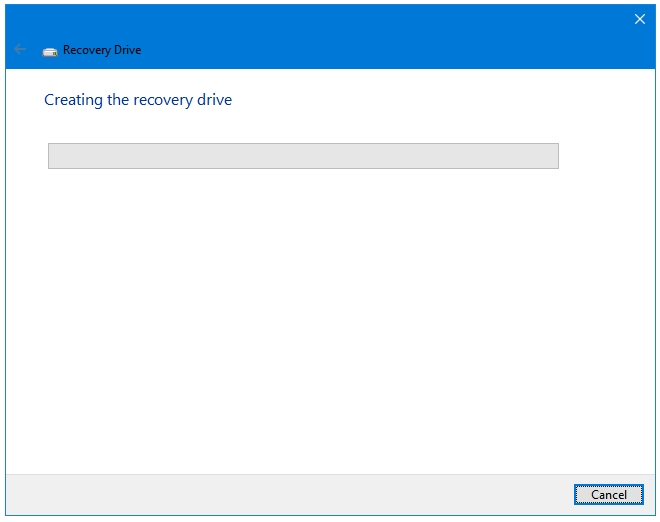
Step 7: The process starts.
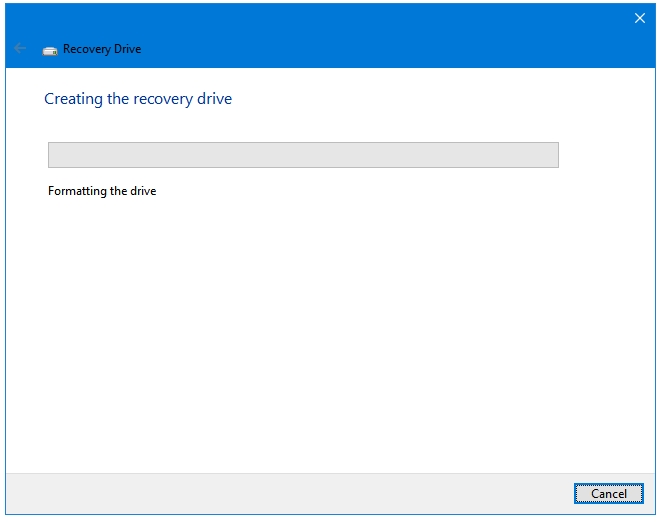
Step 8: Formatting the drive.
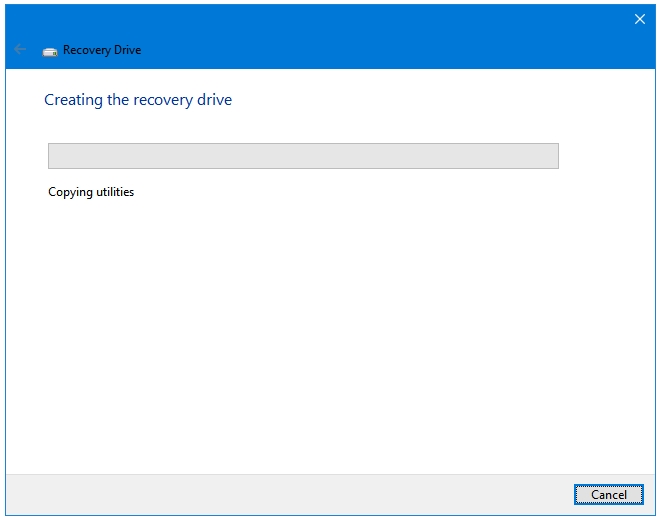
Step 9: Copying utilities.
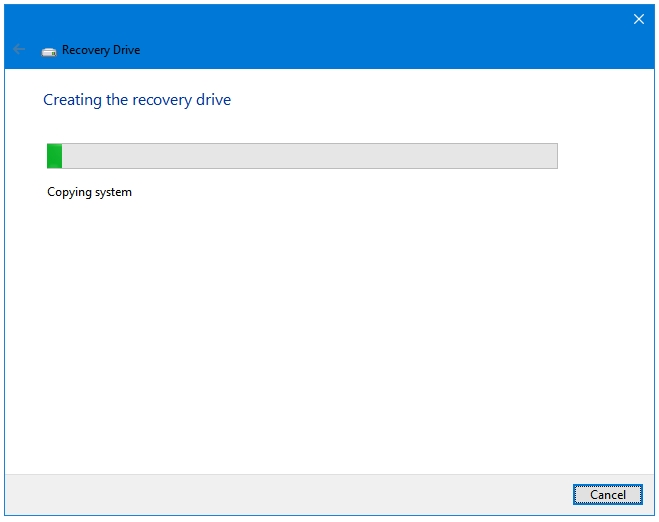
Step 10: Copying system.
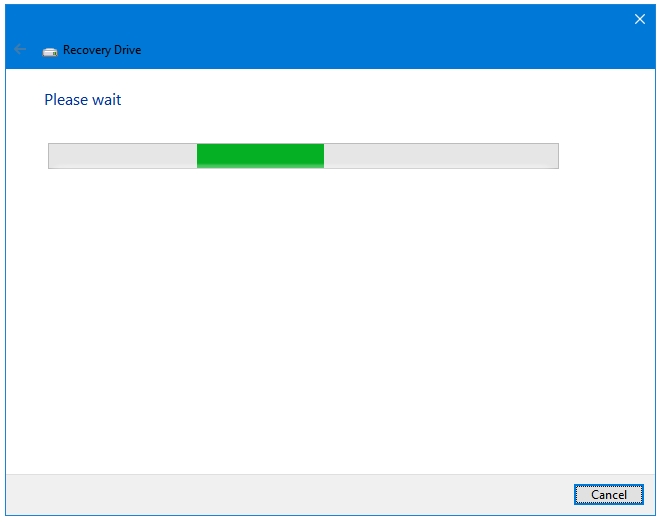
Step 11: It’s gonna take a lot of time.
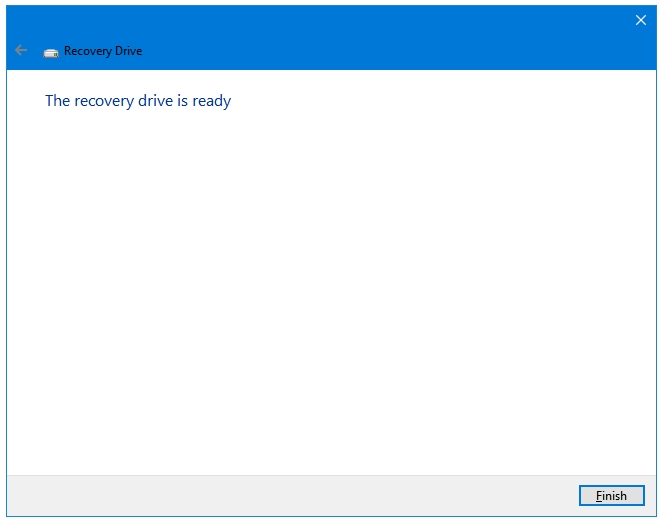
Step 12: Finally, you have created the Recovery Drive. Click the Finish button to close the program.
Keep the drive at a safe place.