System Restore
System Restore was first introduced in Windows ME. It allows the Operating System to revert to the point of Restore Point creation. A Restore Point is created automatically or manually. It is the first tool that users should try in recovering from Windows errors. It is recommended to create Restore Points before playing with Windows Registry, or Windows and Programs settings.
How to Create a Restore Point in Windows
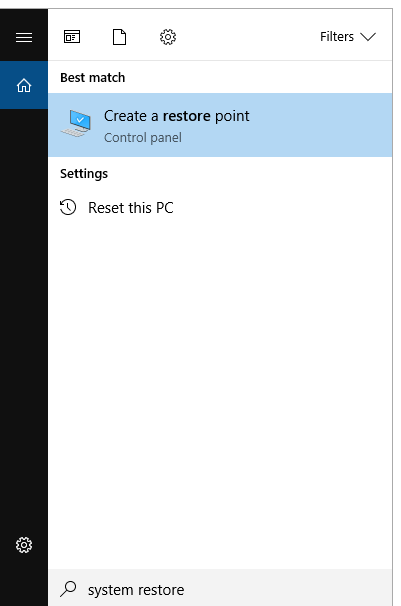
Step 1: Type system restore in Windows Search to open the System Protection feature of Windows.
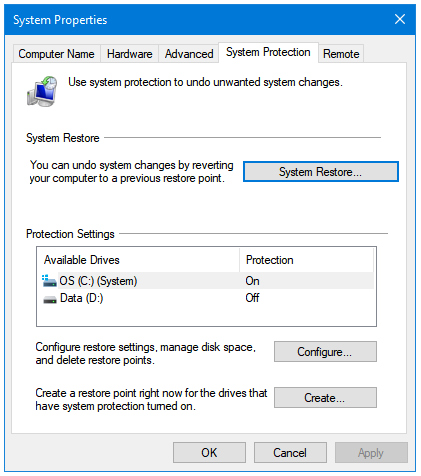
Step 2: You’ll find yourself on the System Protection tab in the System Properties window.
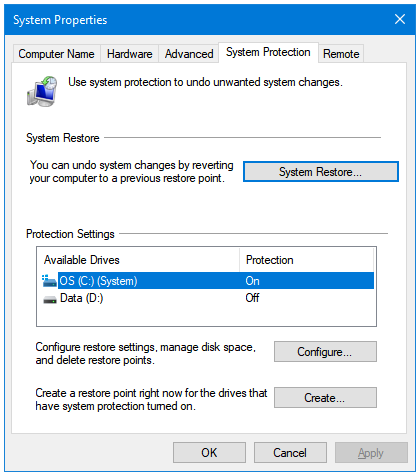
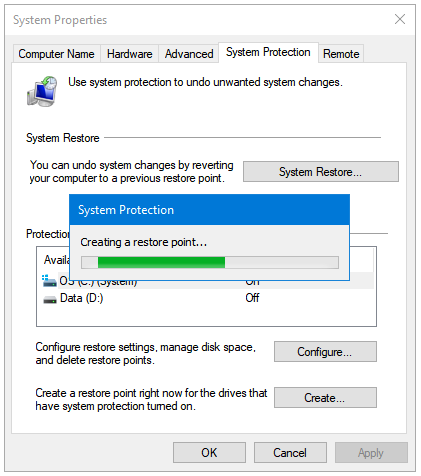
Step 3: Under the Protection Settings area, click on the name of the drive for which you want to create a restore point. After selecting the drive, click on the Create button to start creating the restore point.
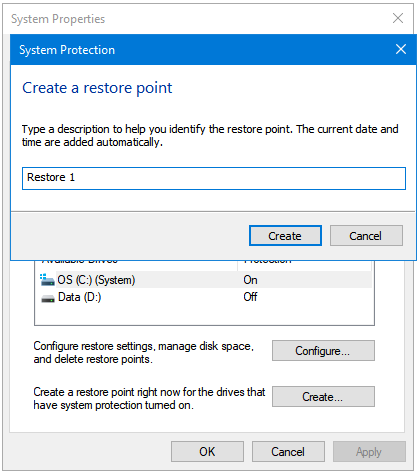
Step 4: Enter the name for your restore point, and then click Create.
Step 5: Wait while Windows creates a restore point for your computer.
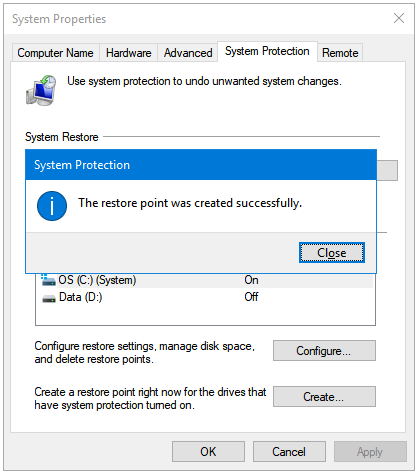
Step 6: A few moments later, you’ll see a message box informing you that the restore point was created successfully. Click the Close button. And, also close the System Properties window.
How to Delete Restore Points in Windows
Step 1: Open System Restore.
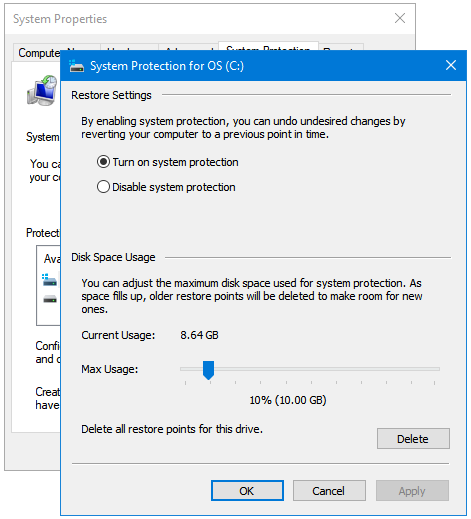
Step 2: Under the Protection Settings area, click on the name of the drive whose restore points you want to delete. Click on the Configure button to proceed further.

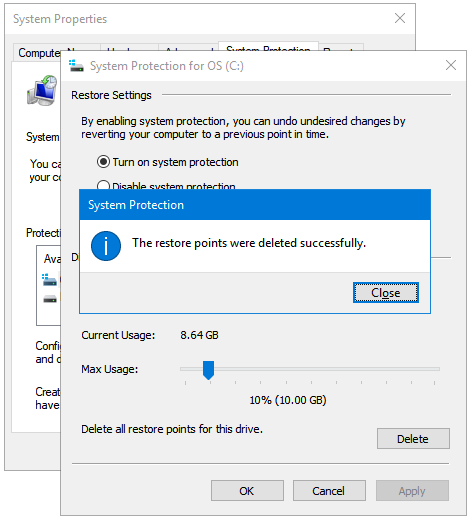
Step 3: In the following window, go to the Disk Space Usage section, and click on the Delete button.
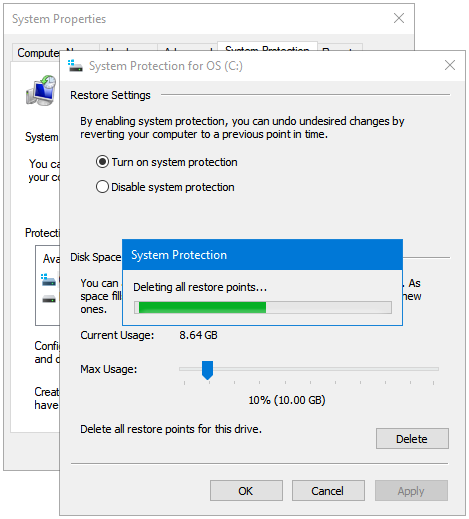
Step 4: Windows displays a warning message. Read it, and then click Continue if you still want to delete all of your restore points.

Step 5: Windows is deleting restore points.
Step 6: And, here is your success message.
Don’t forget to create one Restore Point after deleting all of them.