Follow this step-by-step guide to boot Windows into Safe Mode using Windows’ in-built System Configuration (msconfig) utility.
Step 1: Press the Windows key and R together to open the Run dialog box.
Step 2: Type the word msconfig in the text field, and press OK. This will open Microsoft’s System Configuration tool.

Step 3: Press the Boot tab to access Windows Boot options.

Step 4: In the Boot options section, tick the Safe boot checkbox.
There are four options under Safe boot – Minimal, Alternate shell, Active Directory repair, and Network.
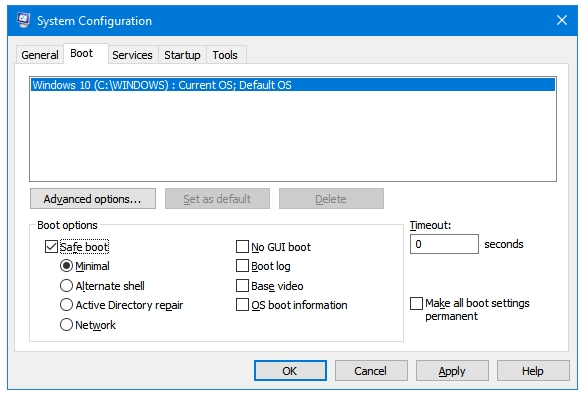
By default, Minimal is selected. Safe Mode loads only the essential drives and services required to boot Windows. None of the third-party drivers or of third party startup programs and services is loaded in the Safe Mode. The Minimal Safe Mode does no loads the networking drives and services, so in this option you won’t be able to access internet. If you want to use internet in the Safe Mode, then use the next option, which is Network Safe Mode.
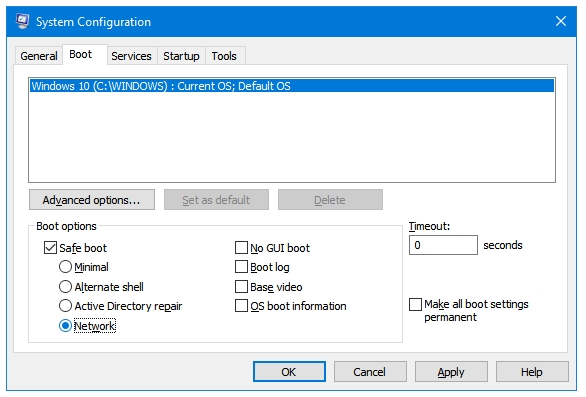
Network is used if you want to have Internet access in Safe mode. It additional networking drives as well along with the drives loaded in the pure Safe Mode. It can be useful in many occasions. You may want to download software, drivers, or tools in Safe Mode to fix Windows problems. Or, you may want to read a tutorial or guide while inside Safe Mode to recover from errors. The internet access also lets you use remote tech help using tools such as TeamViewer.
Step 5: Select the Safe boot type that you want to use. Then Click Apply and then OK.
Step 6: Restart your computer to boot into Safe Mode.
Don’t forget to reverse this process to enable the Normal boot mode of Windows.