Hosts file
The Hosts file is an extension-less system file that is used to map host names or website domain names to the IP addresses. You do not require a program to run the Hosts file. It boots with the computer, and is already working for you.
Hosts file overrides the DNS settings of the websites mentioned in it on that computer. If a domain name is mentioned in your hosts file then the operating system won’t use the DNS for its resolution, it reads from the hosts file and performs accordingly.
How does the Hosts file Work
Before be understand the working of Hosts file, we need to know about 127.0.0.1. All three of the following addresses – 127.0.0.1, 0.0.0.0, and 255.255.255.255, redirect to your local system. Any number of websites mapped to any of these IP addresses in the Hosts file redirect to your computer itself, which is the local host.
The Hosts file works in two ways.
- Blocking Domains
- Redirecting Domains
1. Blocking Domains
Type one of the three IP addresses mentioned in the previous section. Next, give a space or a tab, and then type the website domain name that you want to block. Now, when you type and enter that domain name into the URL bar of your web browser, it will be mapped to the IP address that you mentioned for it in the Hosts file instead of its original IP address, which is your own computer, the local host.
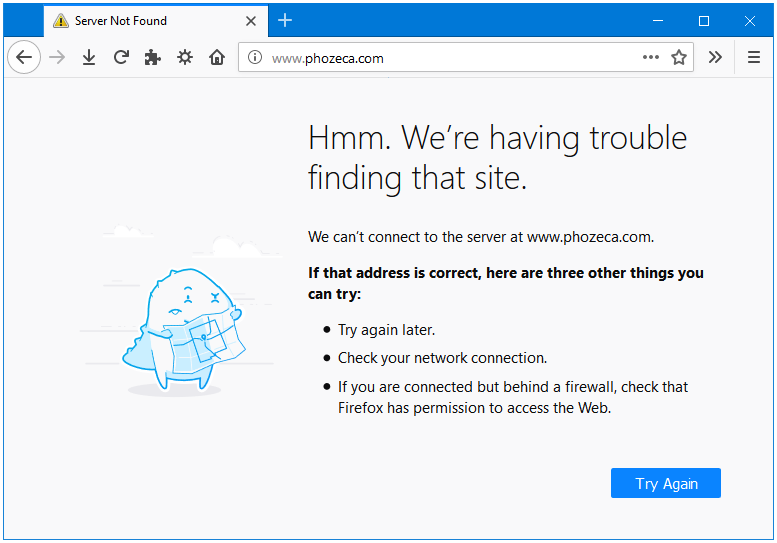
The web browser makes no outgoing requests from your computer to the Internet. It will not be able to able to access this website, and displays an error message.
2. Redirecting Domains
Using the same method, you can redirect a website to another website. Type the IP address of that website where you want the other website to be redirected to. Next, type the domain name of the website that you are redirecting to the IP address that you just typed.
For Example, if you want to redirect Google.com to Bing.com, then type the IP address of Bing.com, and then type Google.com in the Hosts file. Save the Hosts file. Now, when you type and enter Google.com in the URL bar of your web browser, it will open Bing.com instead of Google.com.
The Hosts file is located deep inside your system drive, C:. Here is the exact path.
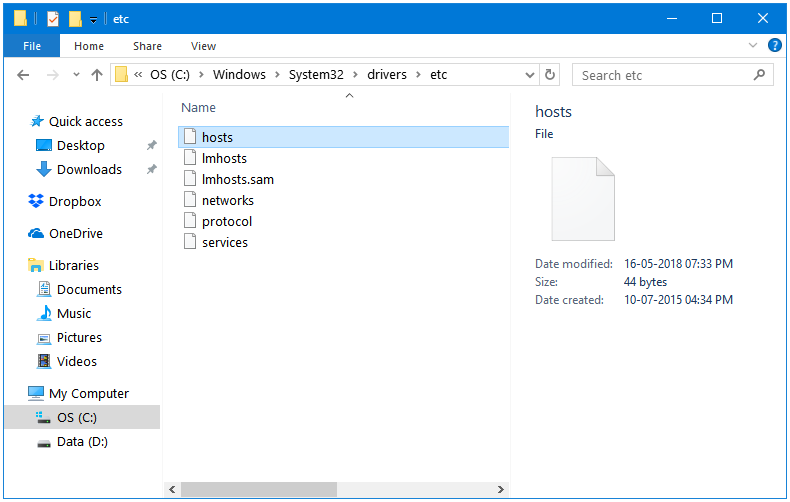
Hosts file Location: C:\Windows\System32\drivers\etc
How to Block Websites Using Hosts file in Windows 10?
Step 1: Go to the Hosts file directory. Right-click on the hosts file, and click on Properties.
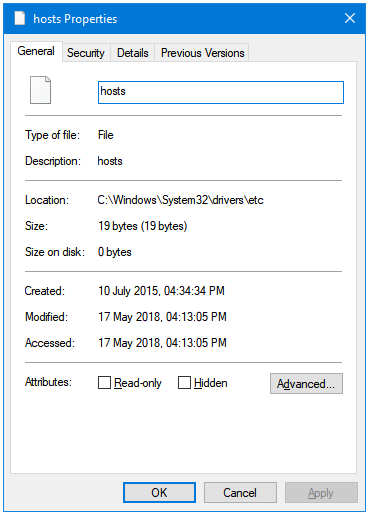
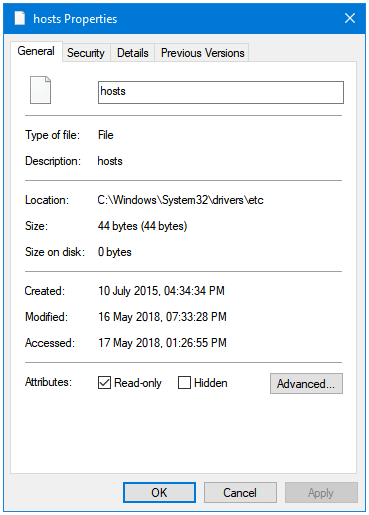
Step 2: In the hosts file Properties window, clear the Read-only checkbox. Click Apply, and then OK.
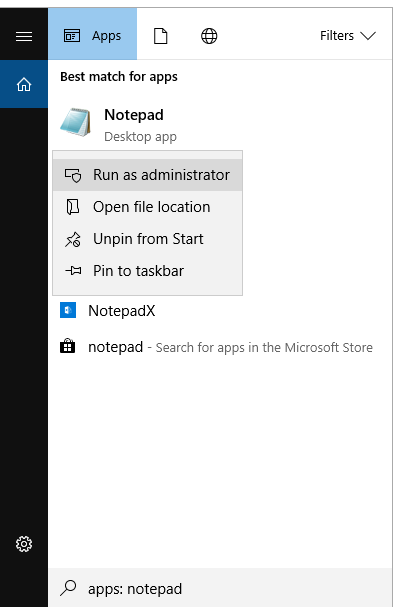
Step 3: Type Windows + S keys together to open Windows Search. Type notepad to search Notepad application, right-click on the Notepad search result, and then left click Run as administrator to open Notepad with Administrative privileges. You need elevated permissions to edit the Hosts file.
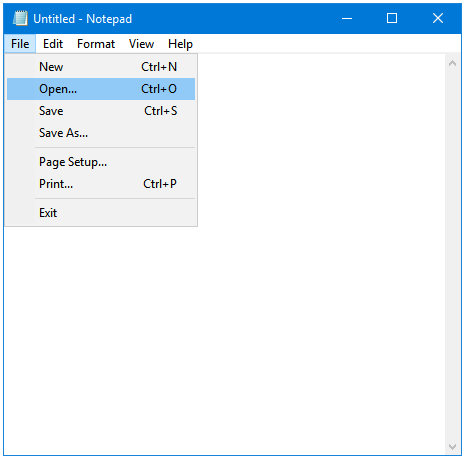
Step 4: Click the File button in the Notepad Menu bar. Click Open to locate and open the hosts file.
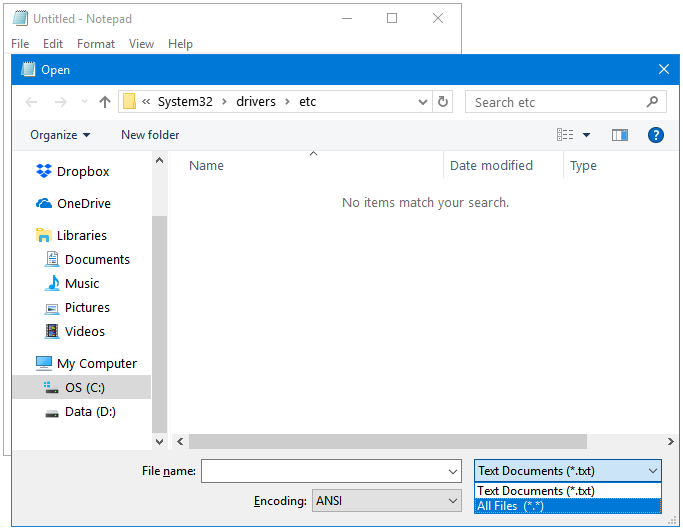
Step 5: In the browse window, go to the hosts file directory. Select All Files (*.*) from the file-type drop-down menu to be able to view the hosts file.
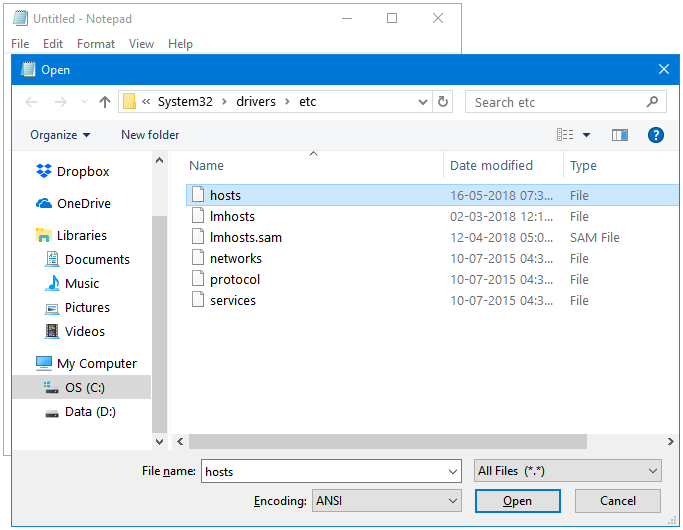
Step 6: Click on the hosts file, and then click the Open button.
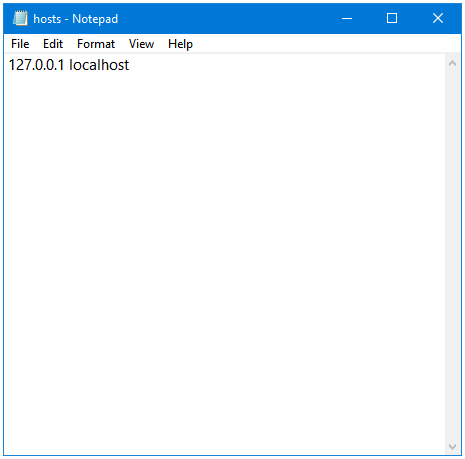
Step 7: As you can see, the hosts file is just a text file.
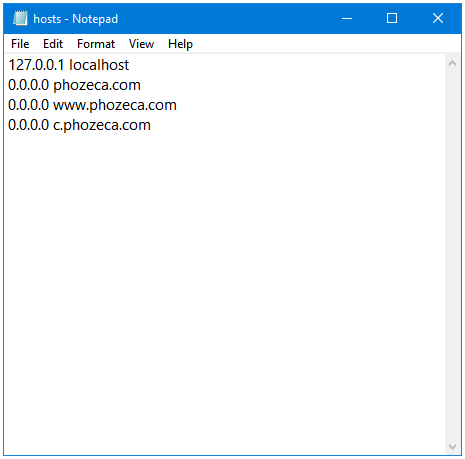
Step 8: Go to the bottom of the hosts file, and type the website names in the proper format to block them. I have added the last three entries about the Phozeca website.
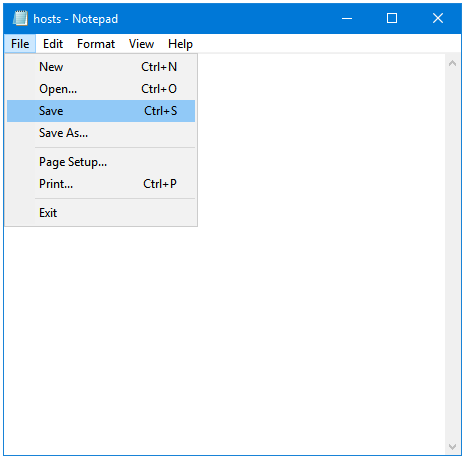
Step 9: When you have added the websites that you want to block, click on the File button in the Menu bar, and then click Save to save the hosts file. Close the Notepad window. Your hosts file has been saved.
Step 10: Now, go to back the Hosts file directory. Right-click on the hosts file, and click on Properties. Tick the Read-only checkbox. Click Apply, and then OK.
The changes have been implemented. There is no need to restart your computer. Open the blocked website in the web browser.
Test the Changes made in the Hosts file
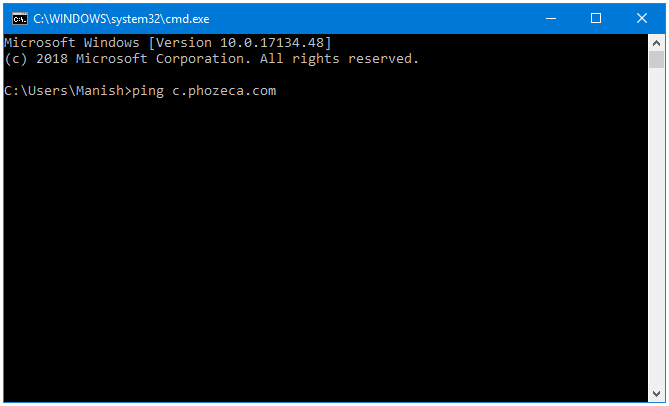
You can test the edits made in the hosts file by using the ping command in the Command Prompt. Here’s how to do that.
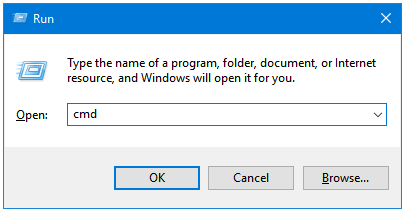
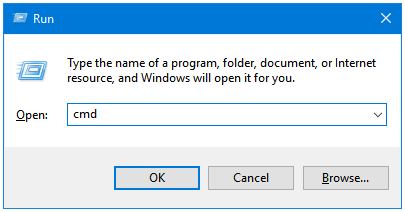
Step 1: Press Windows + R keys together to open the Run dialog box. Type cmd in the text input field, and then press OK. It will open the Windows Command Prompt.
Step 2: In the Command Prompt window, type ping example.com, and then press Enter.
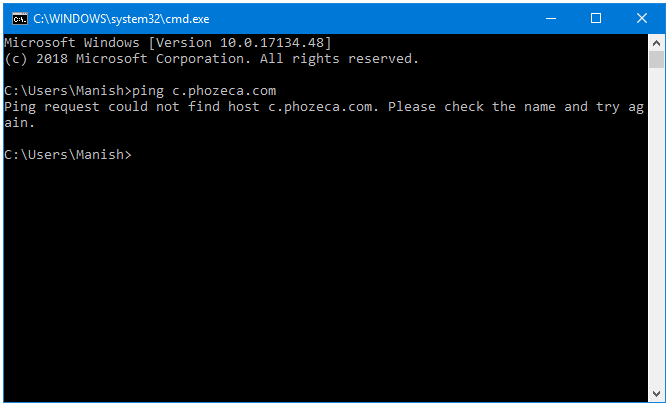
Step 3: If everything went well, you will see a message saying ping request could not find host.
Clear the DNS Cache
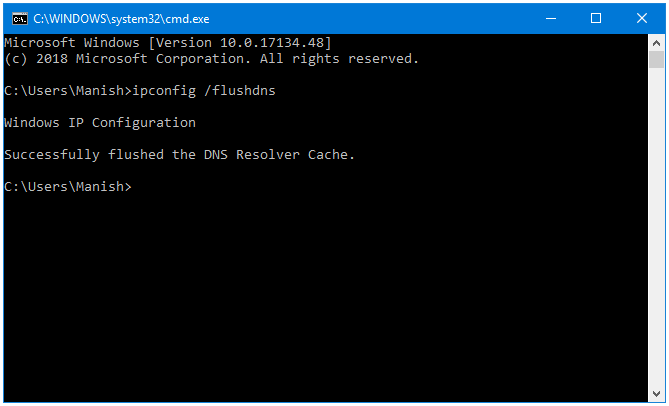
Clearing the DNS Cache after editing the hosts file fixes most of the issues related to the edits. Here’s how to do that.
Step 1: Open Command Prompt.
Step 2: In the Command Prompt window, type ipconfig /flushdns, and then press Enter.
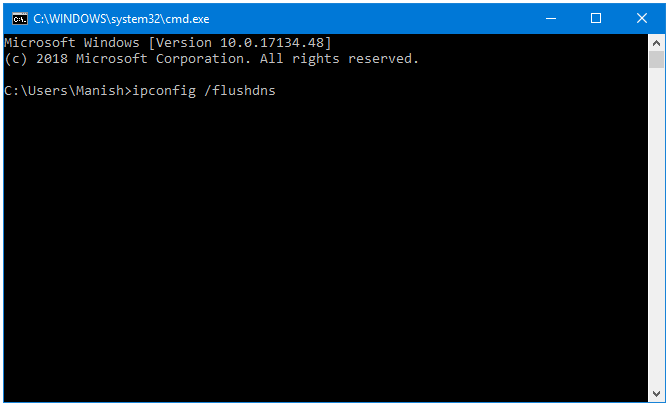
Step 3: This command clears the old DNS Cache.
You can unblock these websites anytime by removing them from the Hosts file.
Ive tried multiple times and its still not working so very annoying, can you please help
It can get difficult with file permissions, I know. Maybe, some antivirus or firewall is preventing from updating the Hosts file.