Enable or Disable Automatic Updates in Windows 10 by Setting the Connection as Metered
If you are using a limited data plan, and don’t want Windows to eat up your speed and a big part of your bandwidth (data) with its updates then you can use a wonderful built-in feature to defer (or temporarily stop) some of the updates coming from Microsoft, especially the large ones.
You can check your Update status under the Update & Security section in the Windows Settings app. If there are any important updates that are not being downloaded and installed due of this Metered connection restriction set by you, then you can disable this setting for some time, let Windows download and install the update, and then enable it again.
With the Metered connection setting turned on, Microsoft will not download huge updates, instead, you’ll get messages regarding updates stating that there is one big update, and you need to download it.
How to Enable or Disable Automatic Updates with Metered Connection option in Windows 10
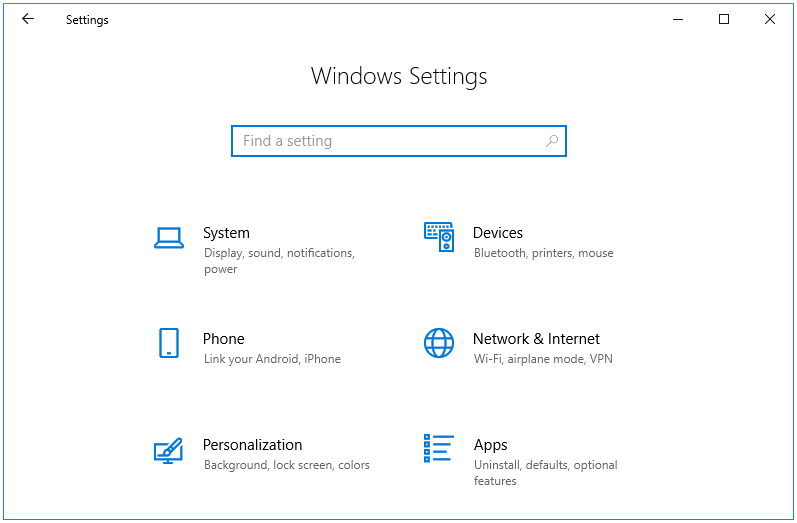
Step 1: Press Windows + I keys together to open the Windows Settings app.
Step 2: In the Windows Settings app, click on the Network & Internet button.
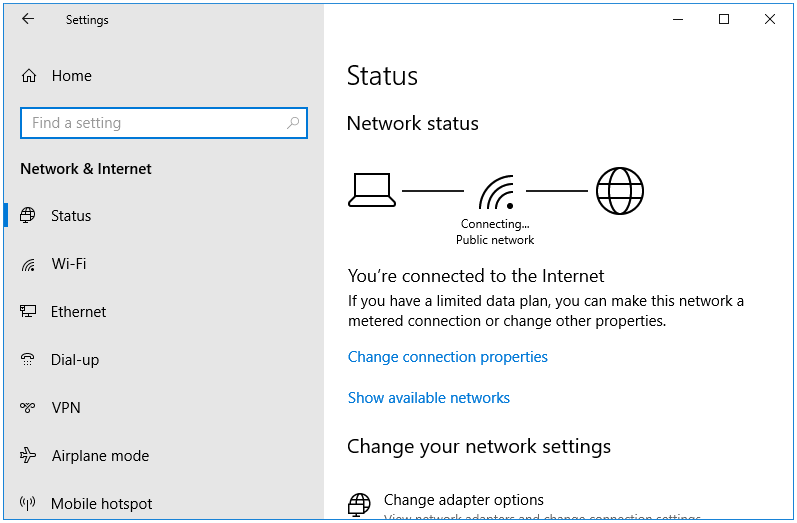
Step 3: The Network & Internet window opens in the Status tab. If you are using a Wi-Fi network, then click on the Wi-Fi side tab, and if you are using an Ethernet cable connection, then click on the Ethernet side tab.
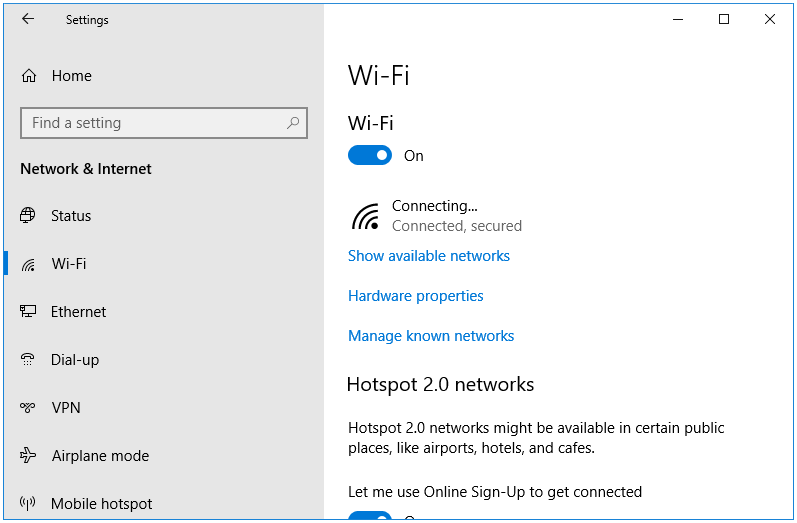
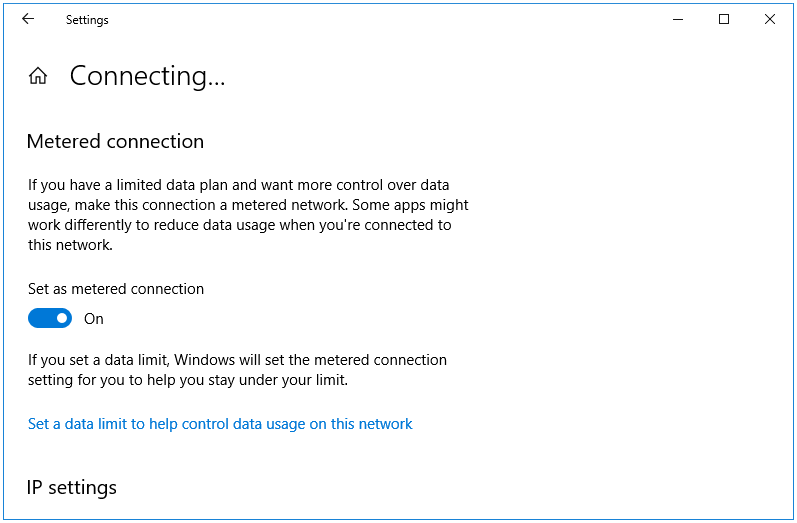
Step 4: Next, click on the name of your network. In my case, it is Connecting…, so I click on it to open its properties.
Step 5: In the network properties window, navigate to the Metered connection section.
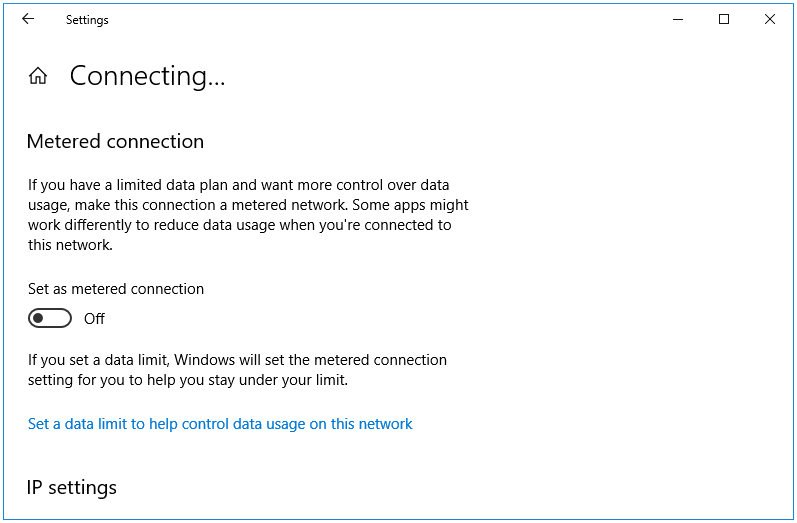
Step 6: By default, this setting is set to Off. Click on the Set as metered connection option to turn this setting On.
That’s it. Close the Windows Settings app. The process is complete.